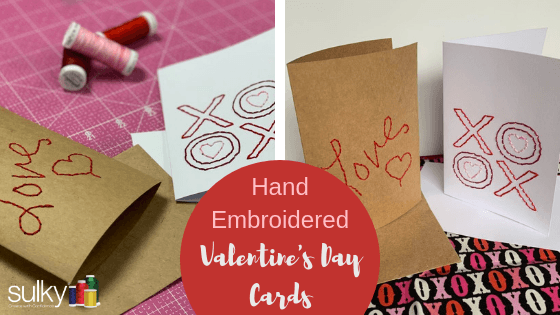
Hand Embroidered Valentine’s Day Cards
How To Make Hand Embroidered Valentine’s Day Cards For Your Loved Ones
Making hand embroidered Valentine’s Day cards is a great way to say I Love You with stitches. This project is easy enough for beginners, children included, and fun for everyone!
Honestly, I don’t care if it’s a made up holiday or not, I LOVE VALENTINE’S DAY! How could I not? It’s all about love and romance and a great excuse to decorate and sew with all my favorite things: Pink, Red, Hearts, and more Hearts.
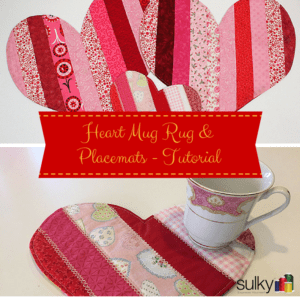
I have already started making heart-shaped muffins for my family to enjoy at breakfast and, this weekend, we will make a heart-shaped cake. I have also pulled out my heart place-mats (Here is the tutorial) and am making my machine embroidered cards on card stock (Check out my how-to here).
 But this year, I decided to also do hand embroidered cards to give to my two beautiful daughters, who are navigating the war zone known as middle school. Trust me, they can use all the love they can get in this stage of life!
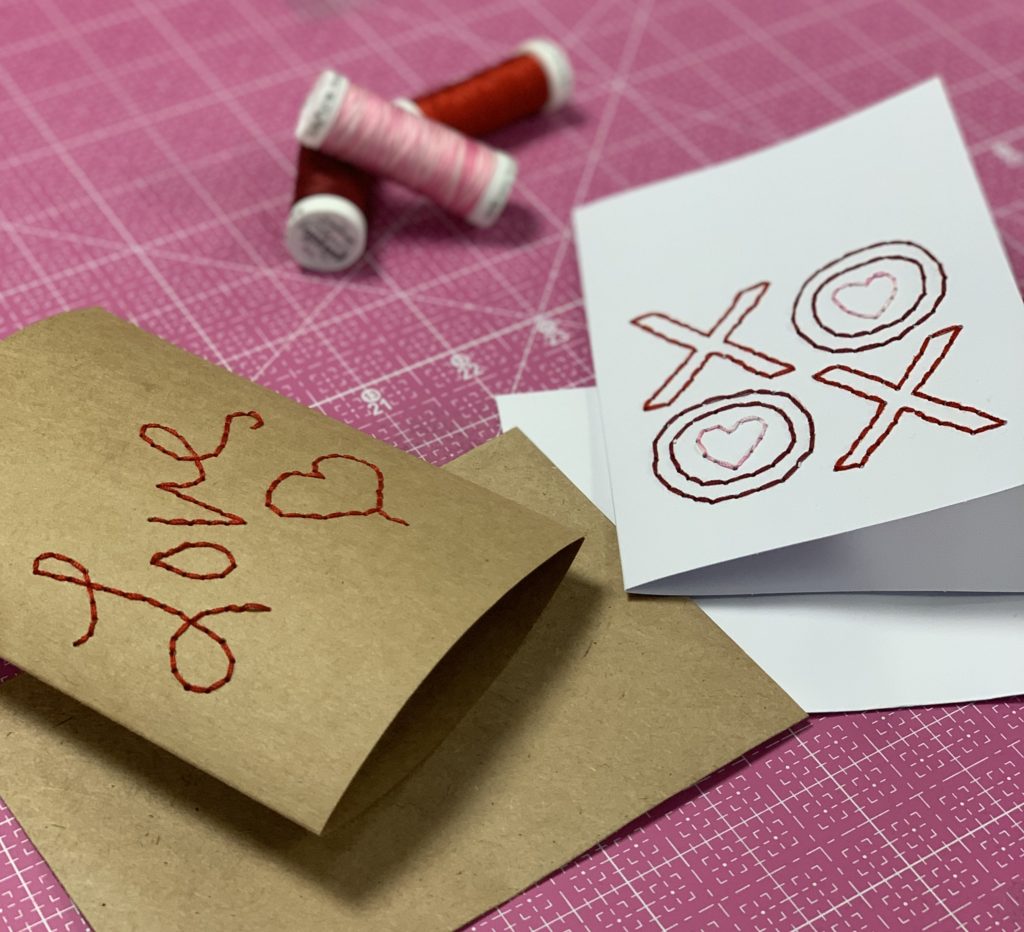 The cards turned out lovely and were surprisingly quick and easy to make. I finished both of these cards in one afternoon.
Here’s How:
Supplies
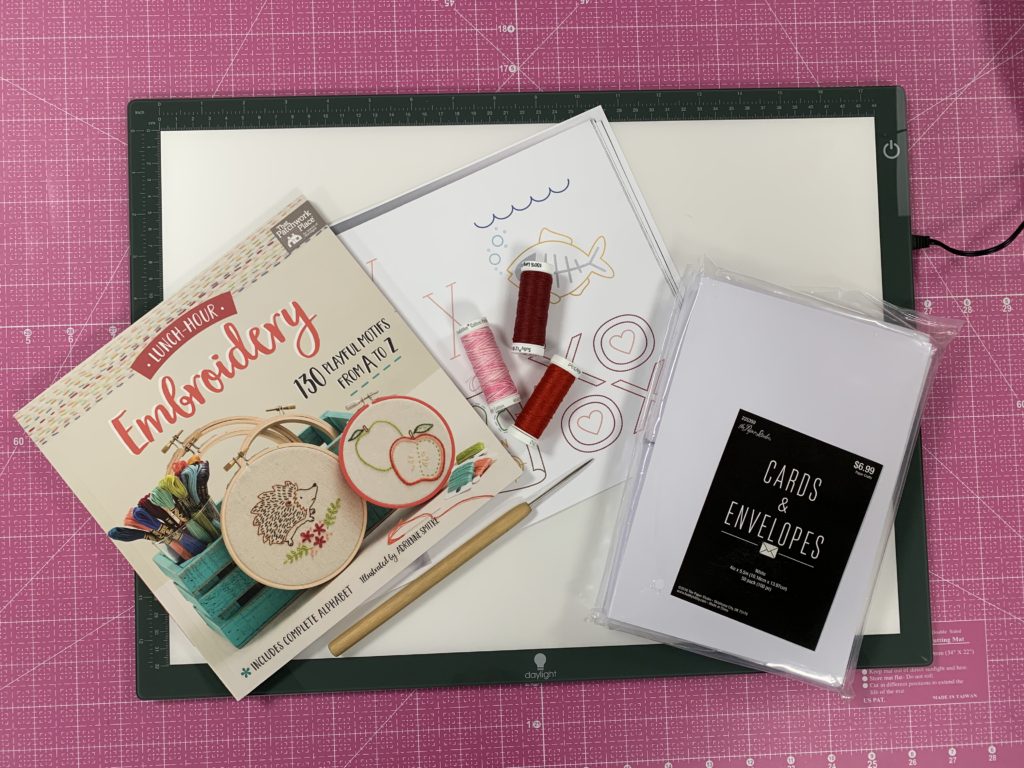
Pre-made blank cards and envelopes (I bought these at Hobby Lobby)
Needle (I love this #24 Chenille needle)
Sulky® Cotton Petites™ Thread (I used 712-1169, 712-4046, and 712-1039)
Embroidery Design (I created my own for the kraft-tex paper card and used one from Martingale Publishing, Lunch Hour Embroidery for the other design)
Pencil and a good eraser
Light Box (I am in love with Daylight’s Wafer 2 Lightbox!)
Stiletto
Terry Cloth Towel
Directions
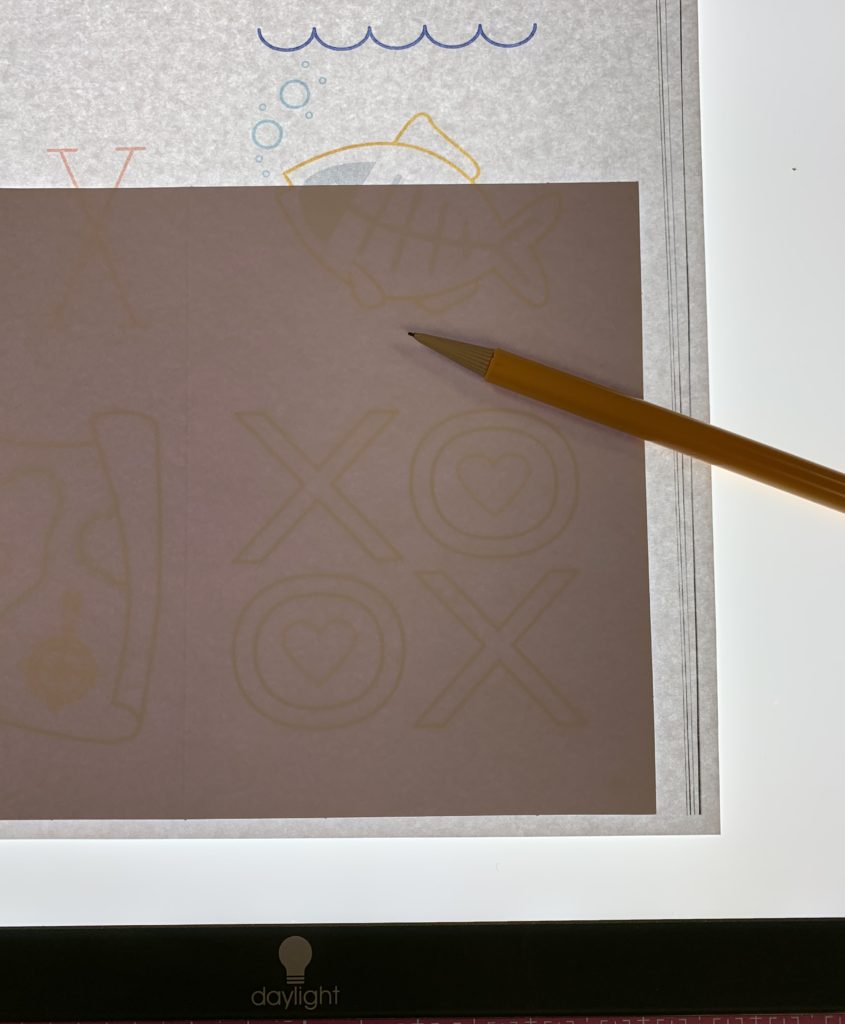 Pick your design. I just loved the X’s and O’s design in the Lunch Hour Embroidery book. I copied the design out of the book so there wasn’t anything on the back of the page to confuse me when the design was on the Wafer 2 Lightbox.
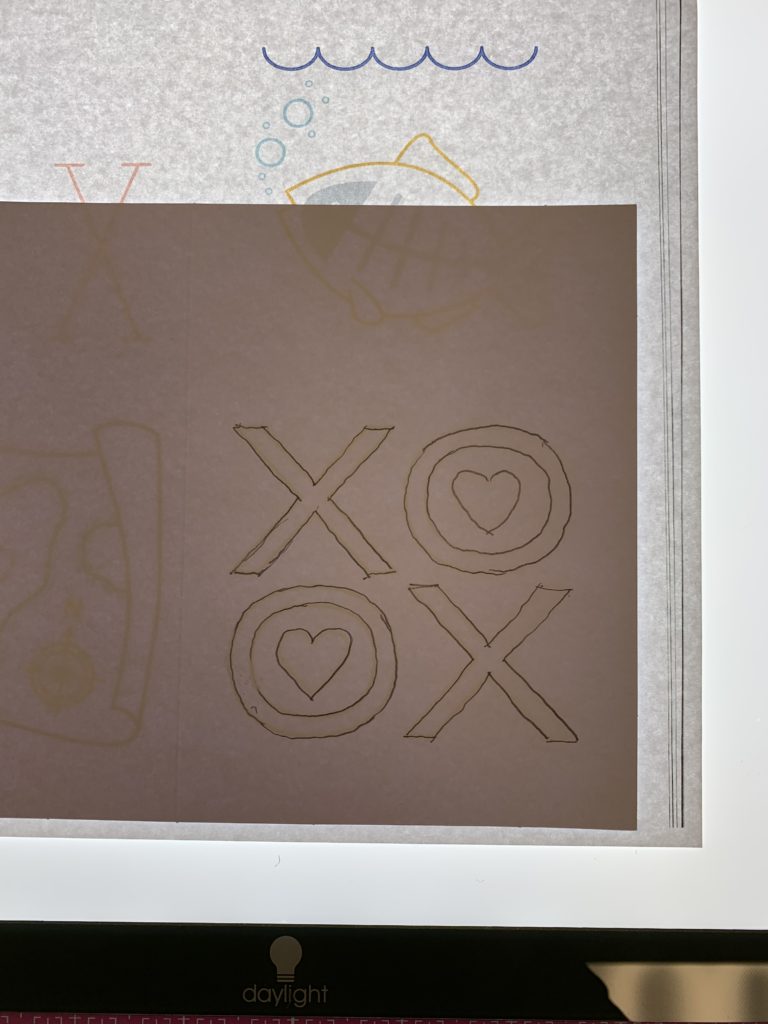 Use a pencil to lightly draw the design. I prefer a #2 pencil because it is easier to erase without messing up the paper. I suppose you could leave the marks because thread will be over them, but I prefer to erase them (You will see what I mean in the next step).
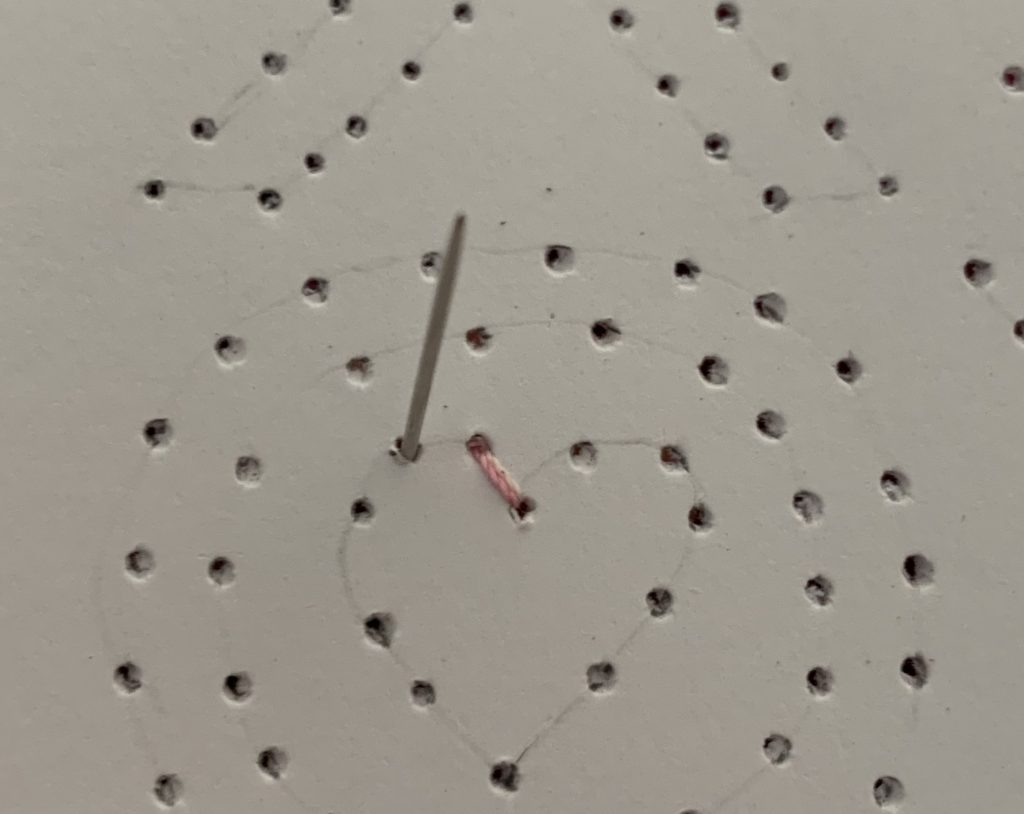
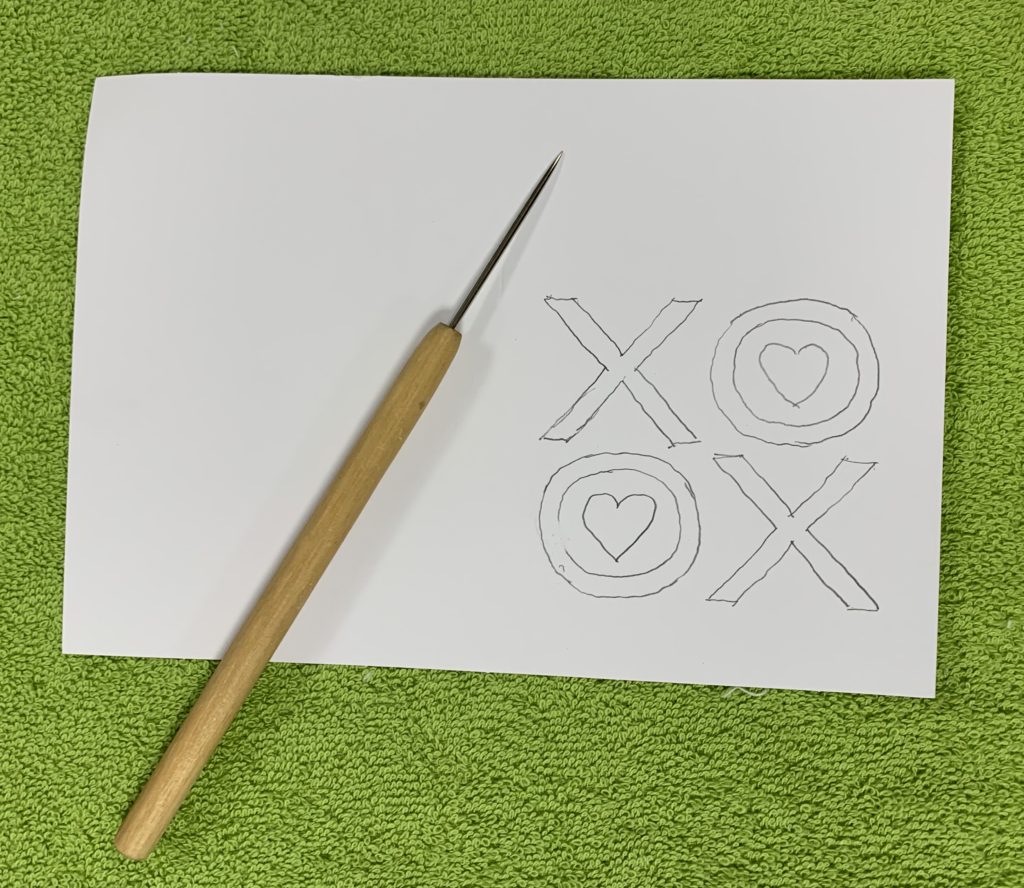 Put the card on top of a terry cloth towel and poke holes along the lines you drew with a stiletto. These are your stitching holes, so space them the length that you want your stitches. Don’t put them too close together or they will tear while stitching.
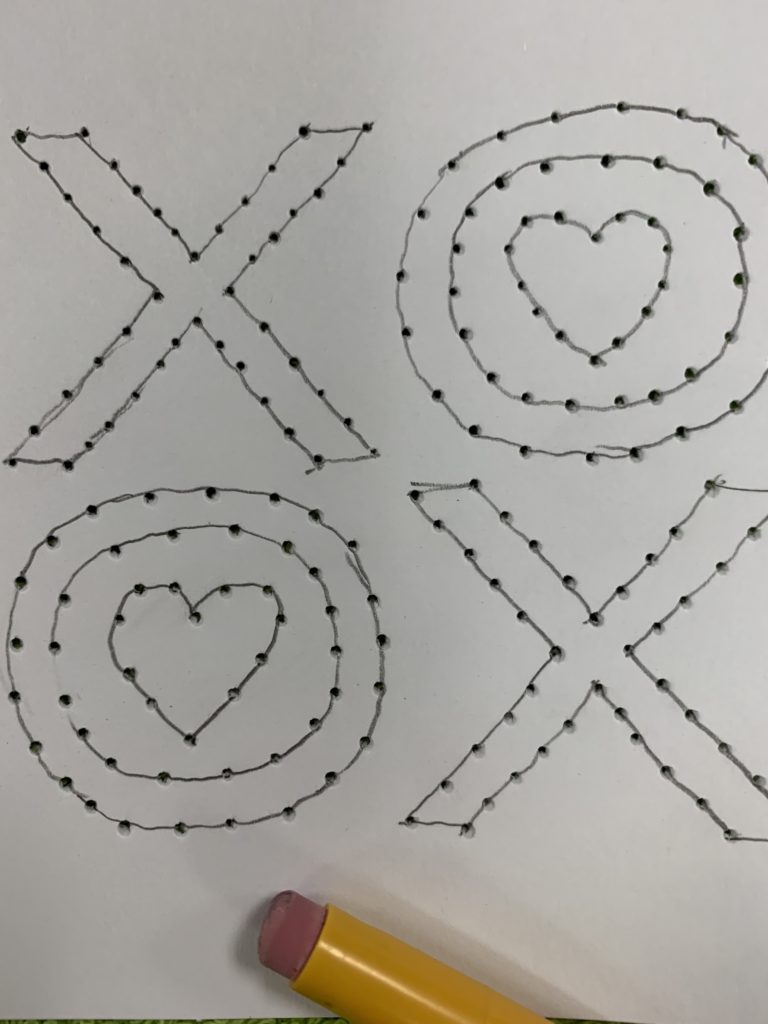
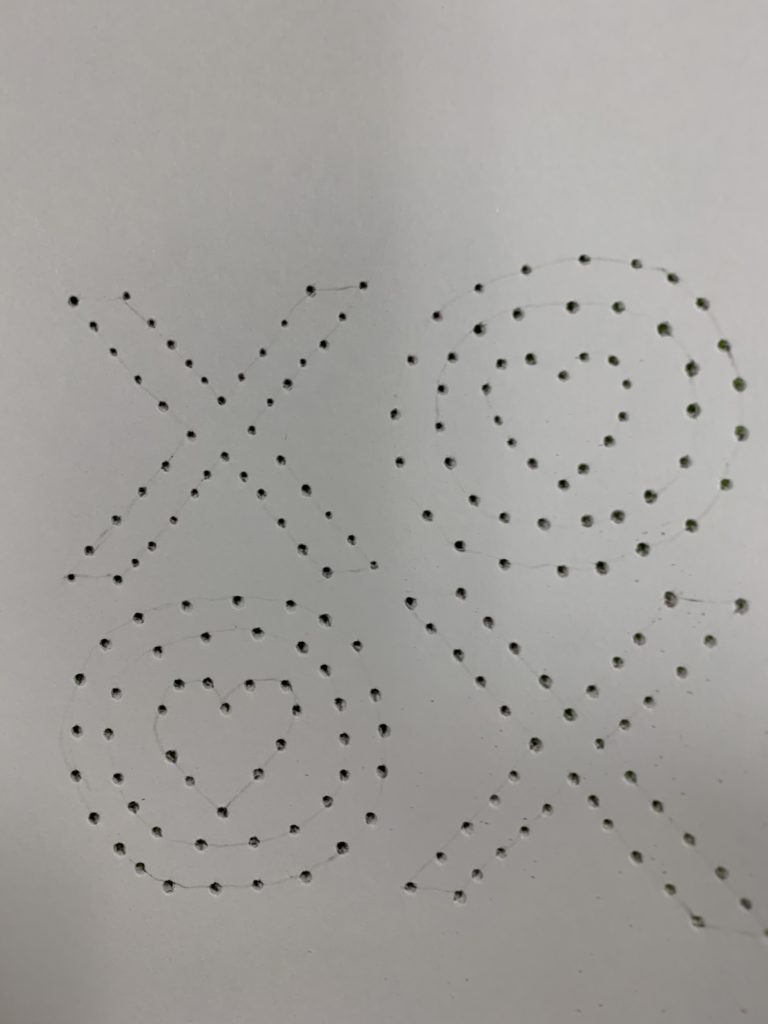 After your holes are poked, erase the pencil lines.
- Time to stitch!
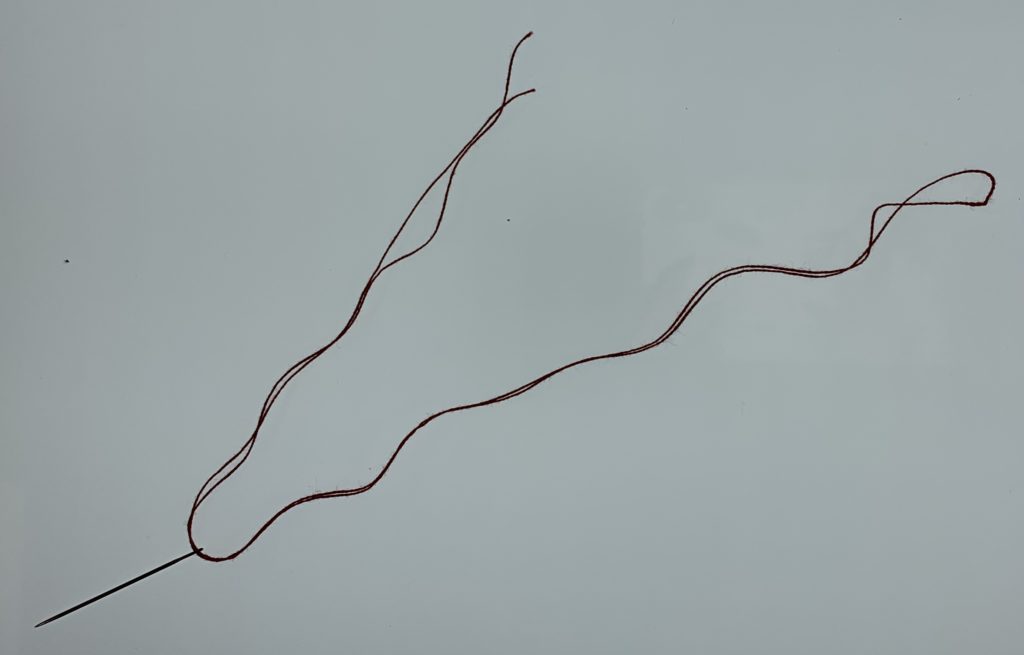 Pick your thread and double it up. Thread the #24 Chenille needle with the loop part of the thread at the bottom and the 2 cut ends of the thread as the thread tails.
 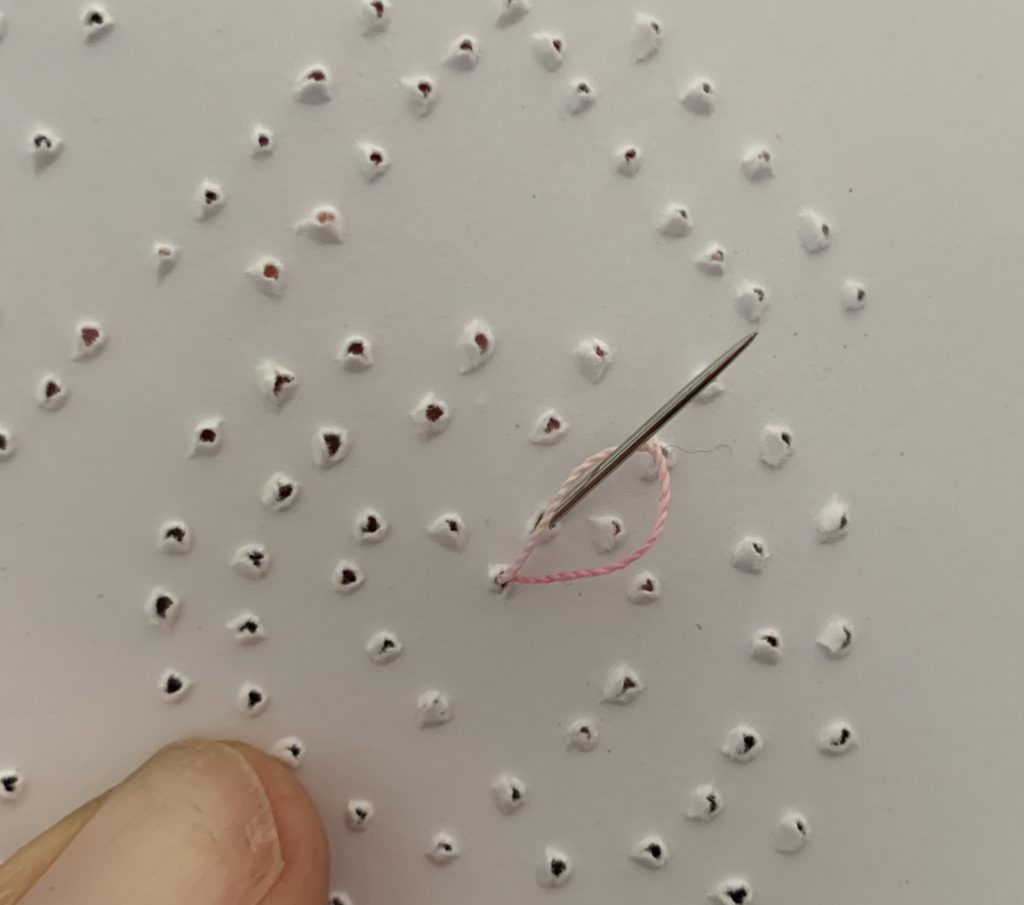 On your first stitch, run the needle through the loop that is at the bottom of the thread. This will hold the thread in place. A simple knot would just pull through the card stock.
- Backstitch the card using the holes you created and change thread colors as you see fit.
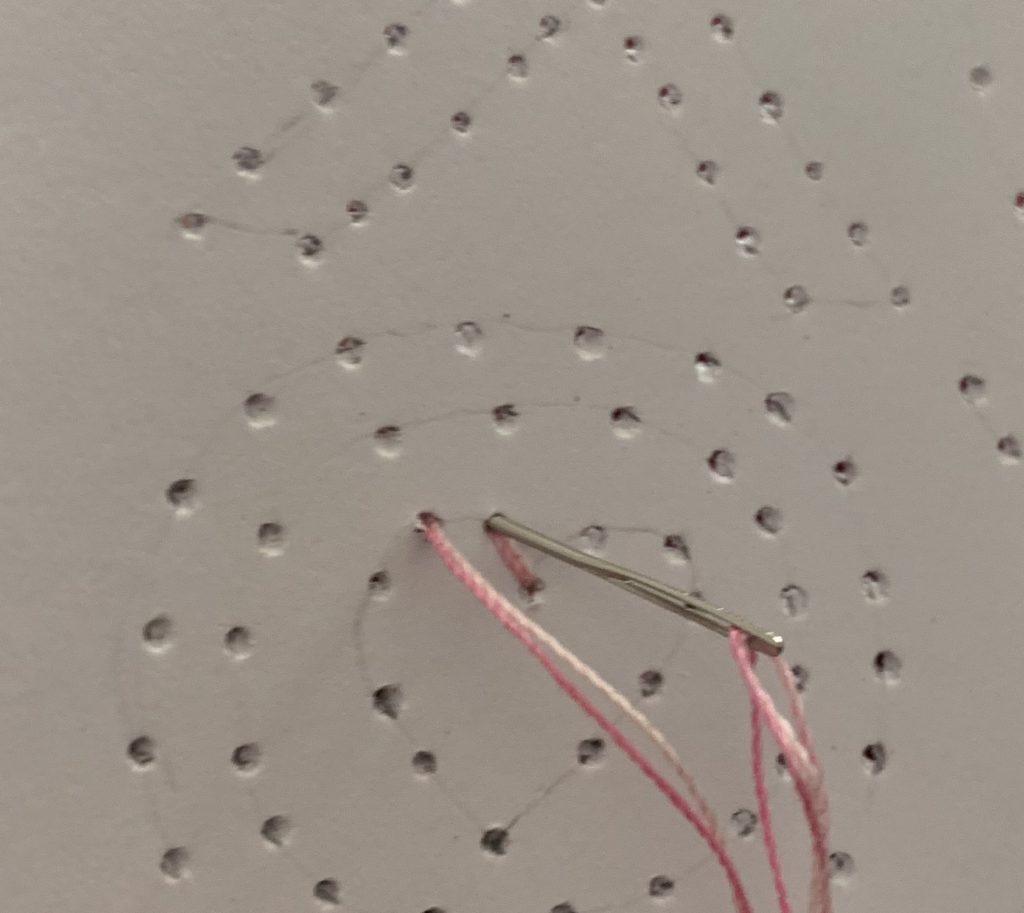
After stitching, you can tie off the thread on the back with a simple flat knot.
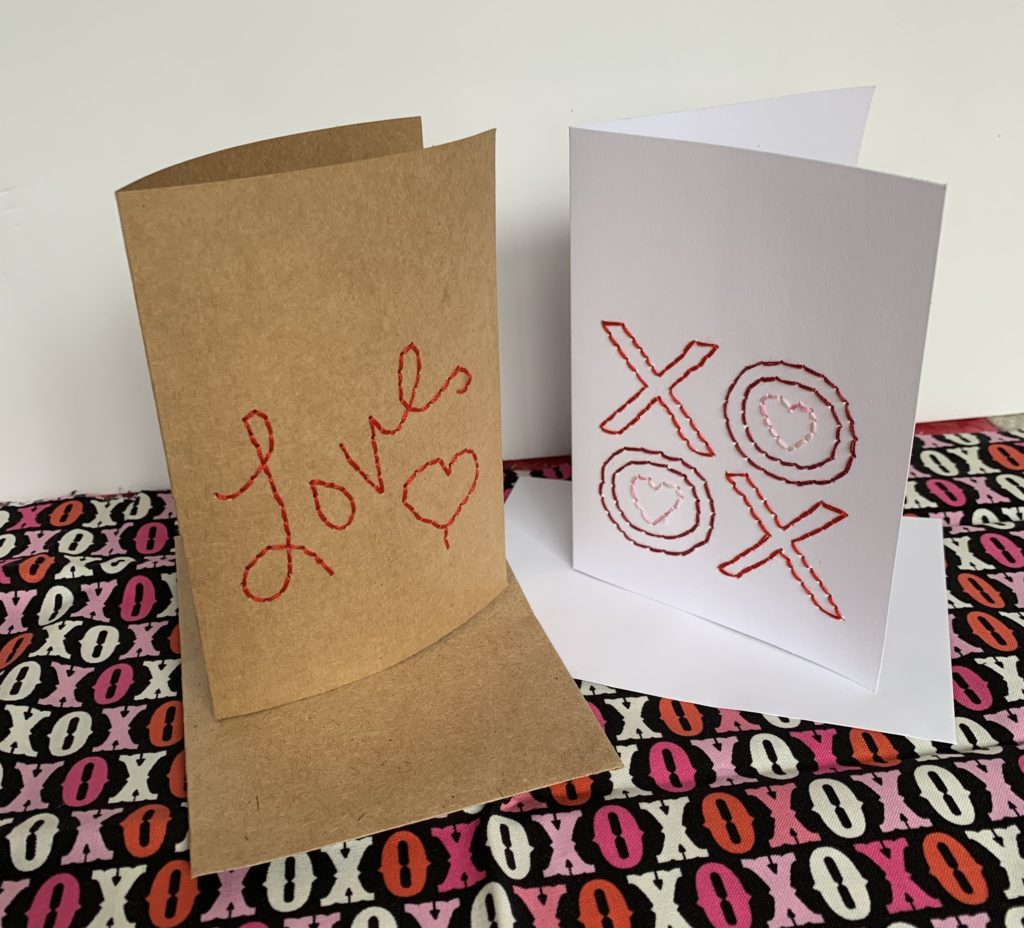 For the second card, on kraft-tex paper, I just wrote “Love” and the heart with the pencil, poked the holes and stitched. These cards are ready to add a message and give to my sweet girls!
More Quick and Fun Valentine’s Day Projects


One Comment
Pingback: