This series is written by guest blogger, Pamela Cox. Pamela is an expert embroiderer, designer, digitizer and all around wonderful girl! We are so happy to have her contributing to the Sulky Blog!
The term “mid-weight/medium weight” cotton fabric covers many fabrics known by other names such as oxford, “quilting cottons” pique, broadcloth, just to name a few. They are often used, but not limited to, tote bags, throw pillows, table-toppers, garments, quilts and other patchwork projects. They are the most common fabrics used for machine embroidery and by following a few simple tips, your machine embroidery on these kinds of fabrics will always turn out great.
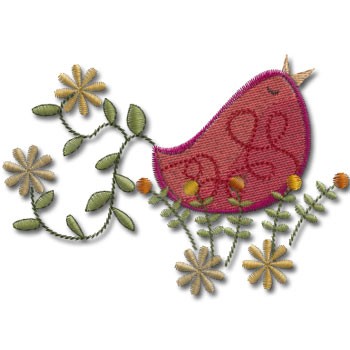
I thought I would show a few basics by showing you how I stitched out this adorable humming bird from the Sulky Embroidery Club.
What I used:
Sulky® Soft ’n Sheer™ Stabilizer – 10” square
Cotton Broadcloth – 10” square, pre-washed, dried and pressed
Sulky 40 wt. Rayon Embroidery Thread
Sulky Bobbin Thread or Sulky 60 wt. PolyLite™ Thread
120mm square embroidery hoop
80/12 Embroidery Needle
Embroidery Design: Red Retro Humming Bird Design #661

Directions:
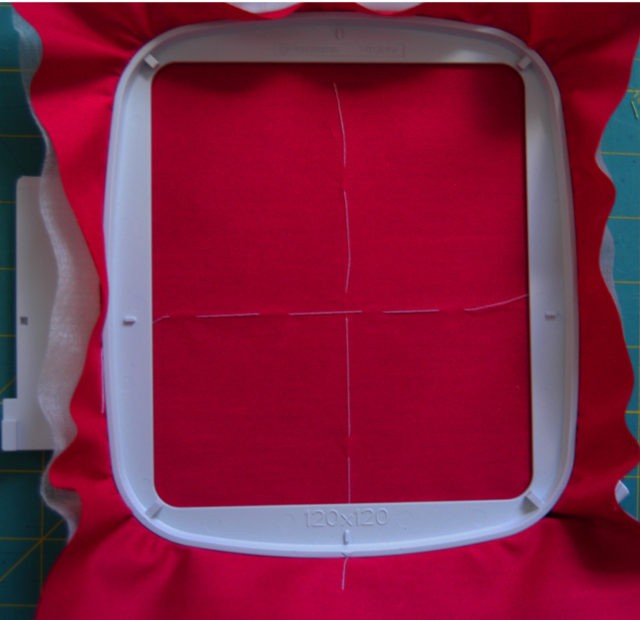
Divide the cotton broadcloth into quarters by folding in half, and stitch a hand-basted line in the crease of the fold. Refold the fabric so the opposite sides are now halved, basting another line. The intersection of these two lines mark design center. Hoop fabric and stabilizer as directed in this blog post.

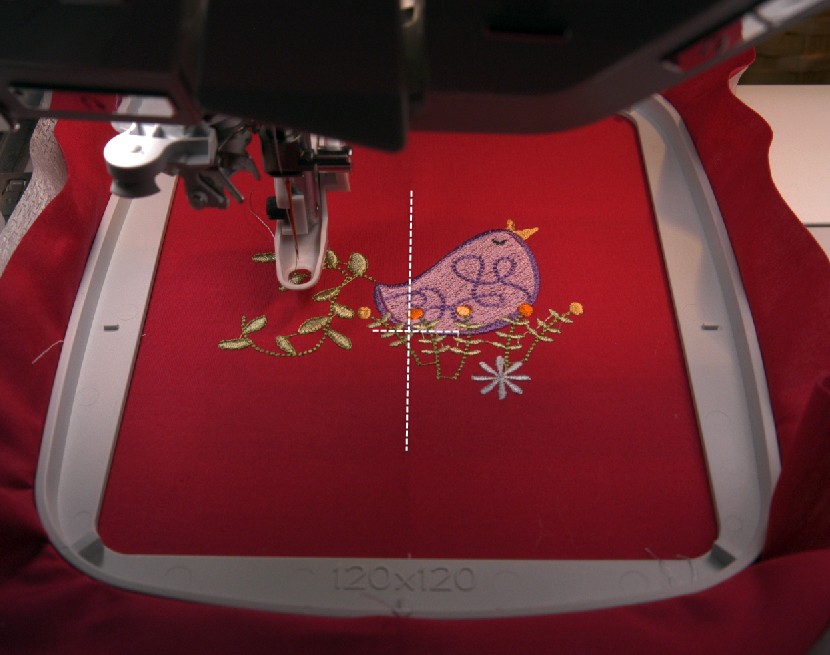
After purchasing and downloading the design on my computer, I then opened it in a software editing program to change the colors to those which would complement my fabric color. This “edited” file was then copied to a USB stick – my method of transferring designs from my computer to my embroidery machine. The needle position for the design center was located on the machine and matched to the intersection of the basted lines. This step required me to move the design a very tiny bit in the embroidery machine to insure both centers matched and that the design would be stitched exactly where intended. The design was stitched, changing colors as required.

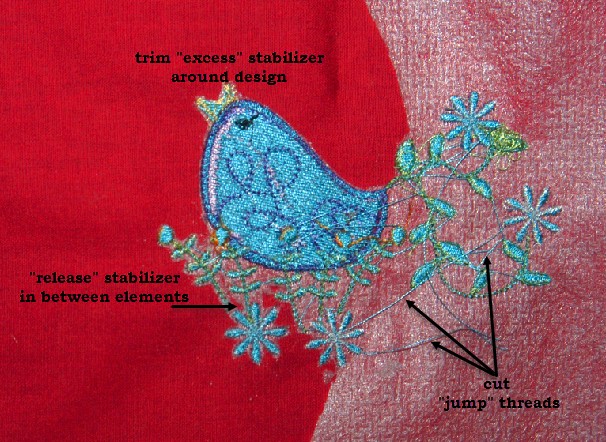
Personally, I slow my embroidery machine down by 1/4th. Slower speeds mean I can use a slightly smaller needle than what one might normally consider. If you choose not to slow your machine down and your thread keeps breaking, increase the machine needle size to 90/14. Once the embroidery is completed, remove it from the hoop and trim the excess stabilizer and jump threads from the back side of the embroidery. Be careful not to cut through any thread knots. Removing excess stabilizer will enable the fabric in between the design elements to relax and return to its “proper place” in the fabric, eliminating any puckering often seen on machine embroidered projects. Also remove the basting stitches.

Finish by pressing the embroidered fabric with a steam iron, face down into a thick terry towel. Using a towel instead of the flat surface of an ironing board will allow the embroidery to preserve its “depth”. Note: If you have used a Polyester Bobbin Thread, remember that polyester thread does not tolerate the same iron temperature that rayon does. So use a press cloth over the back or lower your iron temperature.
Other stabilizers which are perfectly acceptable and would work equally as well with medium-weight woven cotton fabrics are Sulky Cut-Away Plus™ and Sulky Tear-Easy™.
Now your design is ready to be added to whatever project you choose!
Happy Sewing!


