Metallic Plush Snowflake Throw
by Ellen March
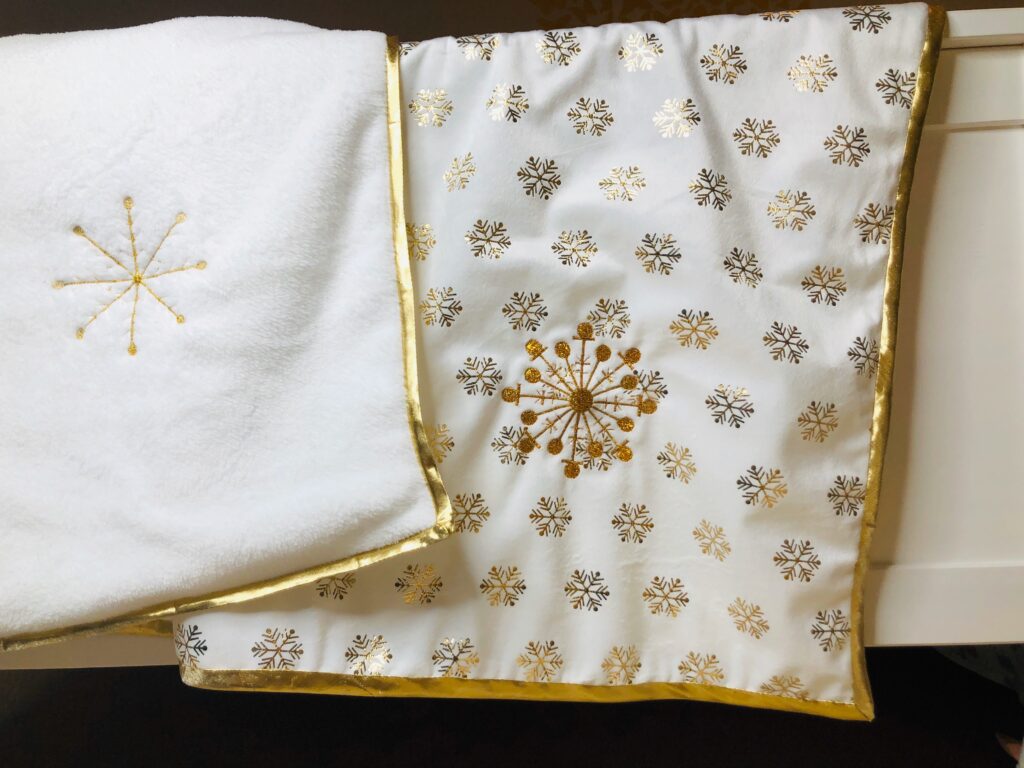
Learn how to sew a metallic plush snowflake throw to add some bling to your winter decor. These tips for stitching success almost guarantee flawless results, and are useful hints for the metallic embroideries you’ll stitch in the future.
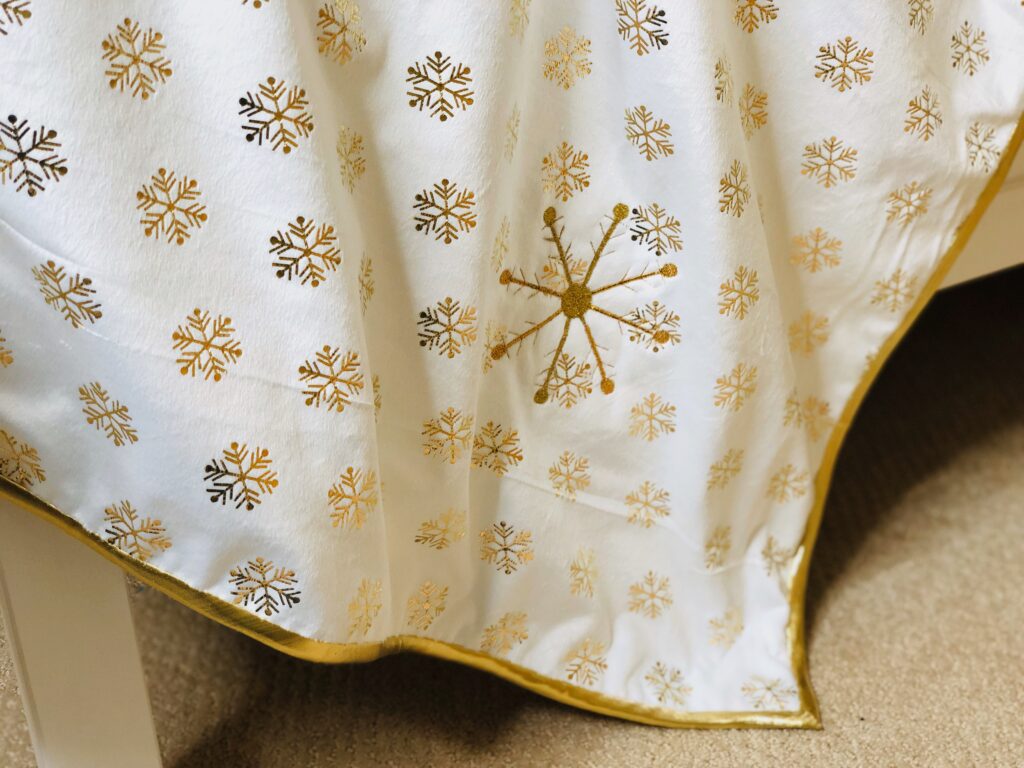
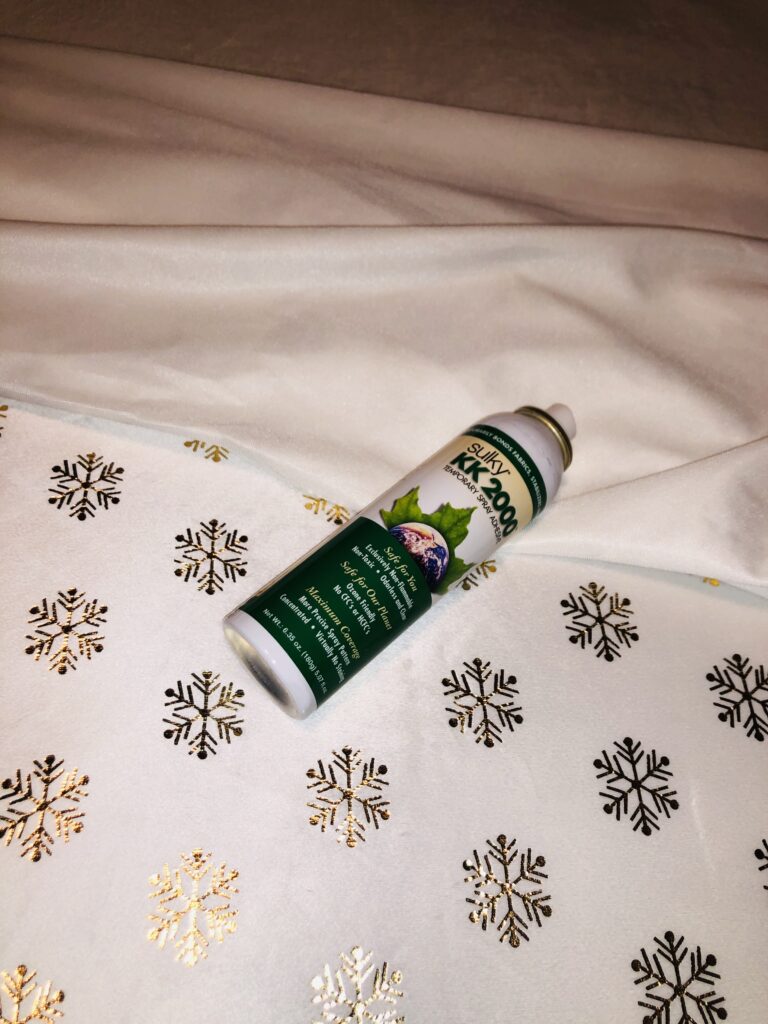
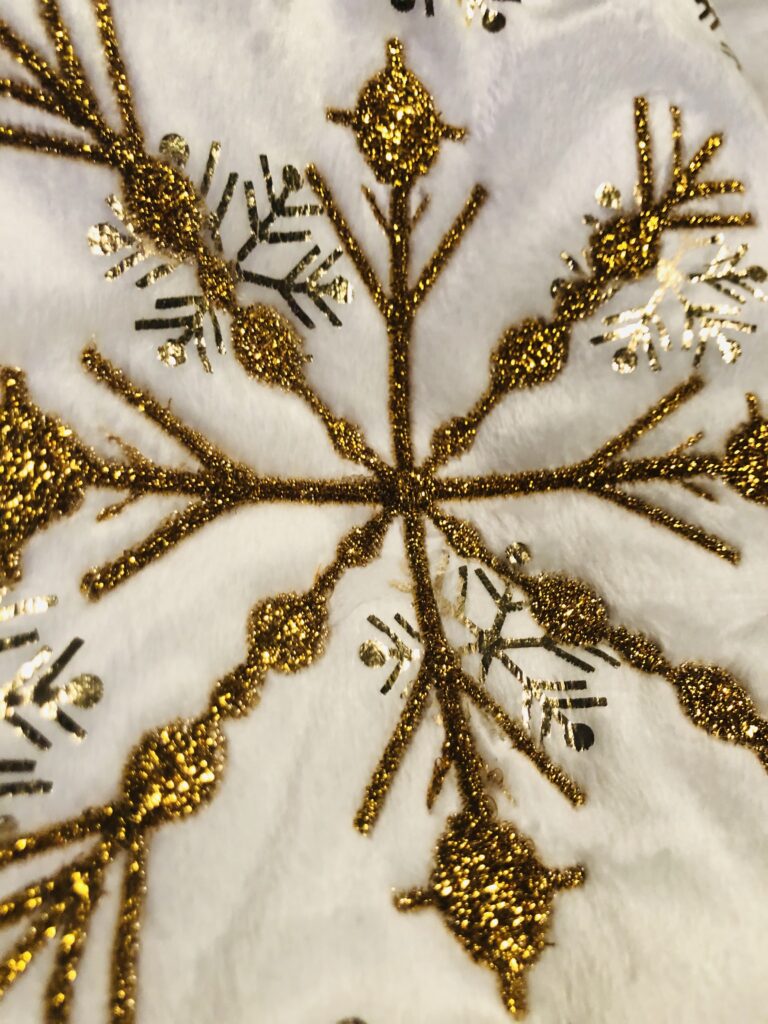
Choose a fuzzy fabric that has embossed metallic motifs (like snowflakes!) for extra pizazz, if desired. Then pick a metallic thread that matches the embossing.
SUPPLIES
- 2 yards of faux fur, minkee or micro fleece fabric (solid color)
- 2 yards of faux fur, minkee or micro fleece (print; with embossed metallic snowflakes optional!)
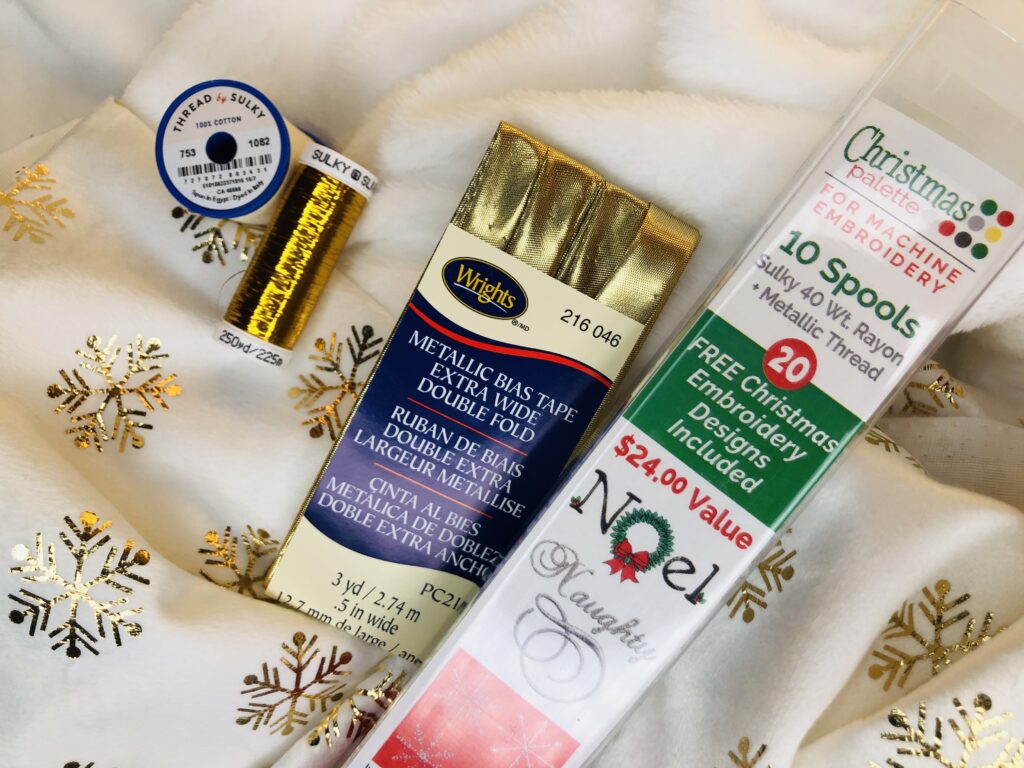
- Sulky Holoshimmer™ Metallic thread
- 50 wt Cotton + Steel thread by Sulky (for binding application)
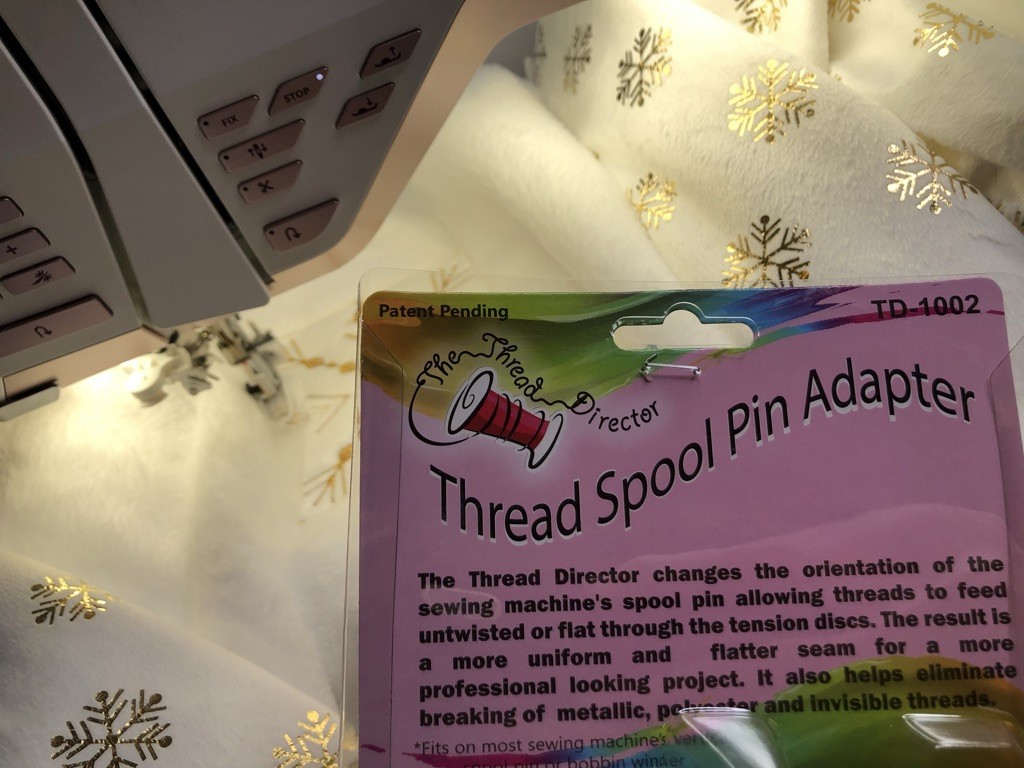
- Thread Director
- Sewer’s Aid™
- Organ needles: 80/12 metal, 80/12 embroidery
- KK 2000™ Temporary Spray Adhesive
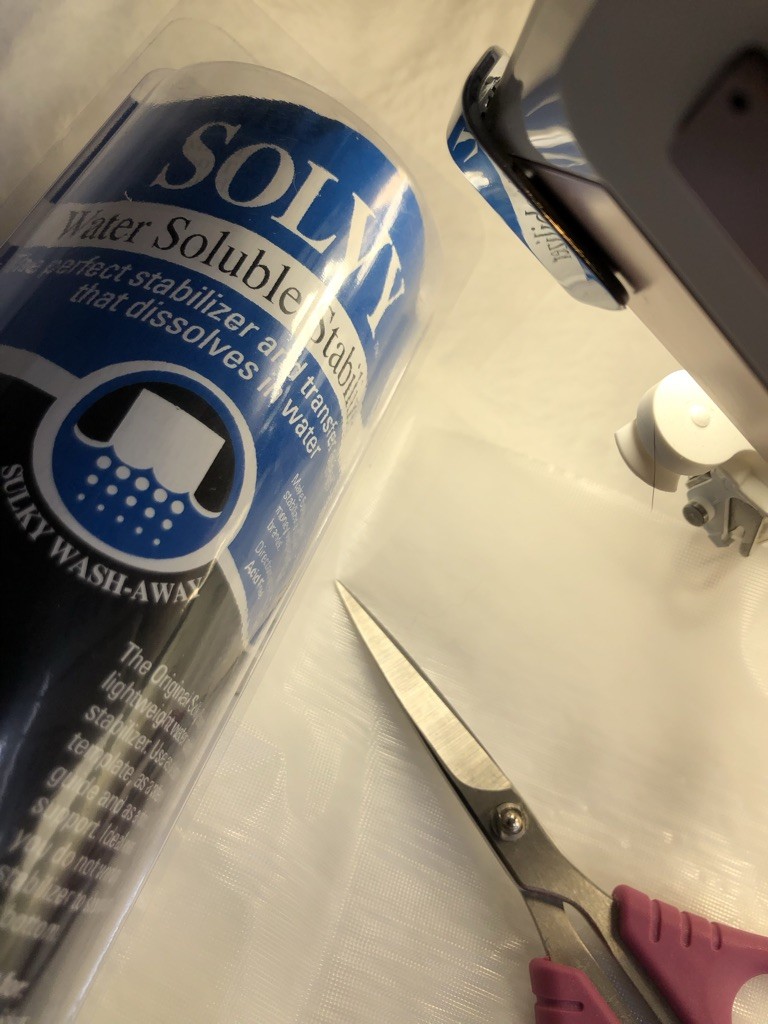
- Stabilizers: Sulky Sticky +™, Sulky Solvy® & Sulky Sticky Fabri-Solvy™ (optional)
- Sulky Chrismas Design Palette (includes 9 snowflake designs, 11 Christmas designs & 10 spools of Sulky rayon & Holoshimmer threads)
- Embroidery design software (Such as Creative Drawings X; optional)
- 2 packages of premade metallic double-fold bias tape
PREPARE
Load each snowflake embroidery design into software, if using. Choose the desired hoop size and resize each snowflake to fill the hoop.
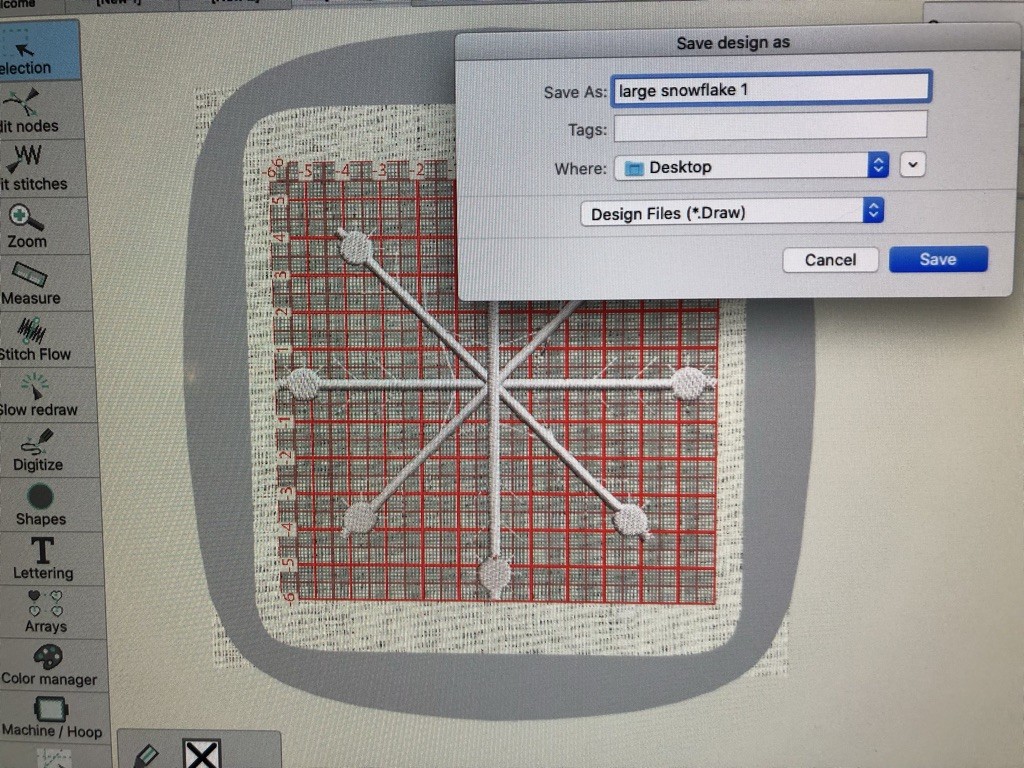
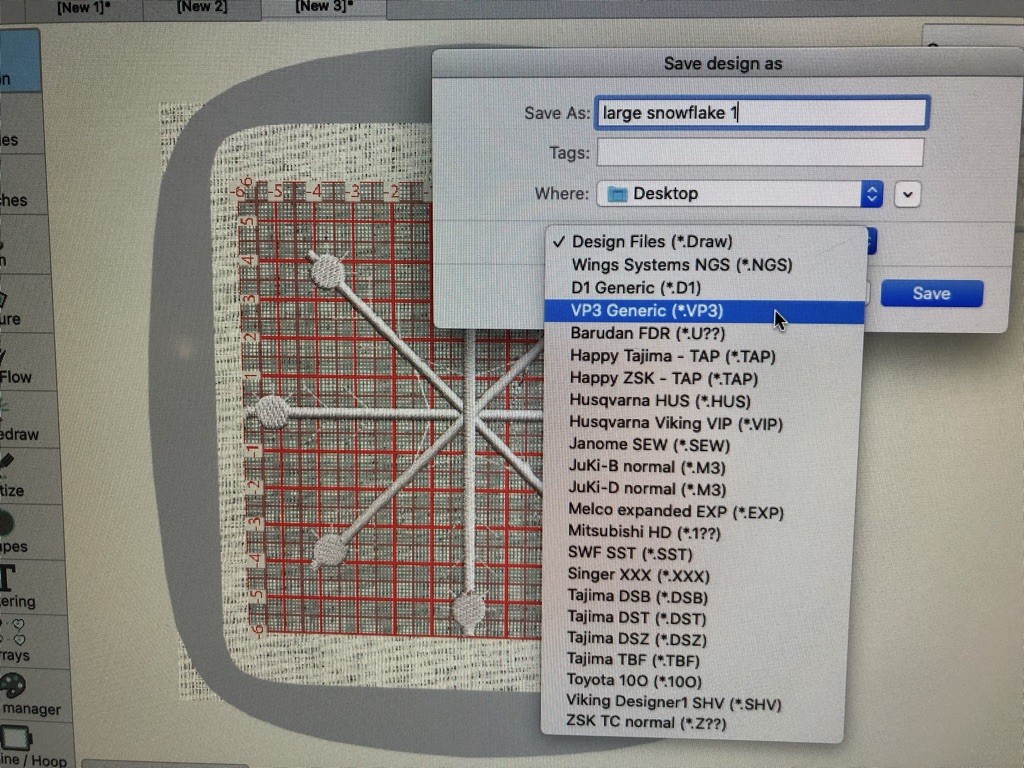
Load the edited designs onto the machine. Prepare to embroider each snowflake in separate hoopings.
Determine the throw’s right side by choosing the fabric that has the most loft. The lofty side needs to face up for embroidery. Layer the fabrics with wrong sides facing and all edges and corners aligned. Use KK 2000 to secure the layers for embroidery.
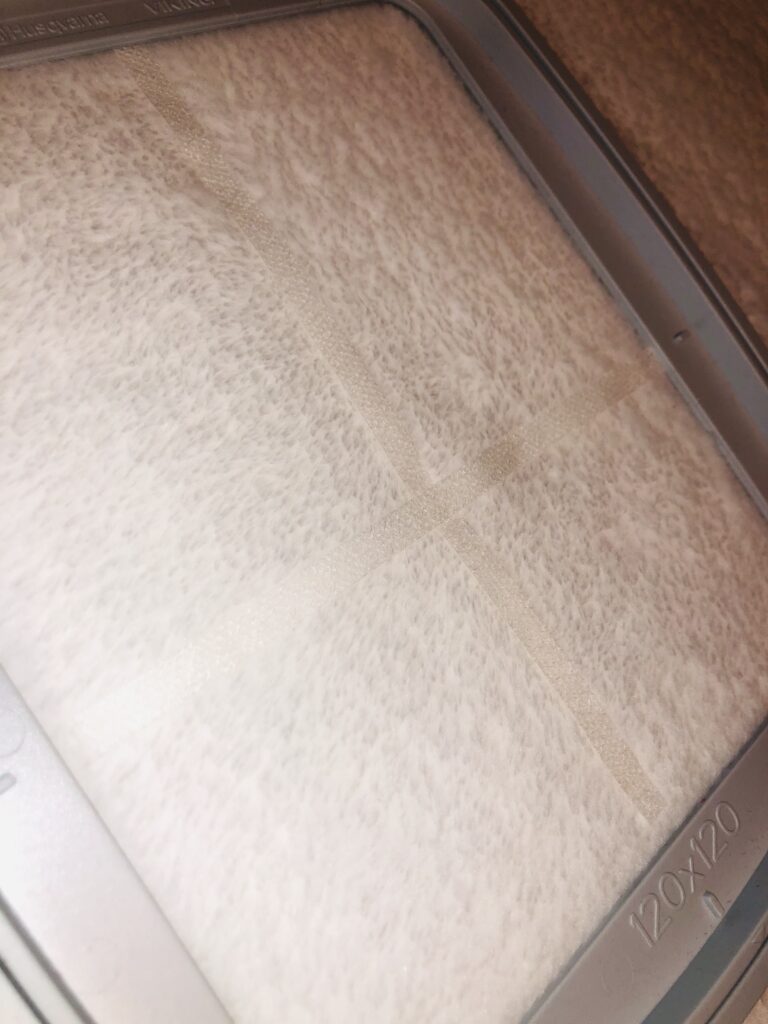
Plot the placement for each snowflake on the throw right side. Cut 1/2″-wide strips of Sticky Fabri-Solvy, if using, to “mark” each snowflake placement. Position the hoop on the fabric, and then place the strips in an “X” inside the hoop, using the hoop markings to align the strips. Continue to “mark” each snowflake placement in this way across the throw.
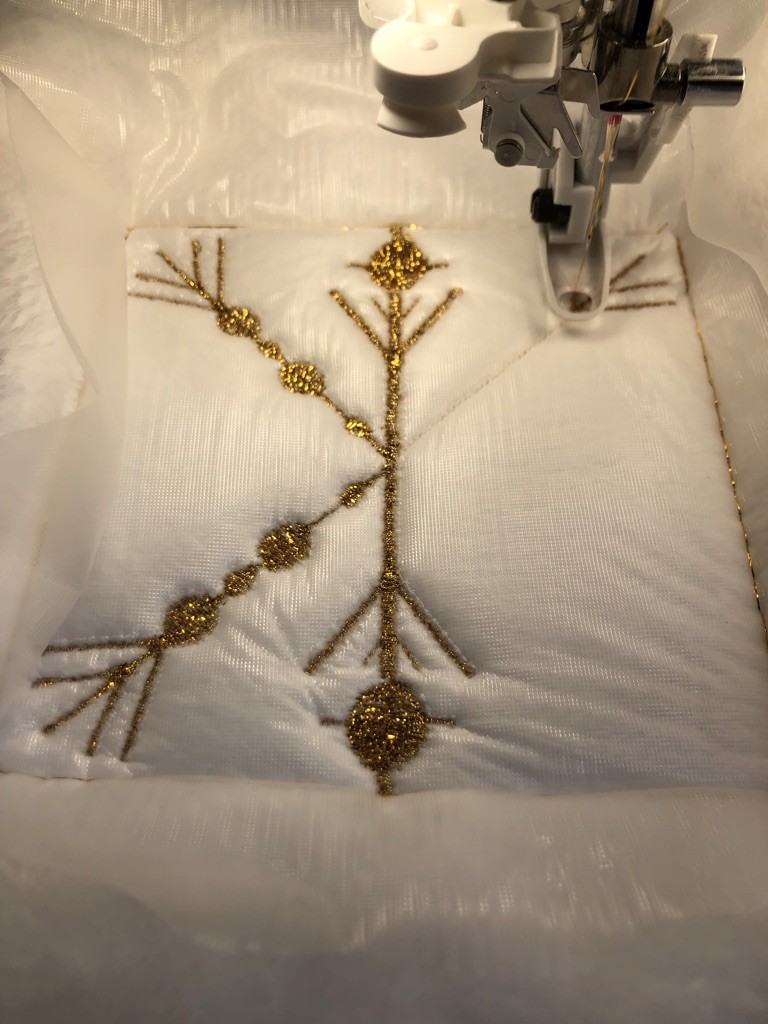
EMBROIDERY
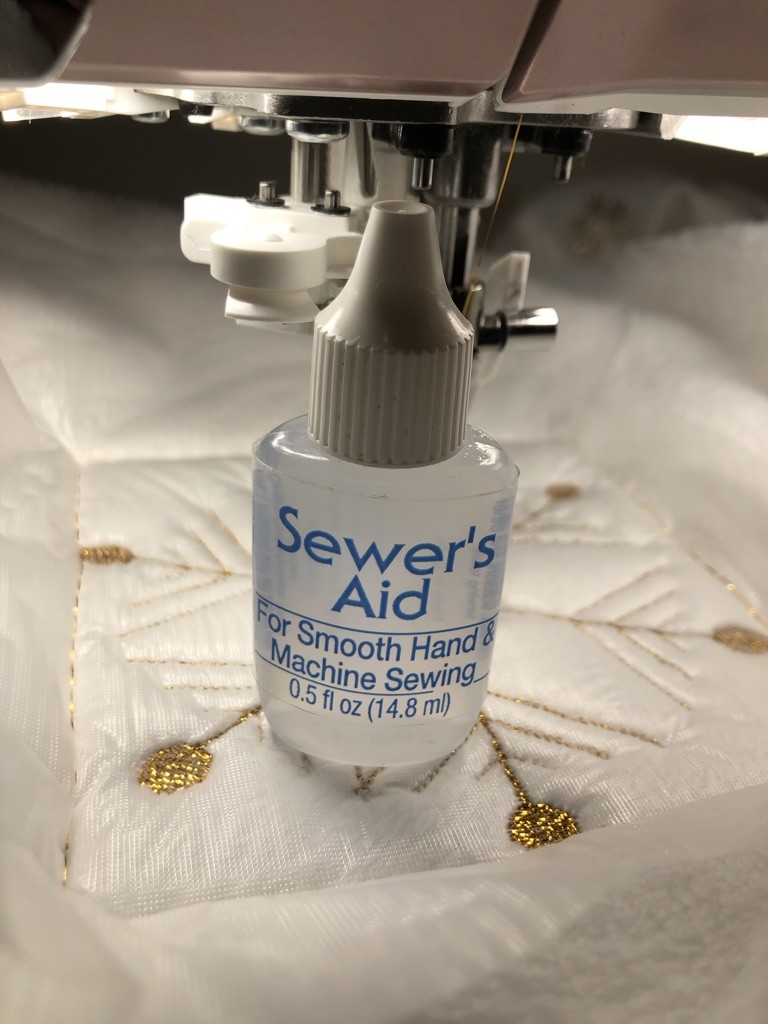
Install a metal or embroidery needle onto the machine. If the chosen fabric is really lofty and plush, an embroidery needle will work better than a metal needle. Apply a drop or two of Sewer’s Aid onto the needle eye.
Install The Thread Director onto the machine.
Make sure the Holoshimmer thread winds flat off of the spool and through the thread housing.
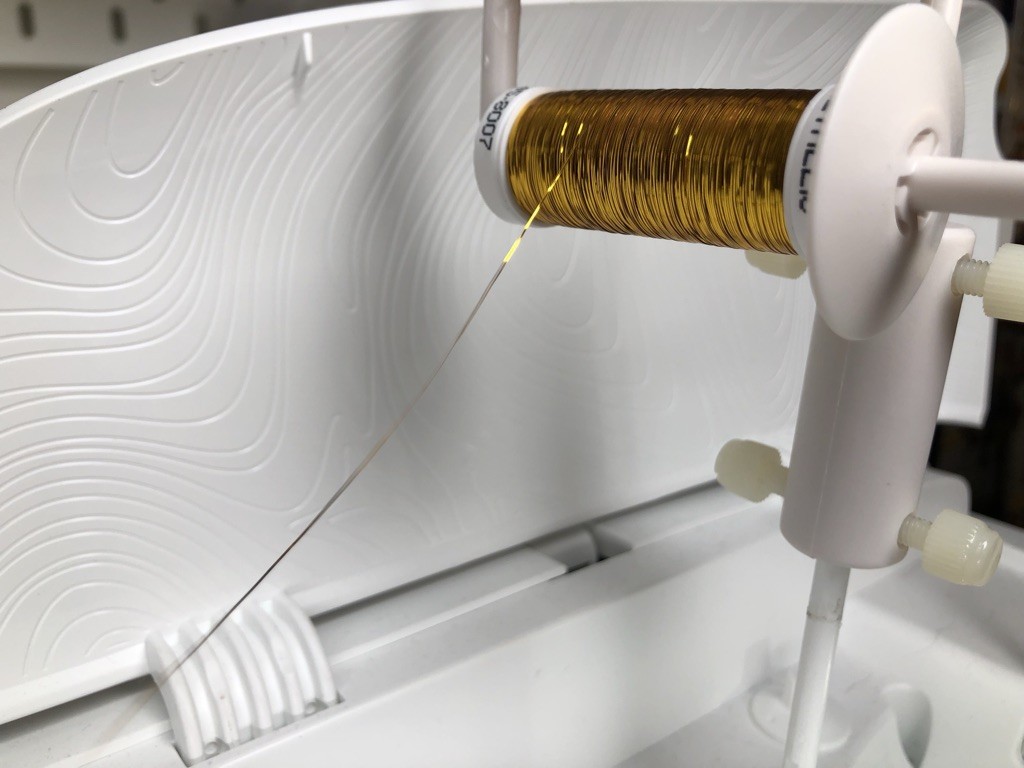
Thread the Thread Director with the Holoshimmer thread. Insert a bobbin wound halfway with Holoshimmer thread.
Hoop a rectangle of Sulky Sticky + with the paper side facing up. Score the paper within the inner hoop ring; peel away the paper backing to reveal the adhesive.

Center the center-most snowflake embroidery design within the hoop on the sticky stabilizer surface. Lightly press the fabric to the stabilizer using your hand.
Place the hoop onto the machine. Float a rectangle of Sulky Solvy over the throw right side.
Use the perimeter baste function on the machine to further secure the fabric and stabilizers in the hoop.
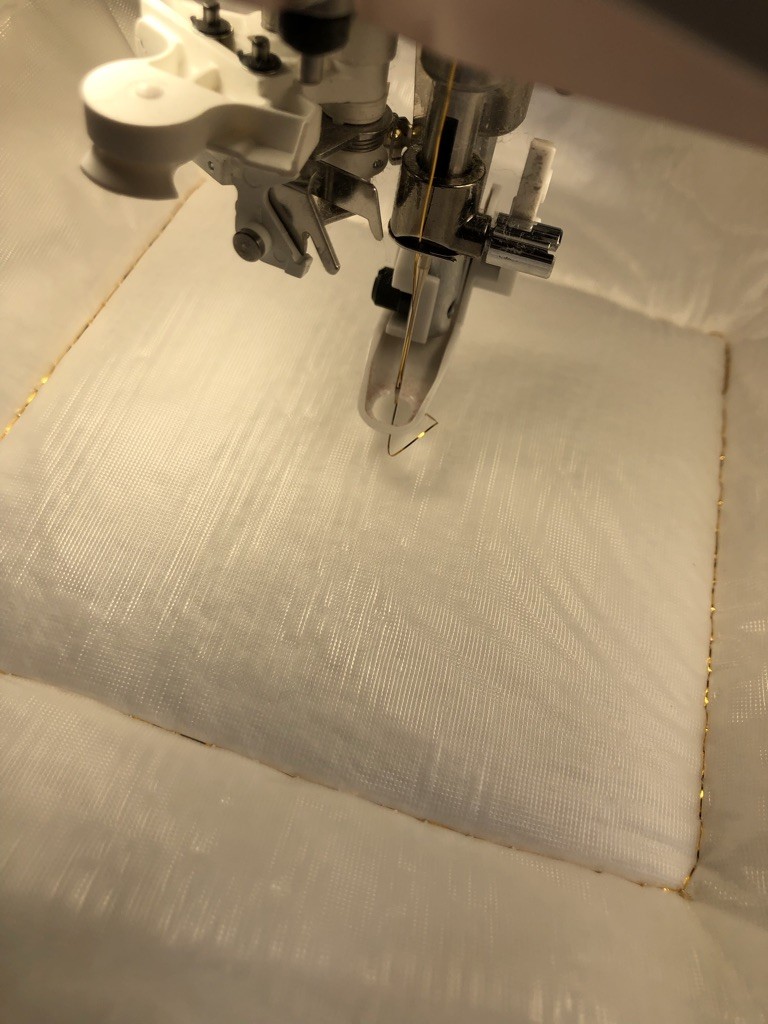
Embroider the first snowflake design.
When embroidery is complete, remove the basting stitches. Remove as much Solvy as possible, and then remove the throw from the hoop. Tear away the remaining stabilizer from the throw wrong side.
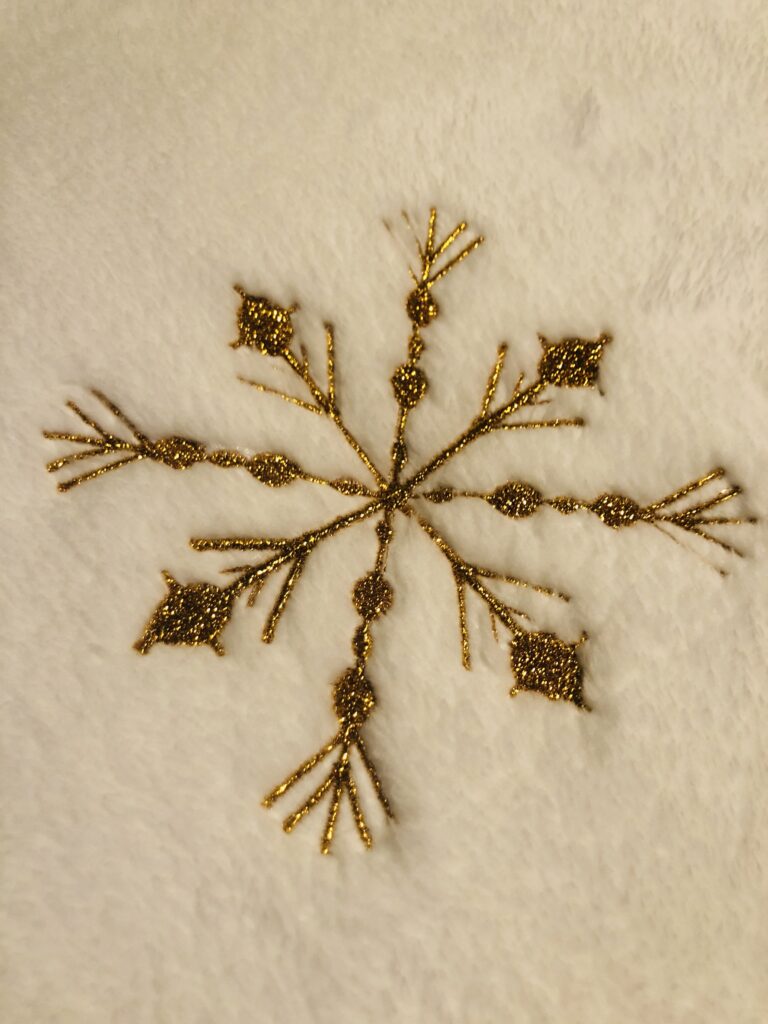
Repeat to embroider each snowflake, working from the center outward. If necessary, re-apply KK 2000 to ensure the throw layers remain together without stretching out of shape.
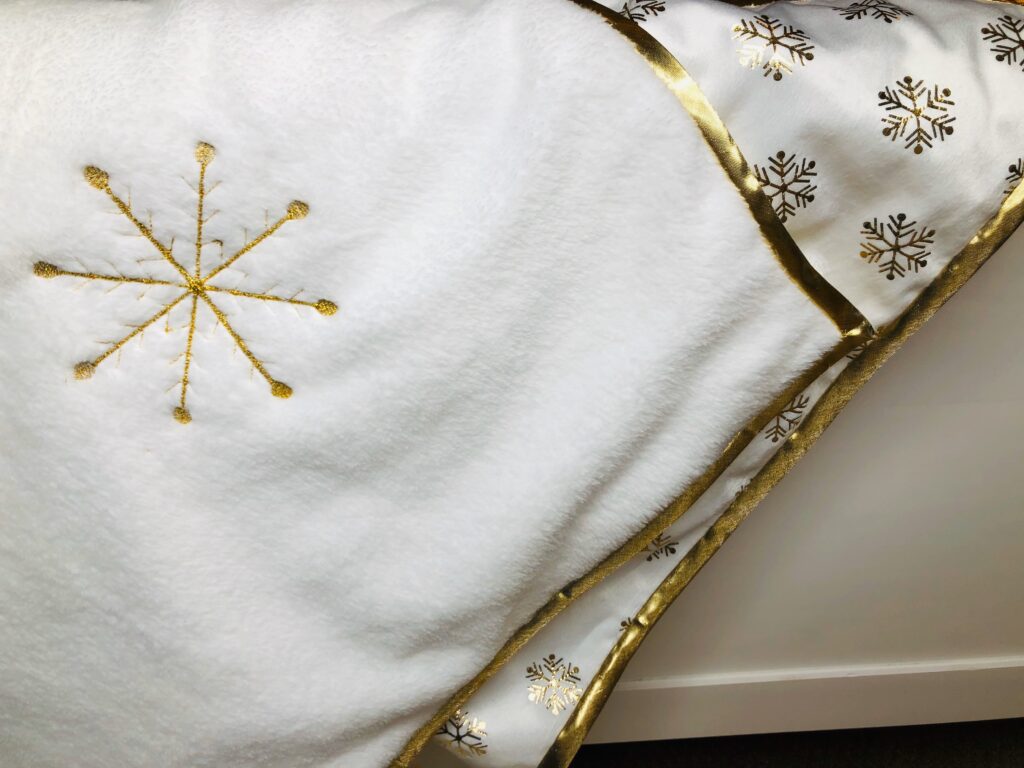
FINISHING
Square up the throw if needed to ensure the edges are aligned.
Bind the throw using the metallic binding, with the method of your choice.
Credits
- Sewing/Embroidery Machine: Husqvarna Viking Designer Epic 2
- Software: Creative Drawings X
- Scissors: Havel’s Sewing

A wonderful project and useful hints for working with these fabrics and metallic threads, thank you. I was wondering what thread was used in the bobbin because the reverse side looks so similar to the right side? THank you for any enlightenment you can provide…
Same thread in the bobbin: holoshimmer!
Pingback: How to Sew a Metallic Plush Snowflake Throw – Needle Work