Tank Top Pattern with Embroidery Options
Tank Top Pattern
with hand embroidery embellishments
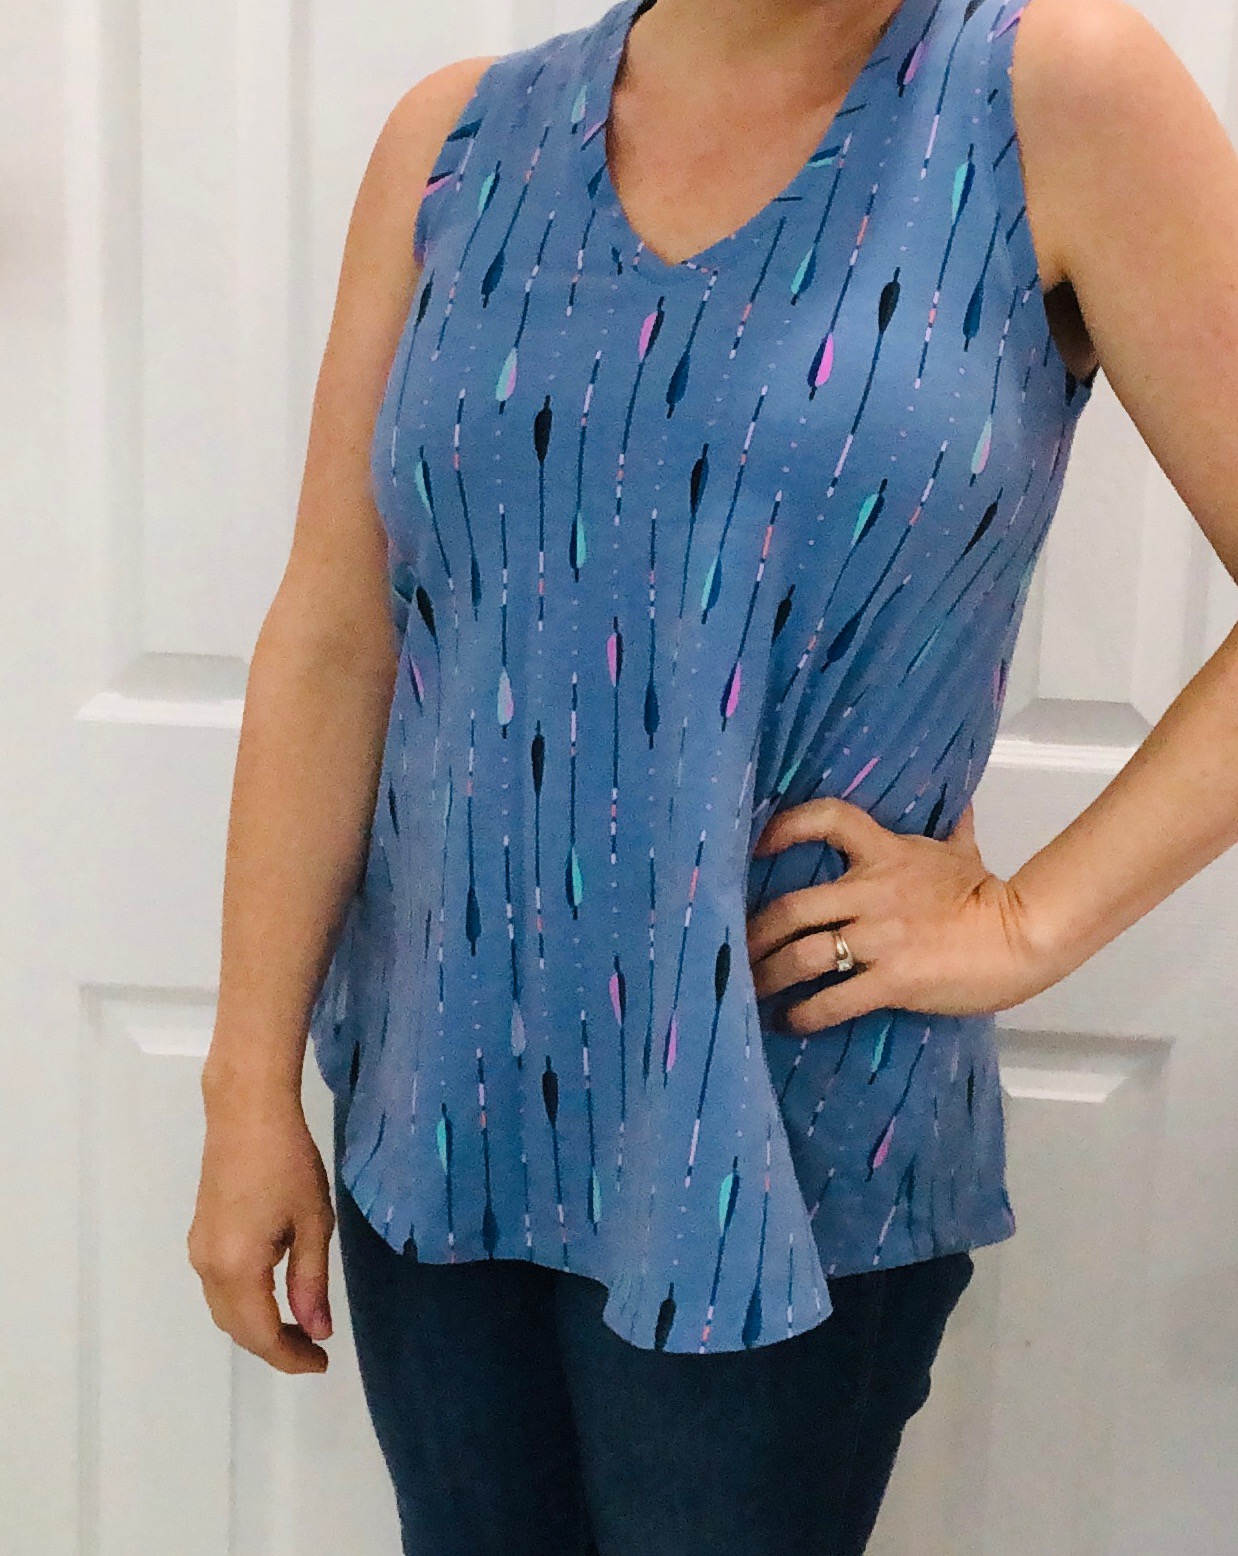
A great Tank Top Pattern will become your go-to garment for spring and summer makes. The Pony Tank by Chalk and Notch is great for lots of figures and lends itself to lots of embellishment options, too. Try your “hand” at hand embroidery and add small touches to make this wardrobe staple something special.
Tank Top Pattern Details
The Pony Tank is a swing shaped knit tank top or dress with a curved hem. There are three views: a cropped tank, a tank top, and a tank dress.
Pattern Format: PDF
Size Range: 0 – 30, with 2 bust cup options
Fabric: KNIT
Sewing Level: ADVANCED BEGINNER
Print at Home Paper Size: US Letter & A4 – 46 pages
Copy Shop Files Included: A0 3 sheets & US Copy Shop 36″ x 95″
Layers Function Included: YES

Tank Top Fabric & Needle Options
The pattern calls for a knit, and works with a flowy knit or more stable double knit, depending on the coverage and style you’re looking to achieve. So Sew English carries a number of great options, from ITY (which stands for Interlock Twist yarn) to French Terry to Ponte and sweater knits. If you’re getting ready for warmer weather wear, go with ITY, Slinky Knit or Rayon/Spandex blend. If you are still looking for cold weather gear to layer up, go with Ponte or Double Knit. Know that the drape of your final garment will change based on the fabric weight you choose.
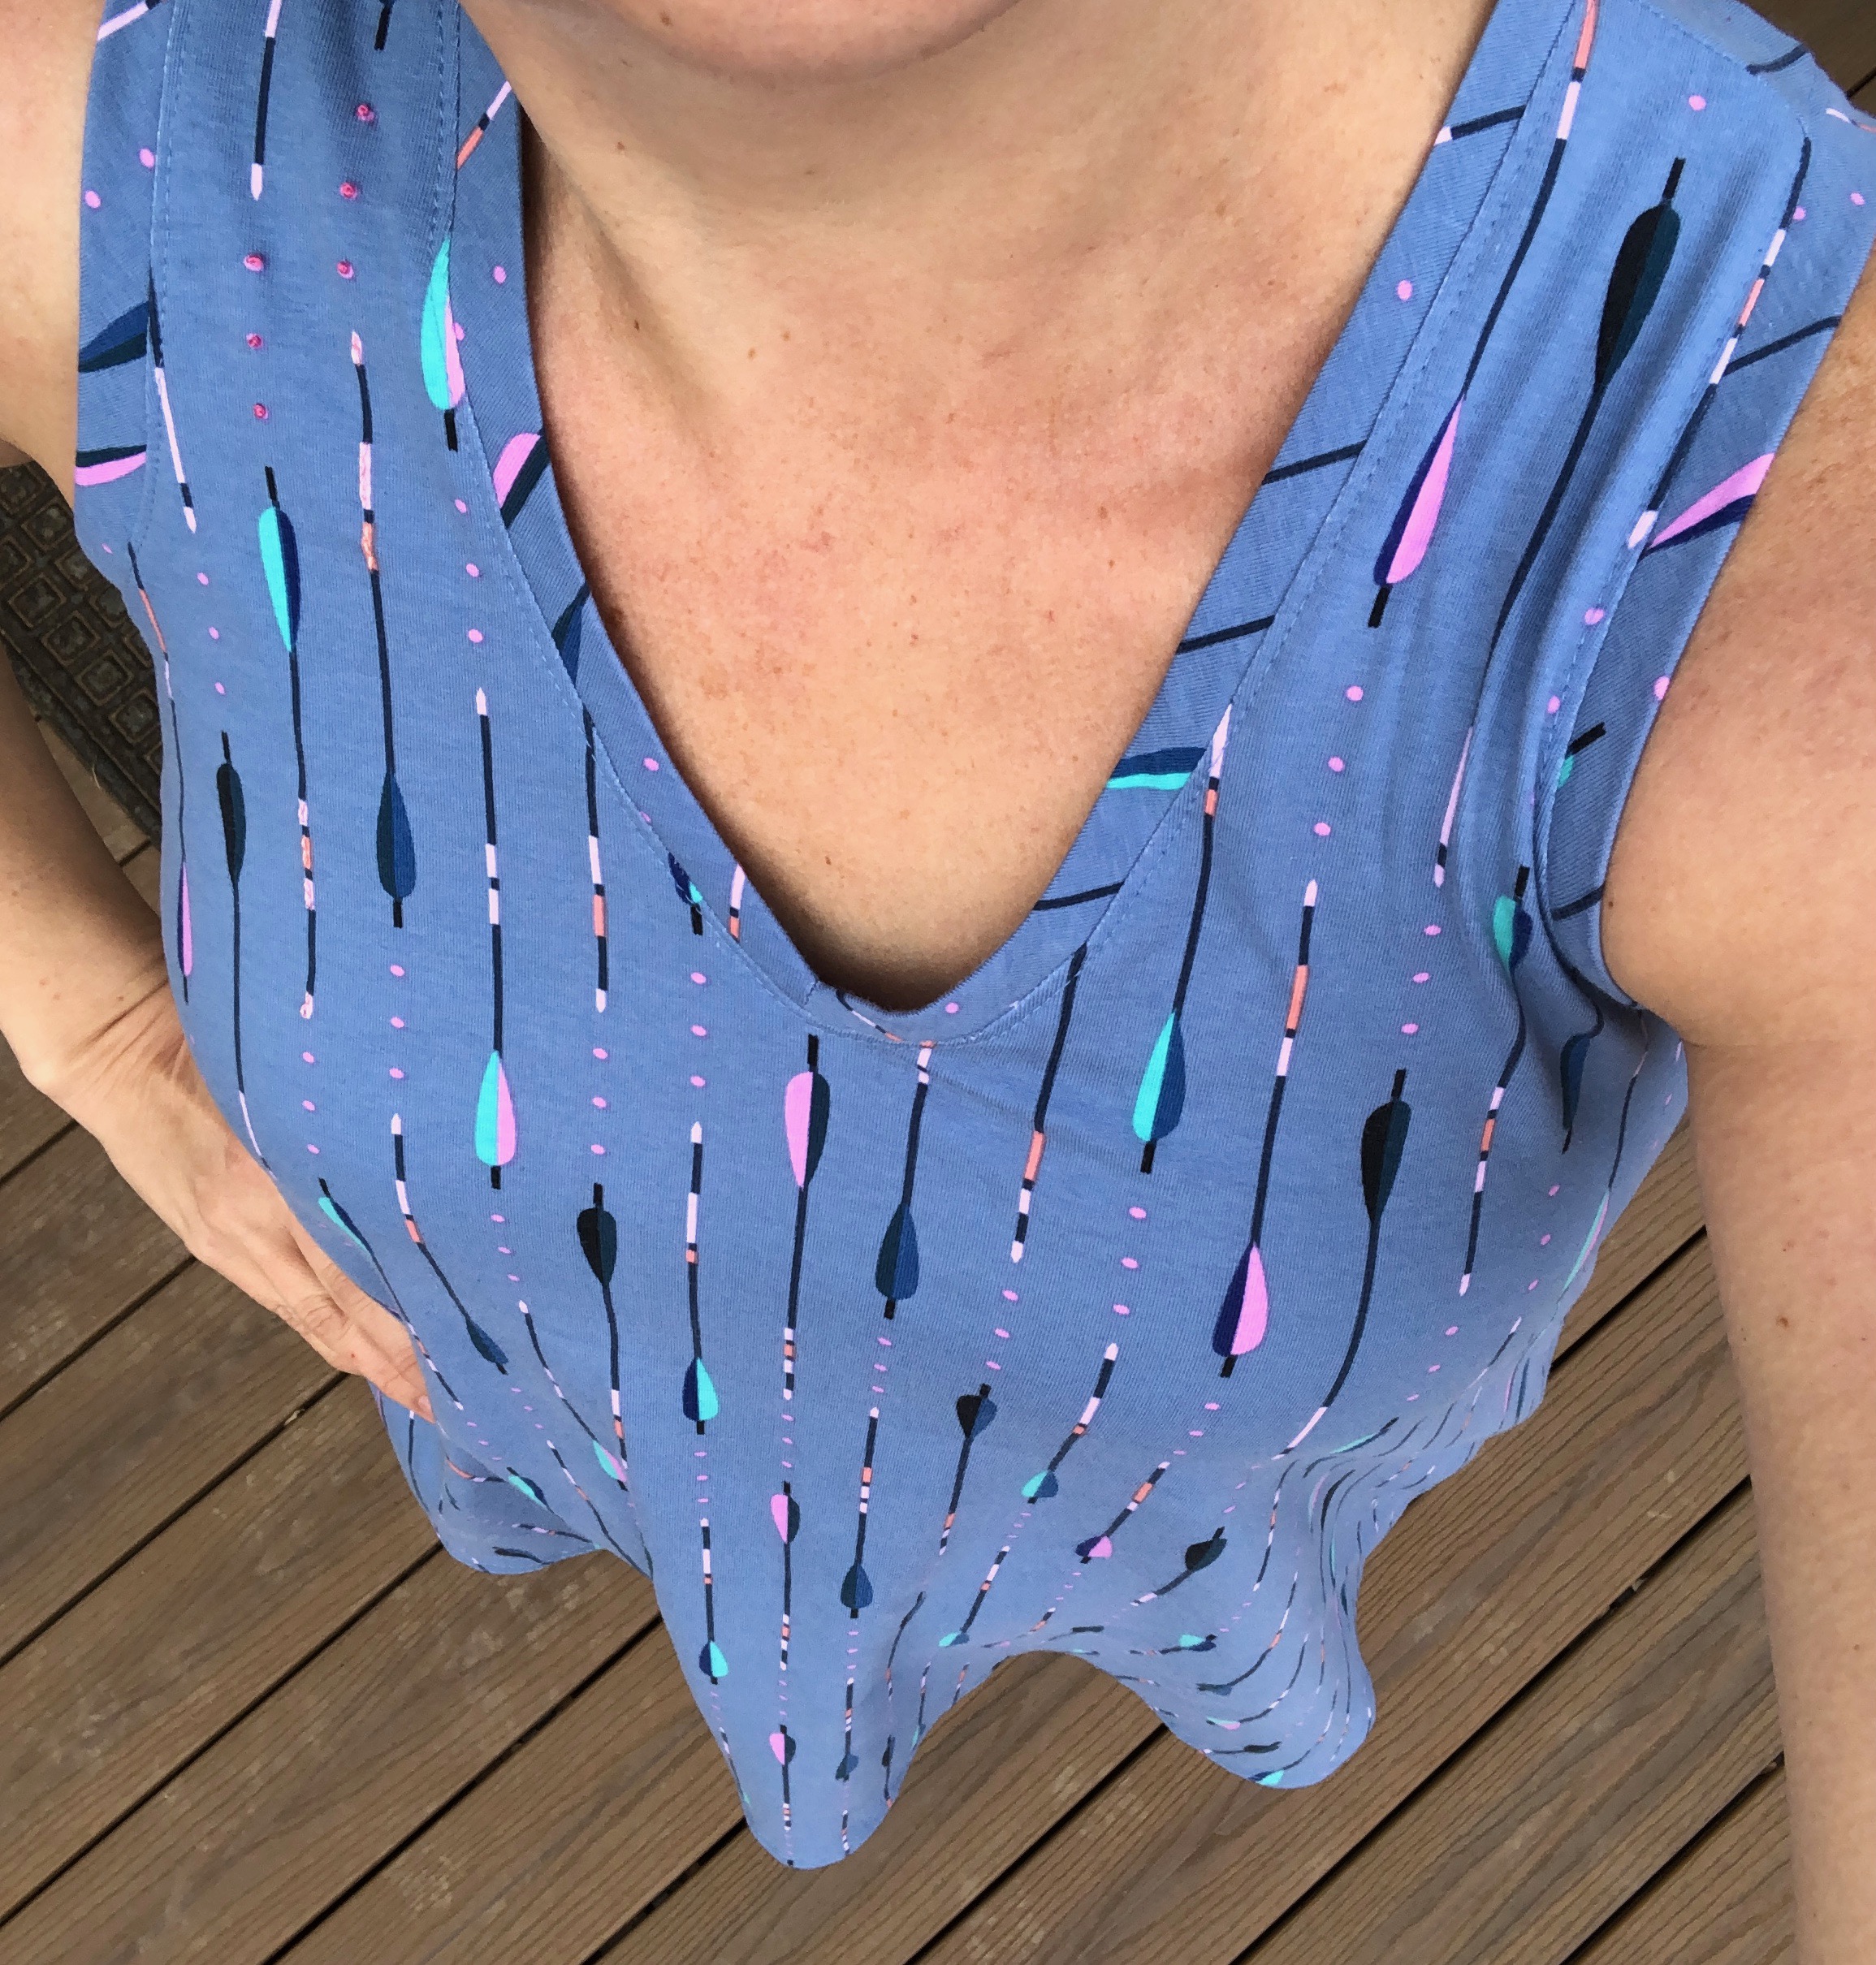
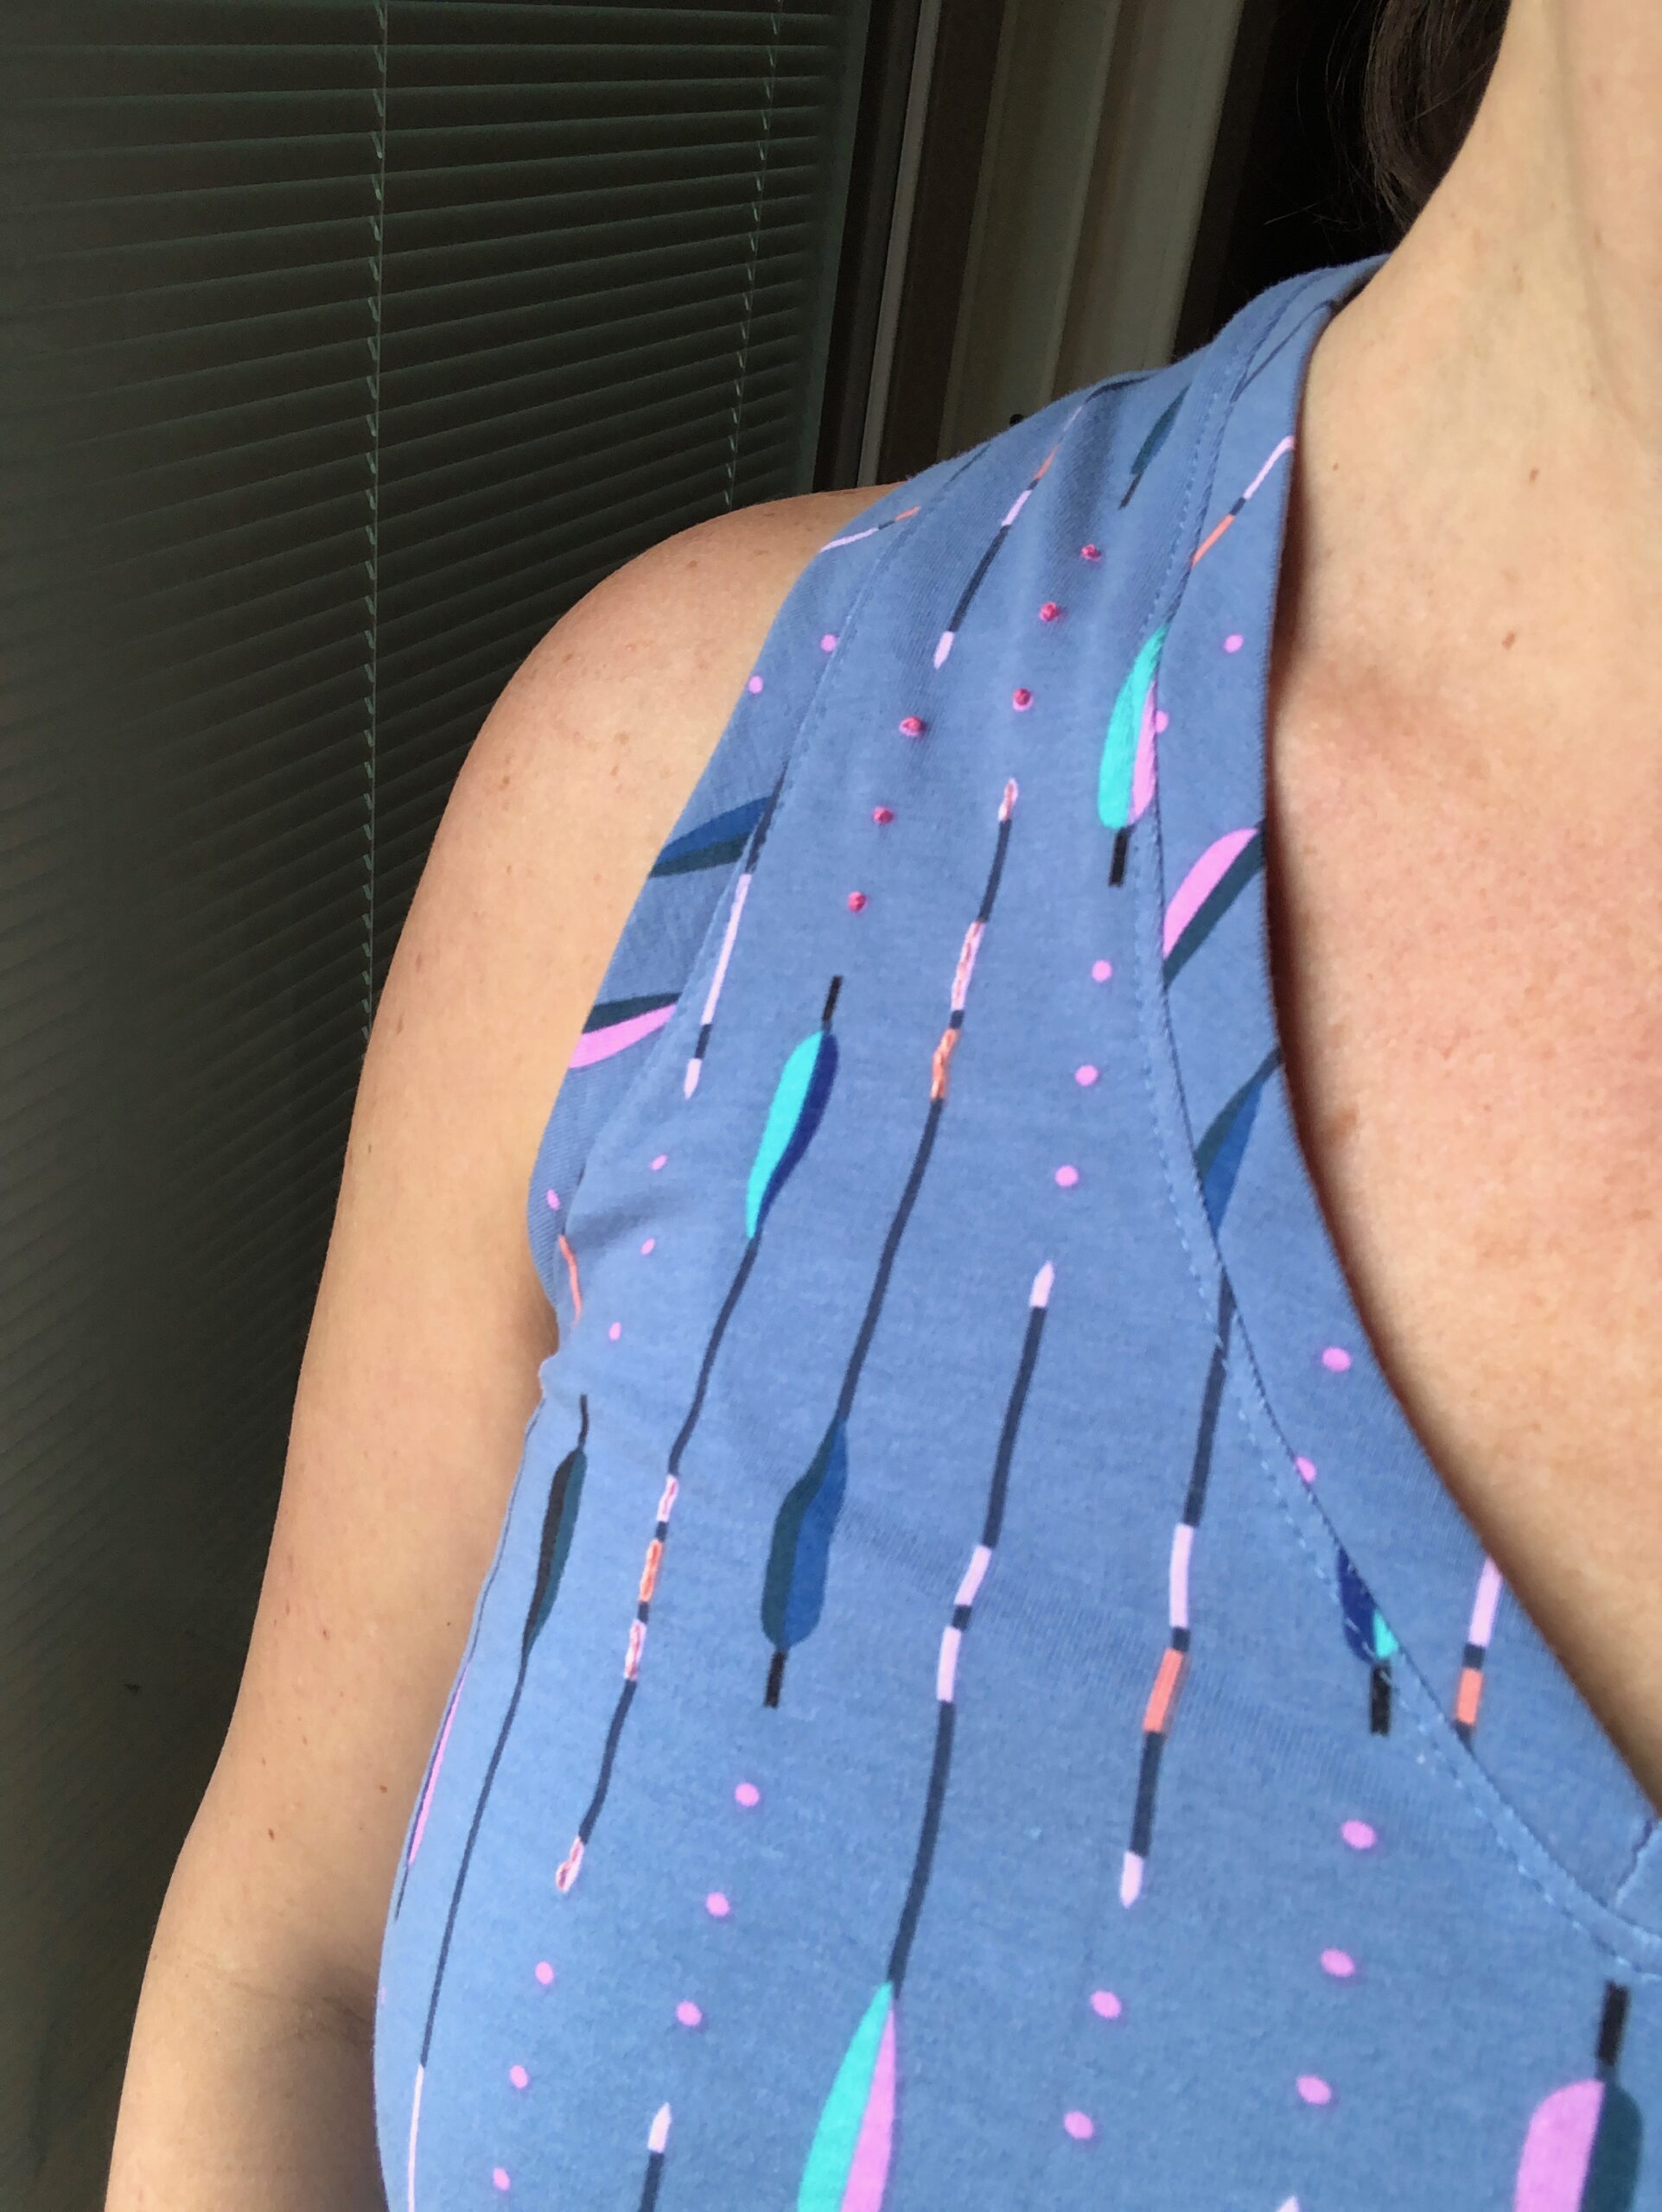
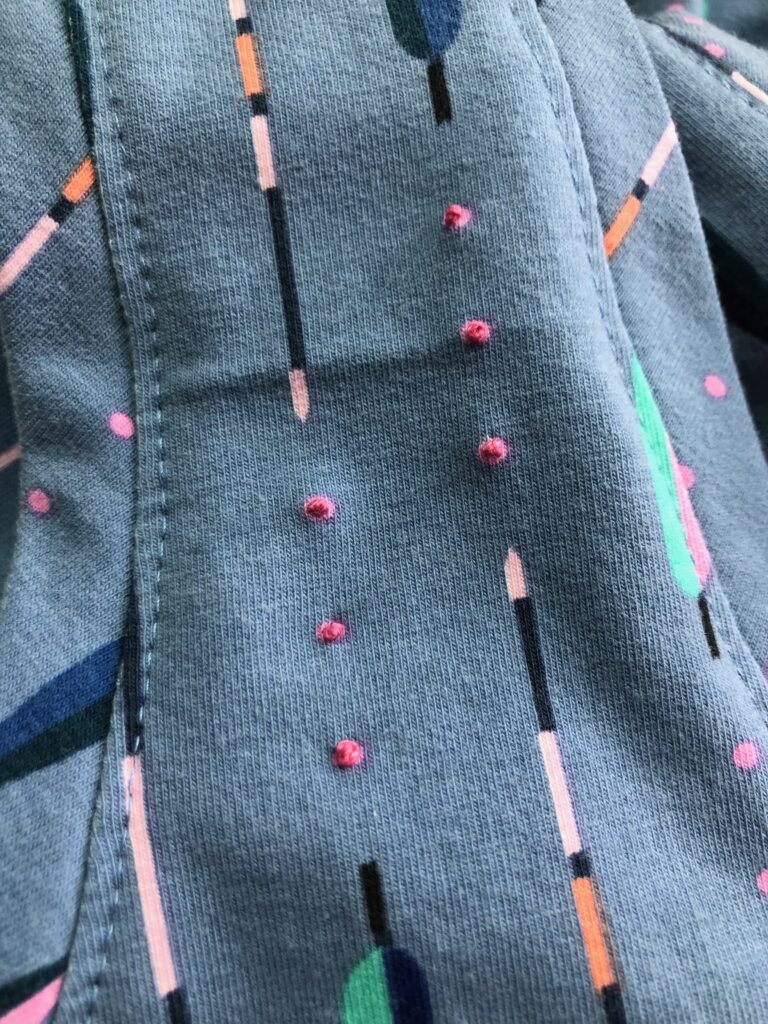
The featured fabric is an out-of-print Cotton+Steel 4-way stretch jersey knit: Arrows Periwinkle – Dress Shop by Melody Miller. It has a nice, soft hand and a good bit of drape without being too stretchy for the featured Tank Top pattern.
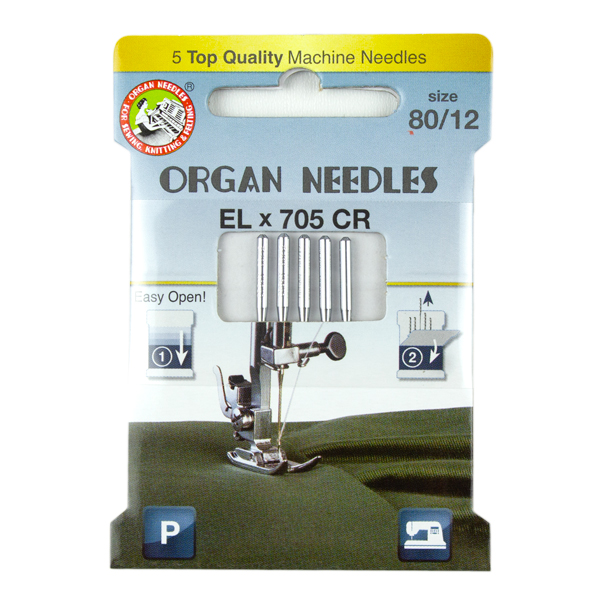
As with any knit fabric, choose a Jersey Needle. If working with very stretchy fabric, such as ITY or Slinky, go with a Super Stretch Needle.
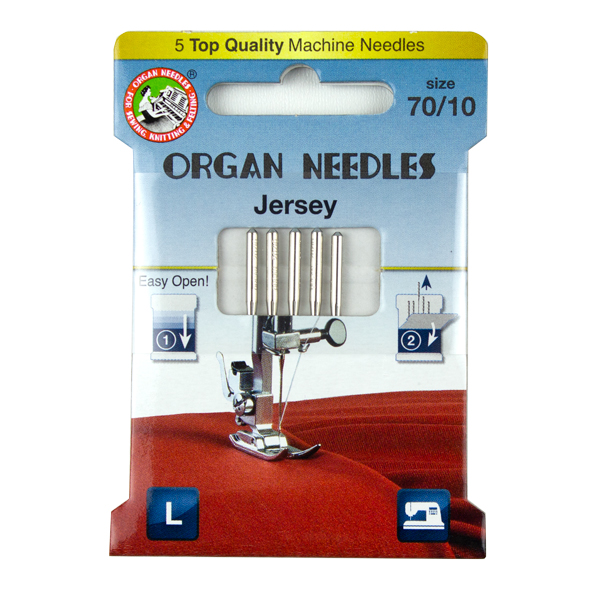
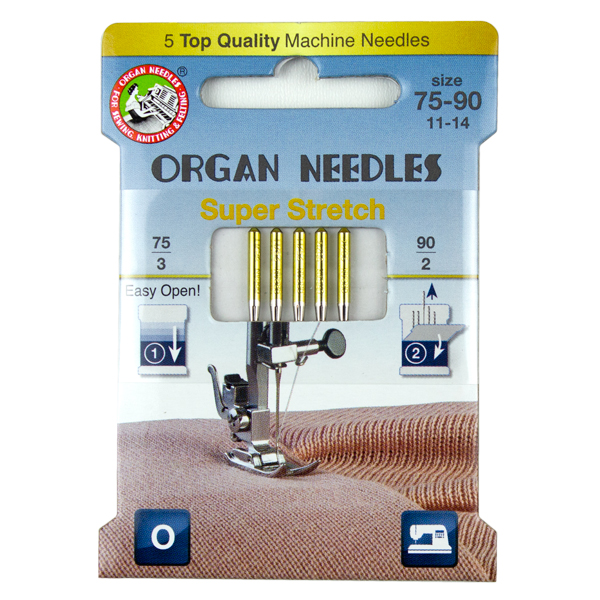
Whether working on a serger or standard sewing machine, ensure you’re using a ballpoint needle, such as the aforementioned varieties. However, if using a serger choose needle that have EL and/or SUK in the naming prefix.
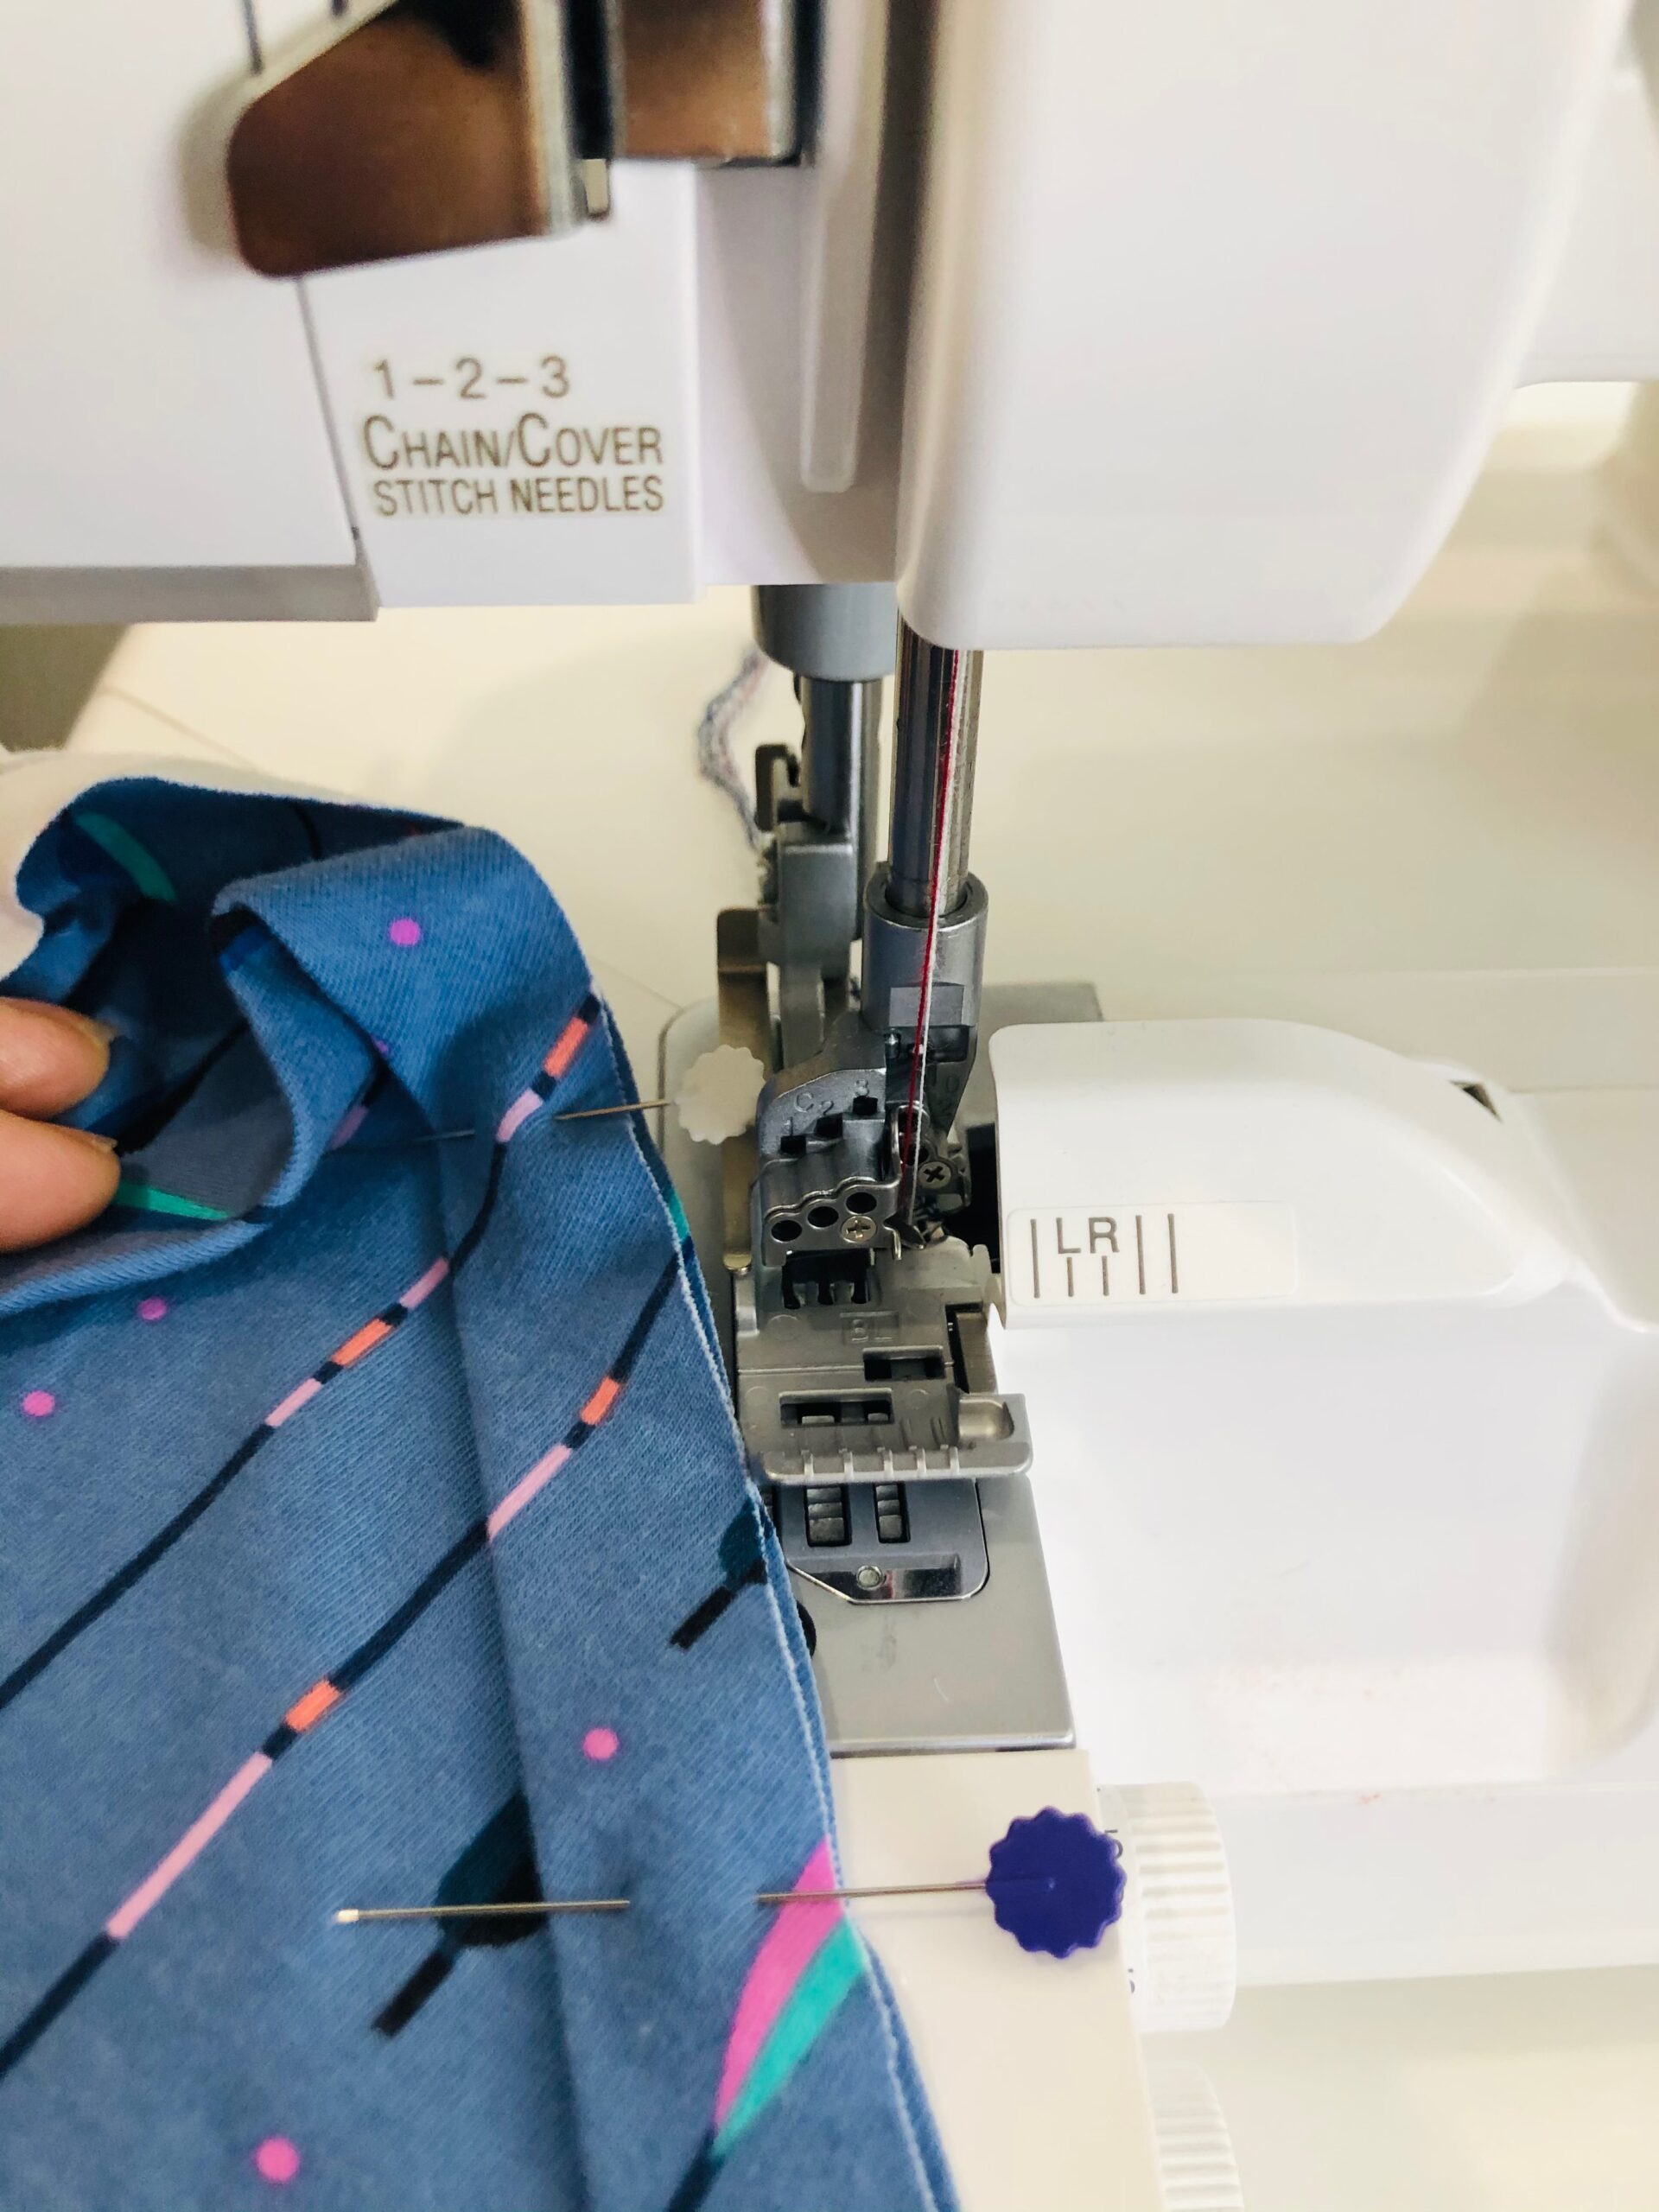
Serger vs. Sewing Machine
A serger makes quick work of seaming and finishing in one step. Choose a 3- or 4-thread overlock for construction.
The featured Pony Tank is also easily constructed on a standard sewing machine. Just make sure that the bulk of the fabric doesn’t stretch or hang off the machine bed during construction. Also remember to NOT stretch as you sew unless the pattern calls for that technique, such as when sewing a neck binding.

Choose a stretch stitch on a standard sewing machine to ensure the seams stretch with the fabric without popping.

For hemming, use a coverstitch machine or coverstitch option on a serger (if applicable). Or double-fold the hem and stitch with a Twin Needle on a standard sewing machine. If using a Twin Needle, make sure the presser foot and throat plate hole on the machine has a large enough opening to accommodate the Twin Needle and its movement during sewing.
Thread Dos & Don’ts
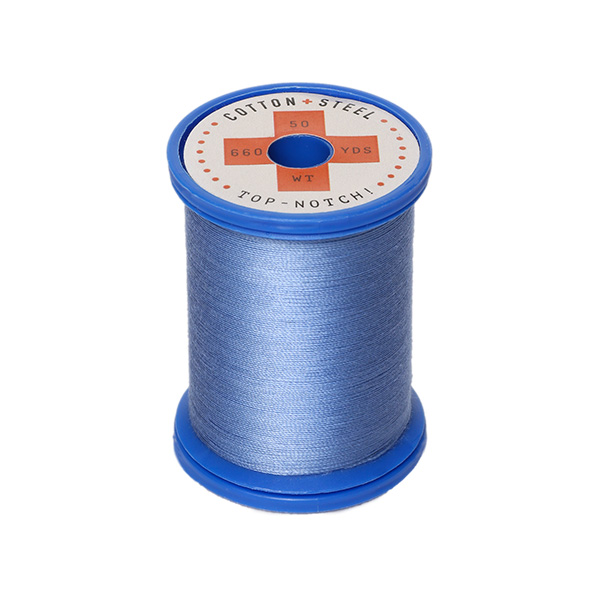
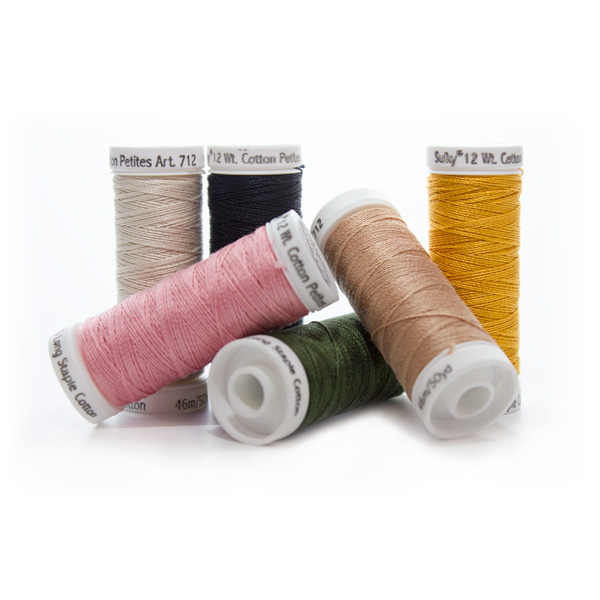
For construction, choose Sulky 50 wt. Cotton Thread, which is lightweight yet strong. This thread is a great choice for knits, as it allows for nice flat seams that don’t bulge or ripple. Yes, you can also use this thread in the serger!
For hand embroidery embellishments, choose Sulky 12 wt. Cotton Petites™ Thread. One strand of this thread acts as two strands of embroidery floss, making it easier to manage. Because it is on a spool, you’ll experience less tangles and knots when embroidering by hand, too!
Choose areas of the garment for hand embroidery that will support the stitches well without stretching out of shape. For example, place French knots and starbursts along the neckline binding, spaced evenly apart. Or stitch over fabric print motifs, using long running stitches that allow the fabric to move with your body as the garment is worn.
Subtle embellishments are best, without a lot of fill stitch work. However, with proper stabilization the tank top will support more threadwork, should you prefer that look. Apply Sulky Soft ‘n Sheer Extra to the fabric wrong side before stitching and Sulky Stick ‘n Stitch to the fabric right side. Transfer the desired embroidery design to the Stick ‘n Stitch by running it through a printer (yes, you can use a laser or ink printer) on the Draft setting. Or use a permanent marker and draw directly onto the fabric-like side of the stabilizer. This acts as a transfer method as well as a stabilizer, eliminating the need for an embroidery hoop. But if you’re more comfortable using a hoop, go with a good quality Sulky German Wooden Hand Embroidery Hoop to ensure the hoop rings don’t splinter or pop out of place.
When the hand embroidery is complete, fuse a small piece of Sulky Tender Touch™ to the embroidery wrong side to keep the thread ends tamed and preserve the handwork. This stabilizer also protects the wearer from any scratchy bits of thread along the embroidery back. Keep in mind that whatever area you’ve applied permanent stabilizer will no longer stretch as intended. So you may prefer to eliminate that step. Make sure you are still able to stretch the garment over your head and that it will recover once worn.
Hand Embroidery Stitches
If you’re right handed, work your hand embroidery to the right. If you’re left handed, work toward the left. Use one or two strands of Sulky 12 wt. Cotton petites thread, depending on the stitch and desired finished thickness. For fill areas, use two strands for quicker coverage. For running stitches or backstitches used along outlines, use one or two strands or even three if desired.
To eliminate excessive knots on the back of the work, leave long thread tails at the beginning of each stitch and/or thread color, and then weave the tails through the back of the work once that color and/or stitch is complete. There are exceptions to this rule; for example, the French knot requires tension on the thread for a proper knot to form so knotting the thread ends is advisable.
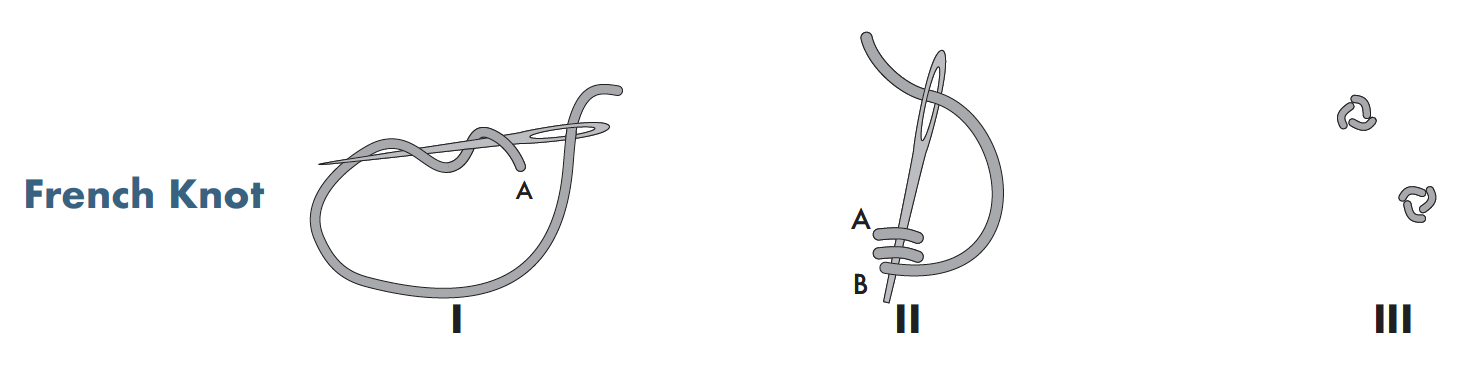
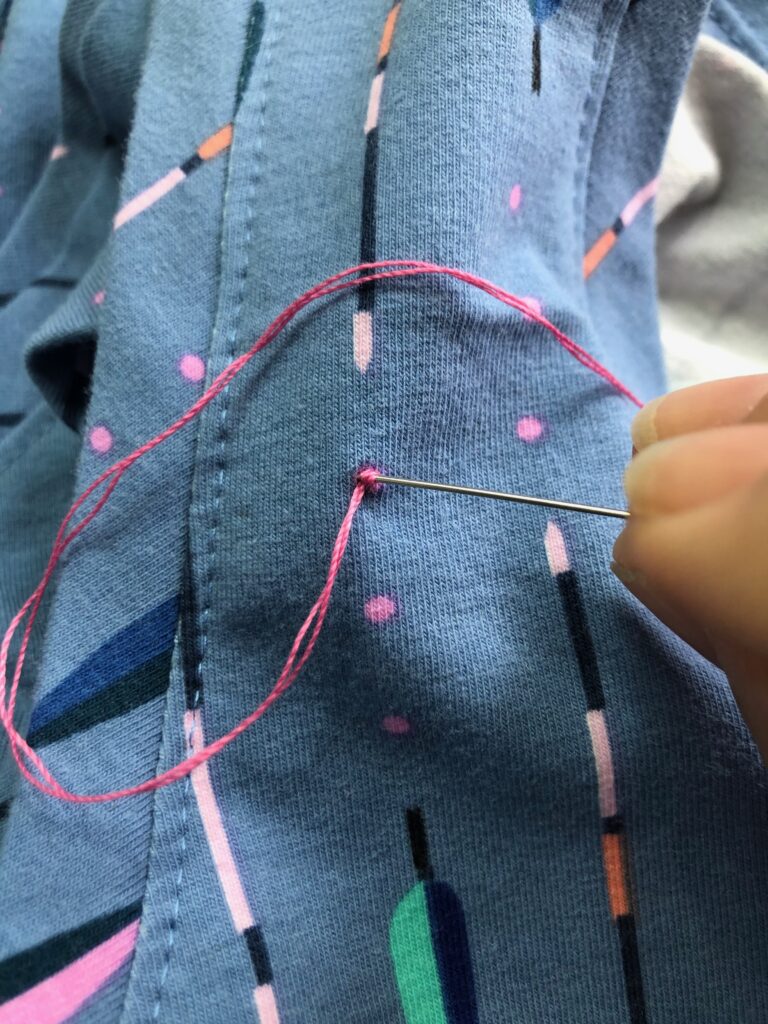
To create a French knot, knot the thread end and then bring the thread up from the wrong side. Wrap the thread around the needle twice, and then put the needle back into the work from the right side, slightly to the left or right of the previous needle penetration. Hold the thread taut as you pull the needle through the work, only letting go of the thread as the French knot is formed. Use two strands of 12 wt. Petites for a pronounced French knot, or one strand for a small one.
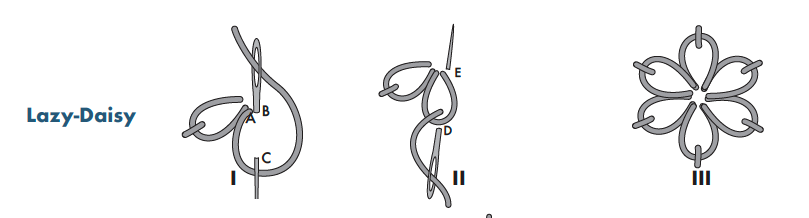
A Lazy Daisy is a fun hand embroidery stitch sequence. Create small or large daisies, depending on the desired finished piece. Begin the stitch by coming up from the fabric wrong side at A, the desired daisy center. Create a loop with the thread, and then come back down slightly to the right (or left if you’re left handed) of the previous needle penetration at B. Before pulling the thread loop through, bring the needle back up from the wrong side at C, the daisy petal outer center. Bring the needle back down on the opposite side of the petal at D, essentially couching it in place. Continue to make petals by bringing the needle back up at the petal center, to the right (or left) of the previous petal at E.
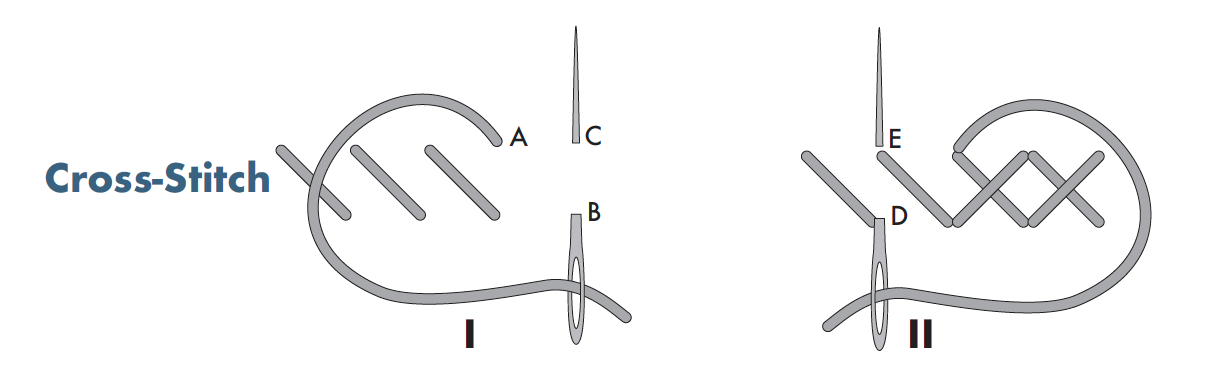
To create a hand embroidered Cross-Stitch pattern, bring the needle up at A, back through the work at B, and then up through the fabric from the wrong side at C. Continue making cross-stitches along the work as desired.
MORE STITCHES FOR TANK TOP
To create basic stitches, such as backstitches, seed stitches and stem stitches, and more intermediate stitches, such as blanket stitches and chevron stitches, consult our Hand Embroidery Stitch Guide. It’s a handy reference you can laminate and hang in your sewing room for future stitching sessions.
Have fun adding a bit of hand embroidery to a tank top, whether readymade or handmade! It’s sure to become your go-to garment as the weather warms.

Ellen March
I am the Director of Content for Sulky of America. The former Editor in Chief of Sew News and Creative Machine Embroidery magazines, I hosted Sew it All TV on PBS for nine seasons. I've appeared on It's Sew Easy on PBS, DIY Network's Uncommon Threads, Hallmark's Marie Osmond Show, MacPhee Workshop and more! Come sew with me!


3 Comments
Saundra Lee
Is the tank top pattern available?
Dottie Mae Clark
Is there a pattern to go with the tank top? If there is I can’t find it. Thanks
Dorothy Clark
I found the tank top pattern. It’s $14.00 . It is under the first picture of the tank top. The pony tank by Chalk and Notch.