Do you ever wonder how a beautifully embroidered garment can be stitched so “perfectly”? Designs are perfectly centered on panels! Right and left sides are mirror images of each other! How is this possible?
The trick is to embellish the fabric first!
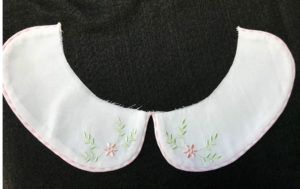
Let’s use a simple collar in understanding the steps:
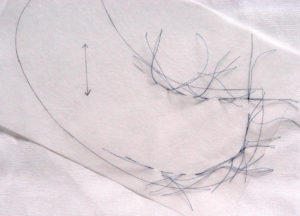
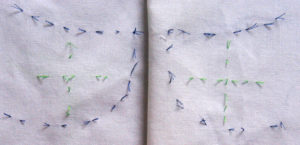
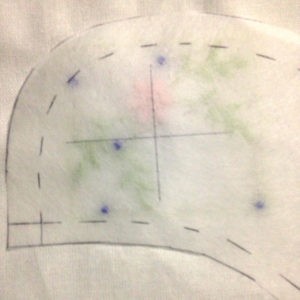
- “Trace” the pattern piece, on grain, on a piece of fabric larger than the require finished cutting line. My favorite method is tailor tacks through both layers of fabric at the same time. That way I am sure to have both the right and left side of the required pattern. I baste along seam allowances for a visual of the true available embroidery space.
- Before cutting the tailor tacks to separate the pieces, the design center placement is also basted in.
I often use different color threads making it clear which is design placement.
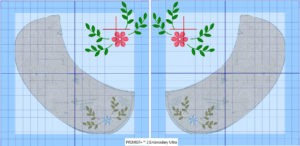
- Hoop the fabric as accurately as possible. Match machine needle and design centers and embroider the design. Remember to flip the design for a mirror image if necessary.
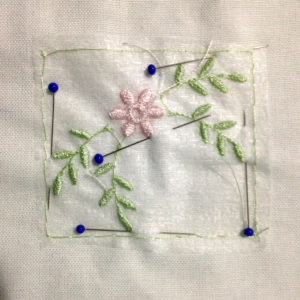
- Place the two embellished fabric pieces right sides together, with one design on top of the other. Target a specific spot on the top design, and stick a pin through the fabric layers, locating the same spot on the bottom design. Pin to secure.
Work around the design in this same manner until the two embellished fabric layers are wrinkle-free, and anchored together with the embroidery matched in mirror image.
- Place the cutting pattern on top of the embellished fabric, locating the design in its intended space. Cut the pattern piece for stitching.
When the fabric is embellished first, and the design is matched to its twin prior to cutting the pattern, the embroidery will be symmetrically located on both sides of the garment. Even if the design ends up being in a slightly different spot than originally intended, it will be in the same “slightly different spot” on each fabric piece.
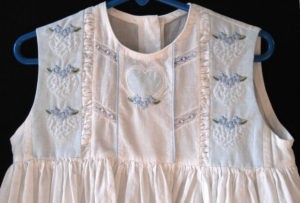
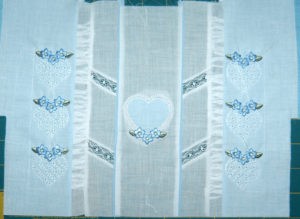
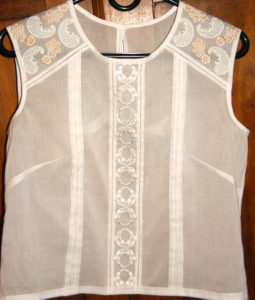
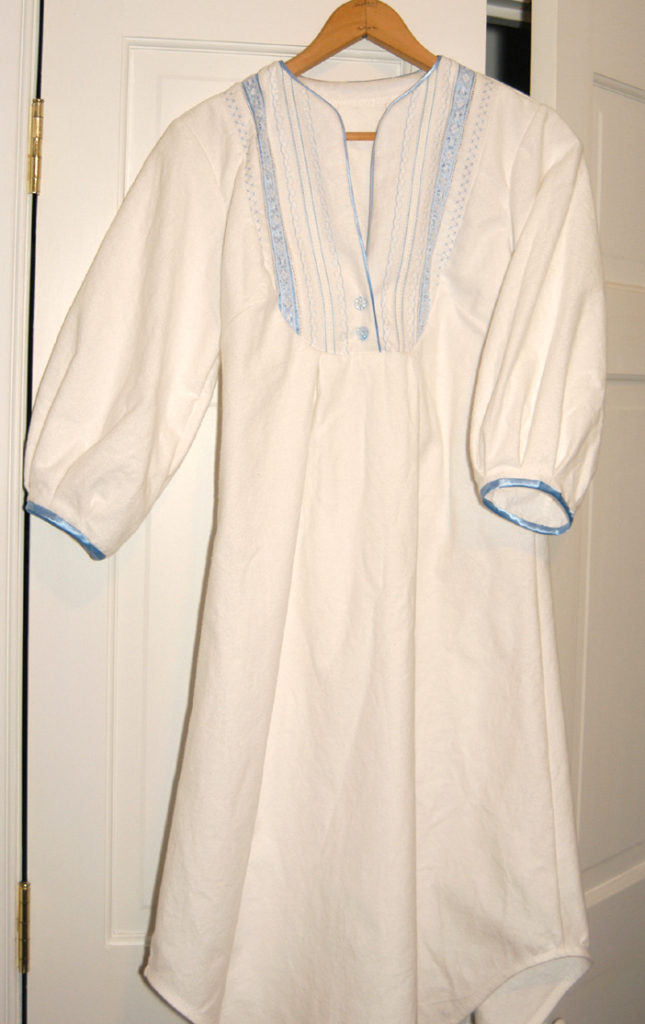
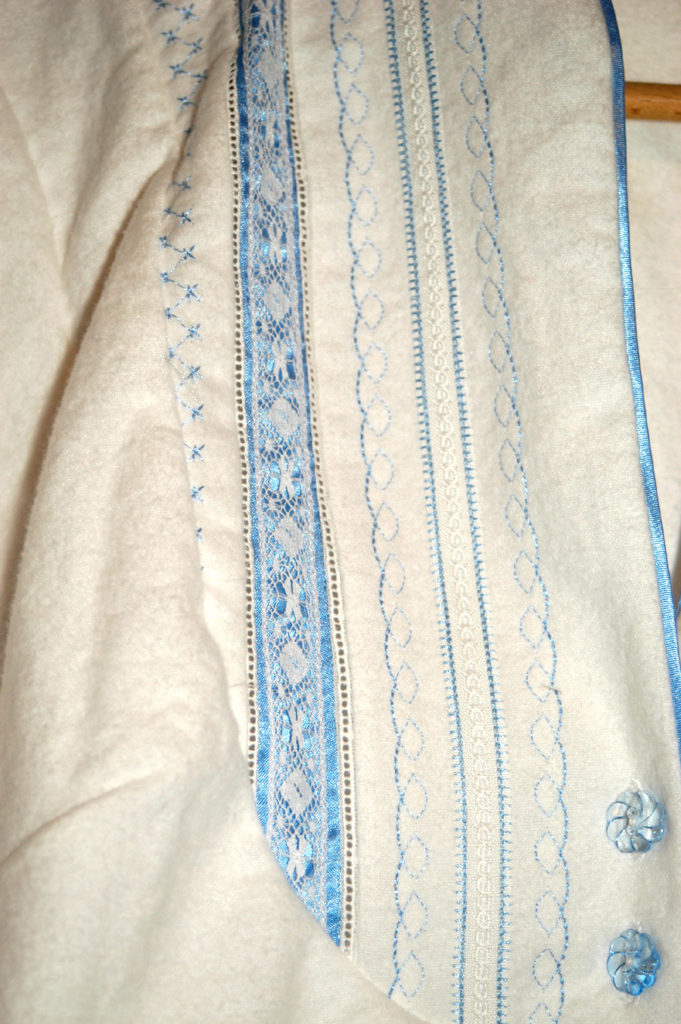
The blouse shown above looks complicated. However, when the steps are broken down and followed, it becomes manageable:
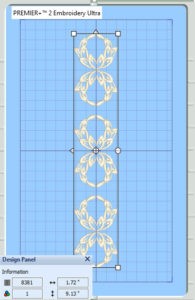
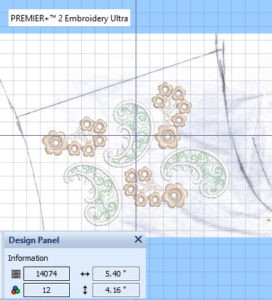
Plan the center strip…
and the yoke in an editing program.
Begin with fabric pieces that are larger than the final pattern cutting sizes. Mark the design placement, keep fabric on grain, and embroider the designs.
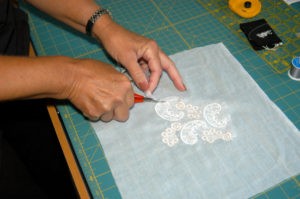
Remove the excess stabilizer (Sulky® Soft ’n Sheer™ Stabilizer), match designs, and cut the yoke.
Re-cut the center strip, using the vertical design as your straight edge. Remember to include seam allowances.
This method allows for a margin of error without that “error” ever really being one!
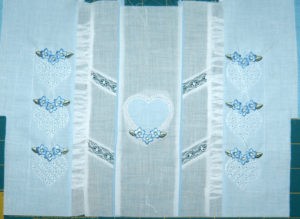
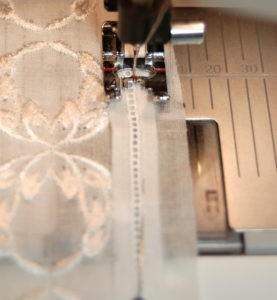
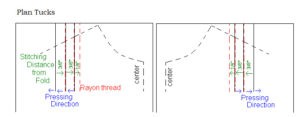
The tucks are planned in the same manner. Begin with a larger piece of fabric than needed. In the picture below, the yoke seam, neckline, and front seam are indicated; as well as the stitching and fold lines for tucks. Once each side is stitched, they are placed right sides together, matching the tuck fold and stitching lines; and the final pattern piece is cut.
It’s not hard to stitch in mirror image and it is not limited to machine embroidery!
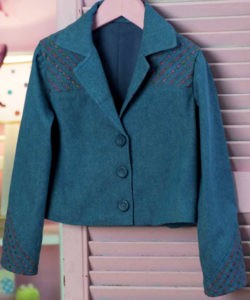
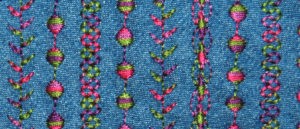
Fabric can be embellished with decorative stitches, found on your embroidery machine, to create unique accent pieces.
Decorative stitching was done in a diagonal pattern using Sulky Cotton 12 wt. Blendables® Thread #713-4123 on denim fabric. Sulky Tear-Easy™ Stabilizer provided a more stable foundation underneath the denim, ensuring uniform stitching results.
Pattern pieces were cut individually on the embellished fabric pieces, matching the decorative rows.
Have fun with this easy method of embellishing fabric before constructing a project and enjoy the many dramatic results that can be created!
Embroidery Designs:
Dress: Graceful Embroidery “Graced in Petals”
Collar: Graceful Embroidery “Le Bebe Royal”
Sheer top: Graceful Embroidery “Bridal Lace”
Available at www.gracefulembroidery.com
Sulky products available at www.sulky.com
This series is written by guest blogger, Pamela Cox. Pamela is an expert embroiderer, designer, digitizer and all around wonderful girl! We are so happy to have her contributing to the Sulky Blog!
https://micgadget.com/wp-content/languages/new/finasteride.html




Thanks for reminding me of sewing heirloom garments!!!! You work is beautiful. I am more into quilting now, but you have given me a nudge to remember why I enjoyed sewing for many years in the past!!!
Thanks for a lovely tutorial.
Inspiration! Thanks so much.