 Understand each type of stabilizer and how and when to use each one. This blog series includes helpful tips, hints and expert advice to ensure you choose the right stabilizer for your projects. Bookmark this post to refer to it later, as it’s a great resource for all things machine embroidery (and more!)
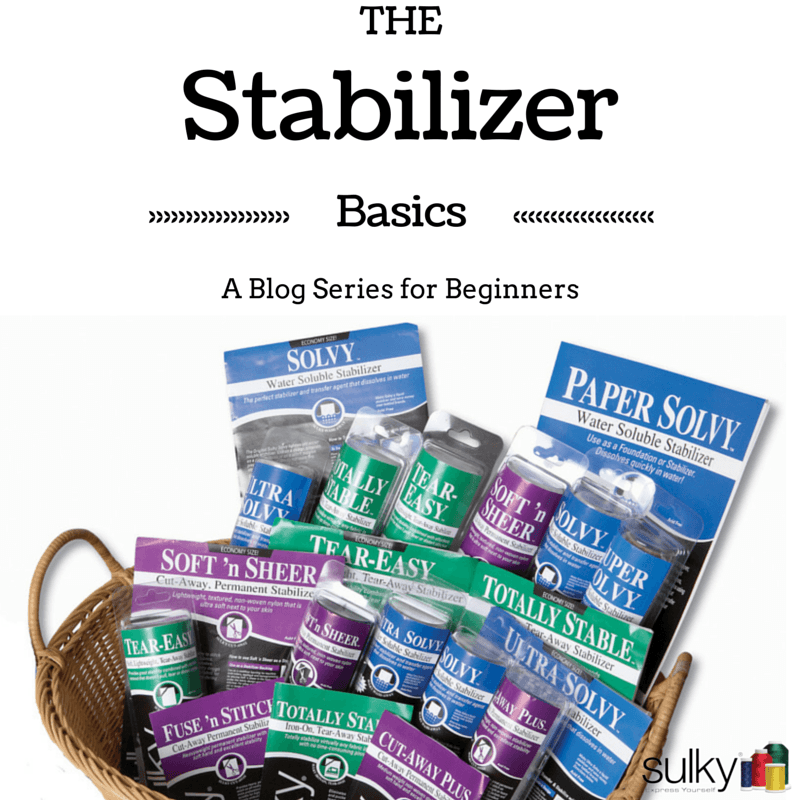
Stabilizer Basics References
- The Stabilizer Basics – Series
- The Stabilizer Basics – Cut-Away and Tear-Away Stabilizer
- The Stabilizer Series – Your Questions Answered
- The Stabilizer Series – More Questions Answered
- The Stabilizer Basics – Water Soluble and Heat-Away
- The Stabilizer Basics – How Do I Get Started?
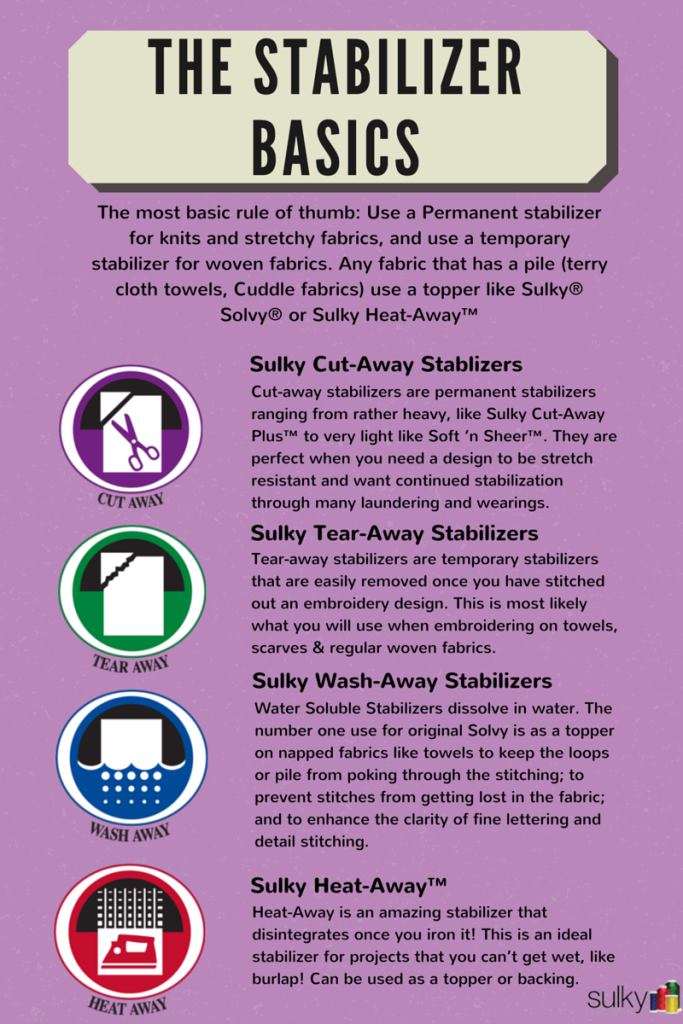
- The Stabilizer Infographic
- The Stabilizer Series – Tender Touch
Once you understand the basics, you can deviate and try different stabilizer combinations, depending on the fabric and thread you’ve chosen for your particular design. If you’re unsure where to begin, always start with our Stabilizer Selector Tool to begin your machine embroidery endeavor!
There will be sometimes when a different type of stabilizer is needed or several layers of one type is needed to support stitches in lightweight fabrics, support stretchy fabrics and prevent heavyweight fabrics fibers from separating due to multiple needle penetrations. There are always exceptions to the “rules.”
Testing, Testing
To test out different stabilizers with the fabrics you use the most, purchase a Sulky Stabilizer Sampler. It includes all of the Sulky stabilizers in 8 1/2″ x 11″ sheets, so they easily slip into a sheet protector to organize them in a binder. This becomes a valuable reference for future projects, as you can write on the sheet protector and note which needle, thread, fabric and stabilizer was used for the perfect, or optimum, stitchout.
Whichever stabilizer you decide to use, always, always perform a test stitchout to ensure the combination works to your satisfaction. Tests, when successful, can always turn into other projects, too. Applique test stitchouts onto bags or jackets, or combine several into a quilt design. Just be sure to always use the same fabric, thread and needle you plan to use for the final project. Otherwise your test won’t be accurate.
Happy embroidering!

Kelly, I bought several yards of waffle fabric, intending to make dish towels as gifts. I would love to embroider them before giving them away. I was thinking of embroidering recipes. What stabilizer(s) would you suggest for waffle fabric? Thank you for your help.
Hi Barbara – Patti Lee here. Kelly’s on vacation, but she will check in periodically, but I didn’t want you to wait for an answer. Waffle weave towels definitely need a Solvy topper. Normally I would use 1 or 2 layers of Tear-Easy for a regular design, but I would not want that much residual tear-away on the back of the towel as there could be with all those little words in a long recipe. For recipes, I would use one layer of Fabri-Solvy on the back. Depending on how dense the digitizing is, you may need two layers, but that’s pretty unlikely unless the towel is wimpy and stretchy. Try our 40 wt. Rayon and see if the lettering is crisp and readable. If not, then switch to Sulky PolyLite 60 wt. which is my preferred thread for writing and recipes. It’s always a bit of an experiment with waffle weave towels. The quality is all over the place. You may also find that washing and shrinking them beforehand is a good idea with all that writing because any shrinkage might make the tiny writing hard to read. I hope this helps.
Thanks for that information. I needed that info as well.
I have made a mistake and ironed my tearaway onto the back of my applique and sewn it in!!