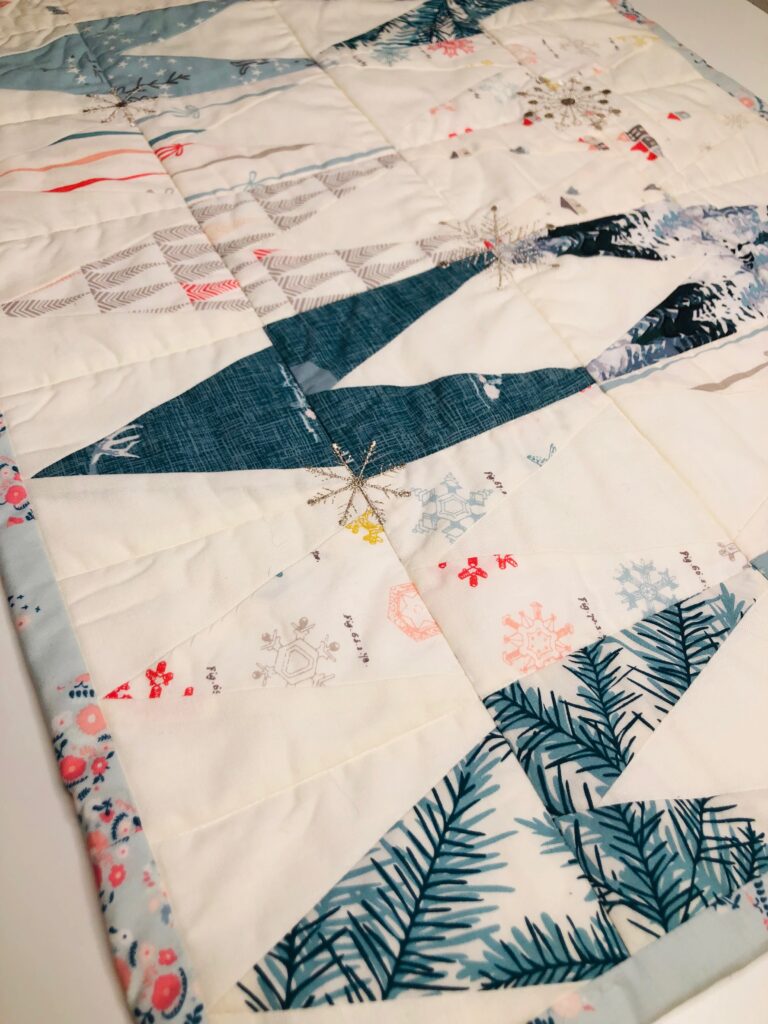
Winter Pinnacle Table Runner
designed by Vanessa Wilson, the Crafty Gemini
sample by Ellen March
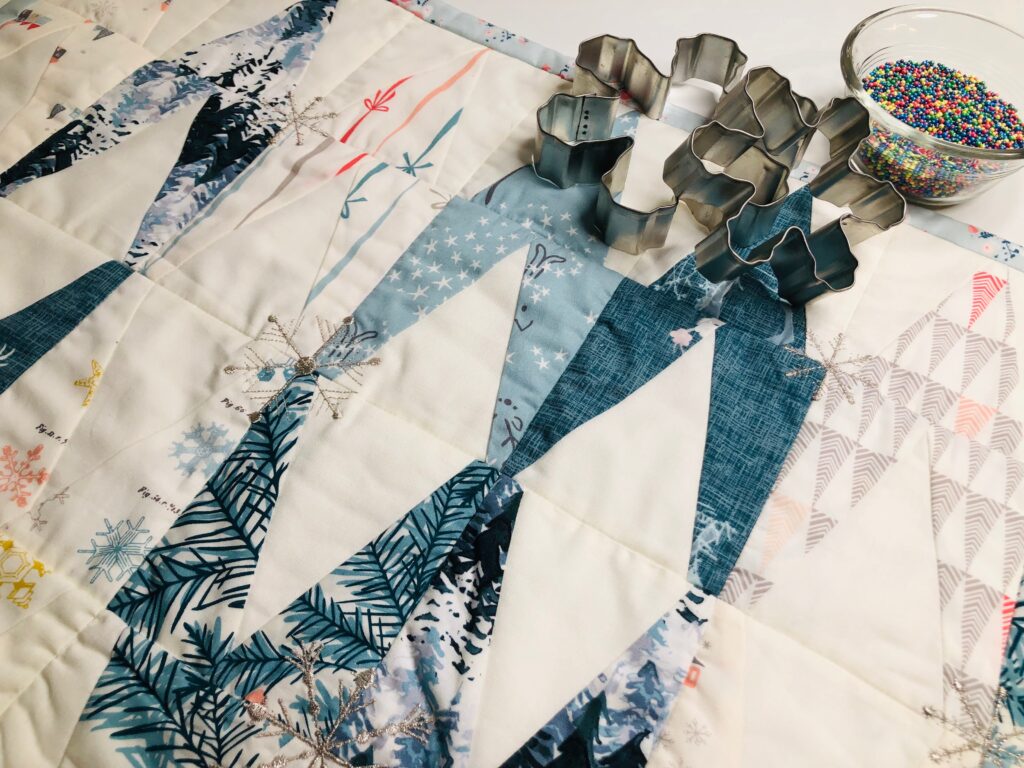
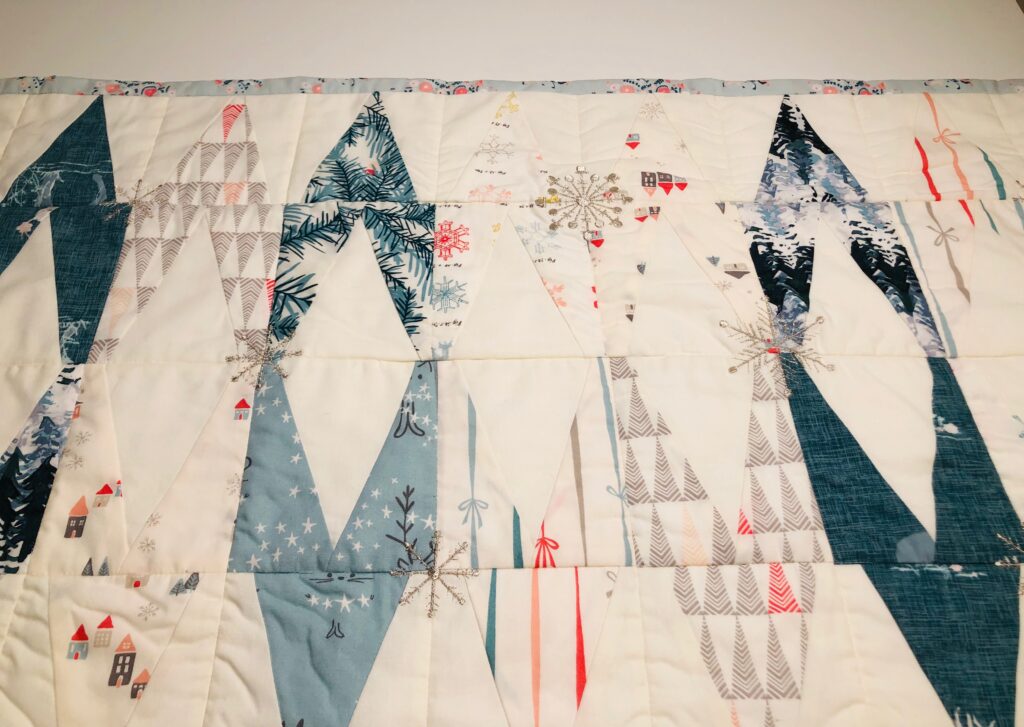
Create a table runner that takes you from Christmas to beyond the New Year with winter-themed fabrics and metallic embroideries. This table runner top is made from charm squares and comes together quickly.
Finished size: 17 1/2″ x 43″
SUPPLIES
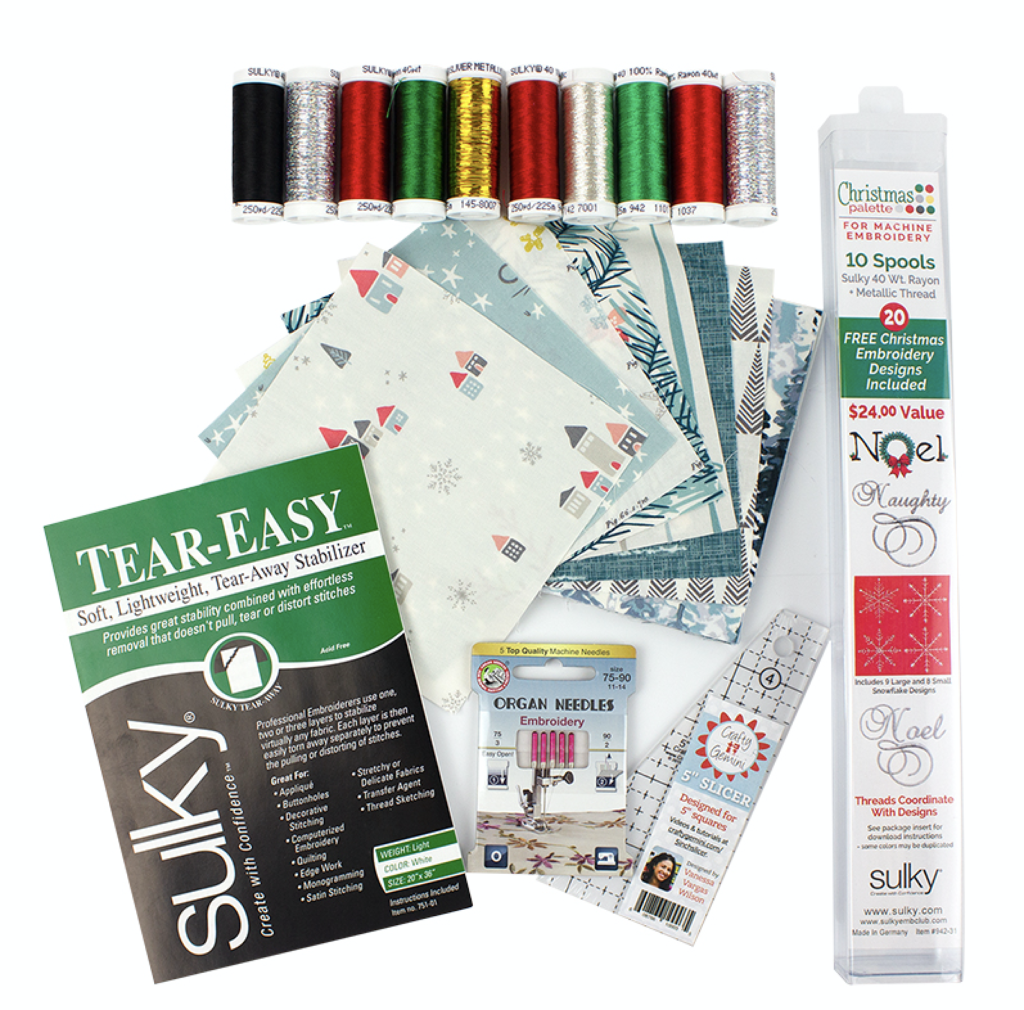
- Kit Is No Longer Available: Winter Pinnacle Table Runner Kit (includes 5″ charm squares from “Bundle Up” collection by Art Gallery Fabrics, Sulky Christmas machine embroidery palette with 10 rayon & metallic thread spools and 20 embroidery designs, 5″ slicer ruler from Crafty Gemini, pack of assorted Organ machine embroidery needles and a 1-yard pack of Sulky Tear-Easy stabilizer)
- 1/2 yard each of background, backing & binding fabric (featured fabrics from the Bundle Up collection by Art Gallery Fabrics
- Batting rectangle (18″x44″)
- Sulky PolyLite thread (for piecing)
- Bobbin thread by Sulky (for embroidery)
- Sulky Invisible thread (for quilting)
- KK 2000 Temporary Spray Adhesive
- Removable fabric marker
Some of the above links are affiliate links. As an Amazon Associate, we earn from qualifying purchases.
PREPARE
Access the free Pinnacle Table Runner webinar from Sulky. In this webinar, Vanessa Wilson takes you through the steps to construct the table runner. There are no other instruction files, so be sure to grab the PDFs under “Event Resources” to print or download a copy.
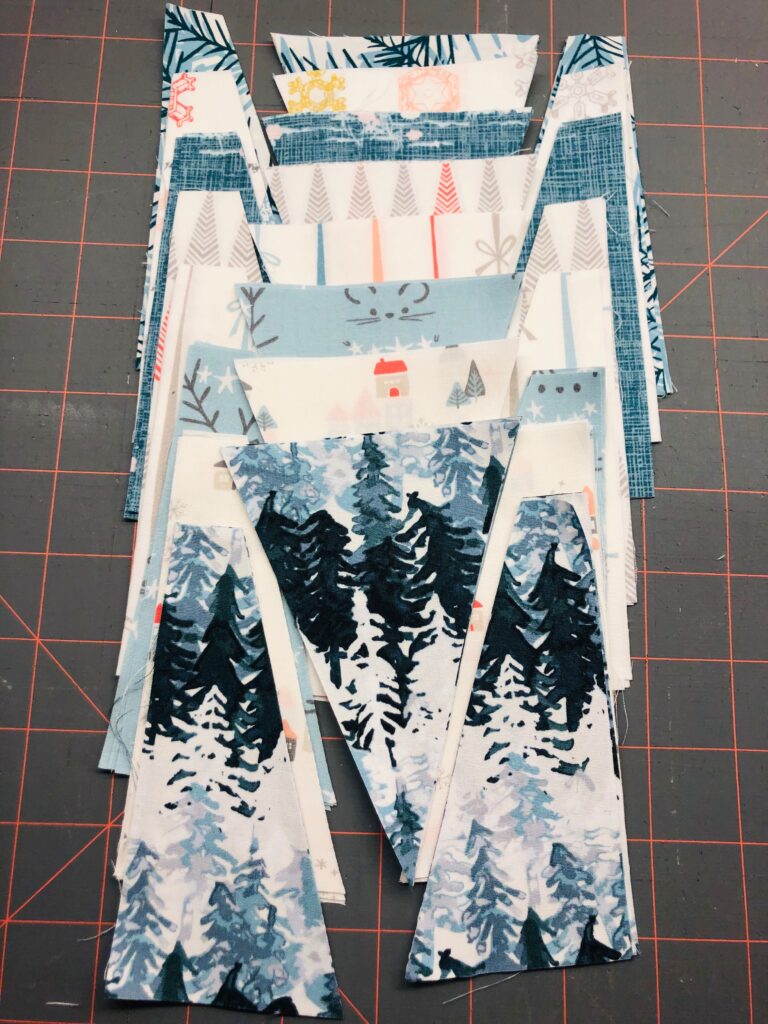
Follow Vanessa’s instructions for the quilt top, alternating the cut charm squares with the solid background fabrics as desired. Vanessa shows three variations for piecing the table runner. Play around with the pieces until the desired look is achieved.
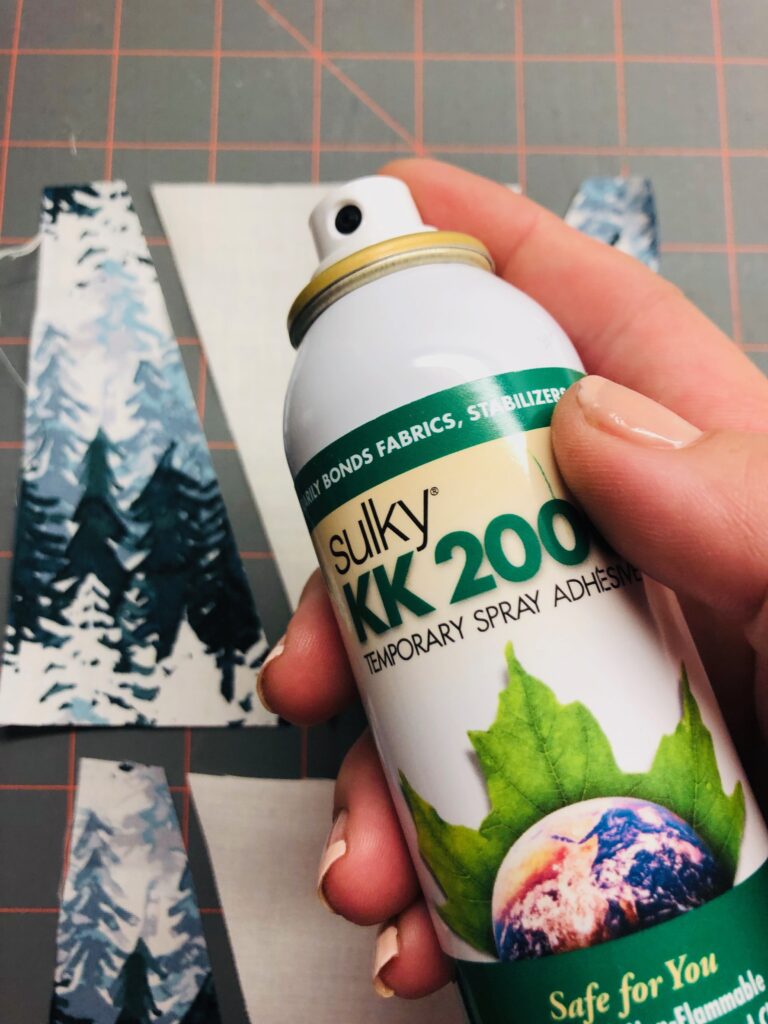
Vanessa instructs you to glue-baste the pieces prior to stitching using traditional washable school glue. For my version, I sprayed the seam allowances with KK 2000, which I found to be much faster and equally as accurate.
EMBROIDER
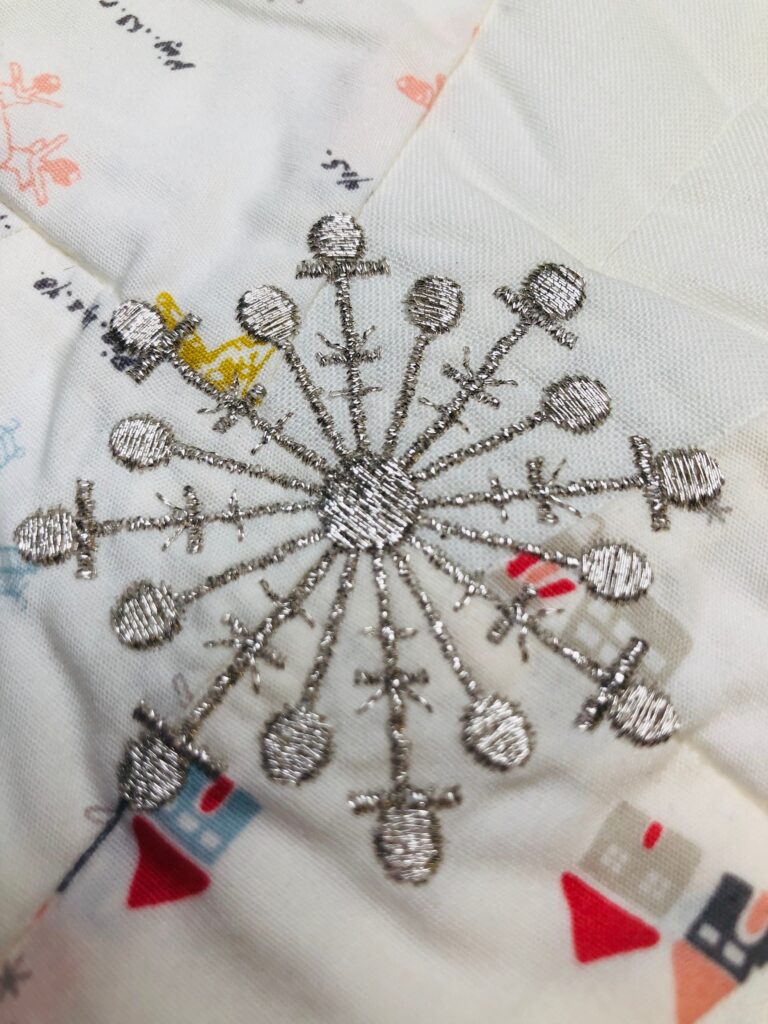
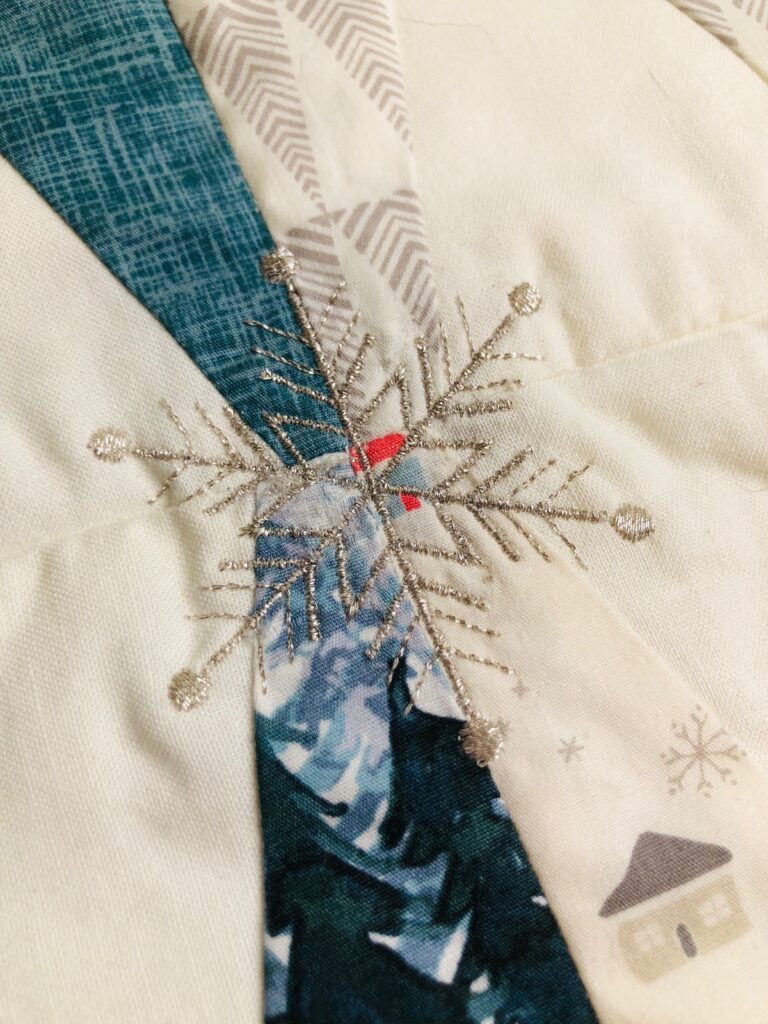
Mark the placement of each snowflake on the table runner right side, using a removable fabric marker. I used 8 embroideries of different sized snowflakes from the Sulky Christmas collection. Print a template of each snowflake or mark the design center cross marks onto the fabric. If using a paper template, pin it to the fabric right side before hooping, and then remove the pin when the fabric is secured in the hoop.
Hoop the table runner with a rectangle of Sulky Tear Easy stabilizer, centering the marks and/or template in the hoop.
Thread the needle with Sulky metallic thread. The Christmas palette comes with three different metallic colors. Choose the one you like best!
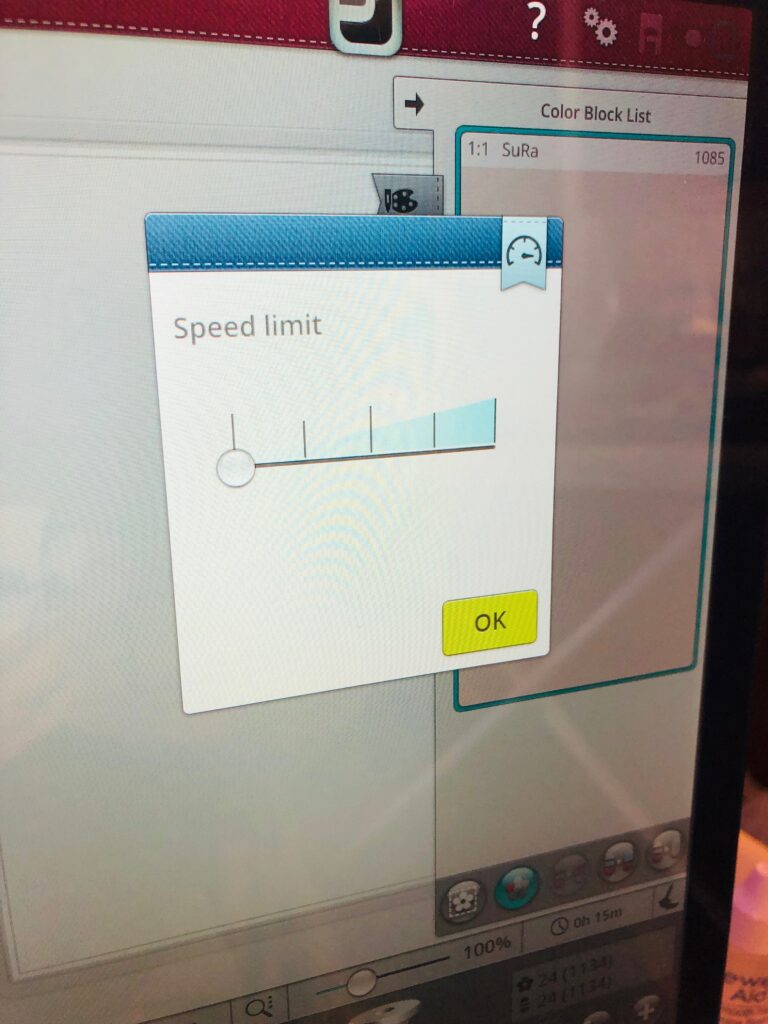
Wind the bobbin with Sulky bobbin thread. Install a 90/14 Organ embroidery needle. Slow the machine speed by half.
Set the machine to perimeter baste the design outline to ensure the placement is correct. Embroider the first snowflake design.
When embroidery is complete, remove the table runner from the hoop and remove the basting stitches.
Repeat to embroider as many snowflakes as desired.
Tear away the stabilizer beyond the stitching, holding the stitches along the wrong side to avoid excess pulling.
Press the table runner from the wrong side.
Create a quilt sandwich by placing the backing rectangle wrong side up on a flat work surface; spray with KK 2000. Place the batting rectangle over the backing. Place the table runner top right side up over the batting, using KK 2000 to secure.
QUILTING
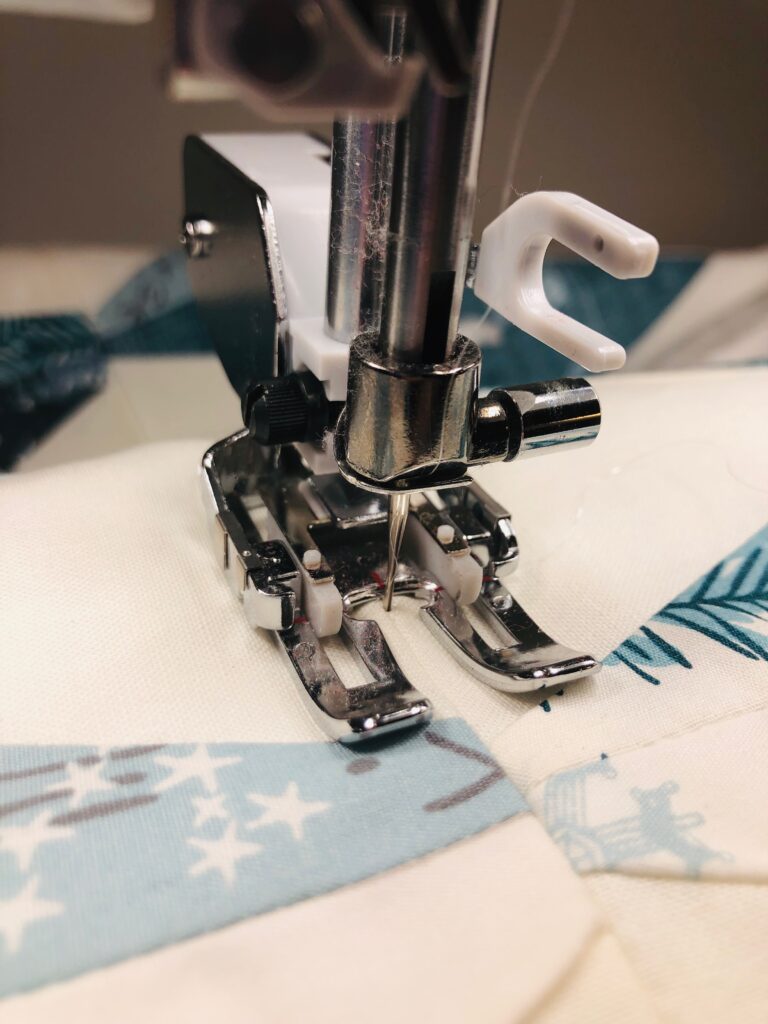
Set up the machine for standard sewing. Wind a bobbin halfway with invisible thread; slow the speed by half.
Change the needle to a quilting or universal needle. Thread the needle with invisible thread.
Quilt in the ditch, beginning and ending each stitch before or after each embroidery to avoid stitching over them.
When satisfied with the quilting, square up the table runner so all edges are even and aligned.
Bind the table runner using the method of your choice.



This is very pretty. I get frustrated when using specialty threads because they always break. What could I be doing wrong? Any help is so appreciated.
Does the thread break when using Original metallics by Sulky? Or Holoshimmer or Sliver? The latter two are flat threads, which need to wind off the spool flat. The former (Original) is a round thread that winds off just like rayon. Slow the machine and use a Metal/Metallic (naming depends on brand) needle. If you are still having trouble, we also sell a Thread Director on our site, which helps the thread wind off the spool in the proper direction.
Thank you Ellen, Yes it’s the latter two – Holoshimmer. I have used a metallic needle – and will try slowing the speed.It “feels” like the thread gets stuck then stretches as it is sewing. And that’s when it breaks or the thread suddenly separates as it is sewing.
Thank you for your advice.