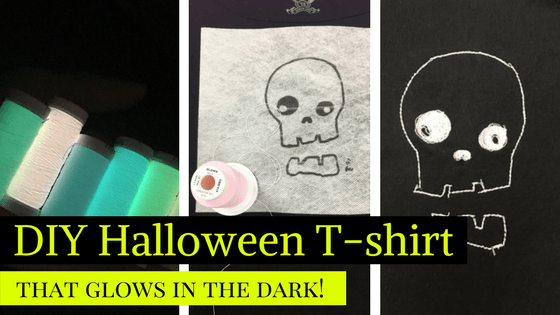
DIY Halloween T-shirt Glows in the Dark! (And you can make it in less than an hour)
This Halloween T-shirt Glows in the Dark! (And you can make it in less than an hour) It’s the most wonderful time of the year! No, not Christmas – Fall! …
This Halloween T-shirt Glows in the Dark! (And you can make it in less than an hour) It’s the most wonderful time of the year! No, not Christmas – Fall! …

When I was at Quilt Market in the spring, I fell in love with Cotton+Steel Designer Kim Kight‘s new collection – Snap To Grid. The collection just sung to me …
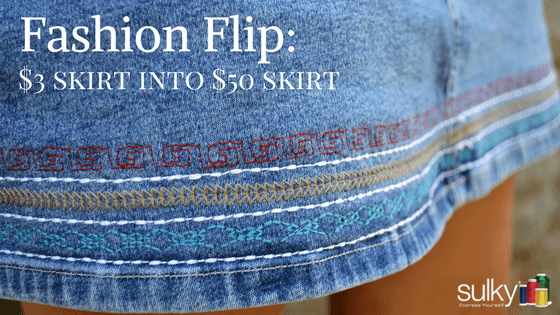
Fashion Flip: Turn a $3 Denim Skirt into a $50 Denim Skirt Here is another great Fashion Flip! This time we are taking this denim skirt that I got for …

Fashion Flip: Turn $6 Jeans into $100 Jeans Like most women, I love to shop. I also love keeping up on the latest fashion trends. If nothing else, it gives …
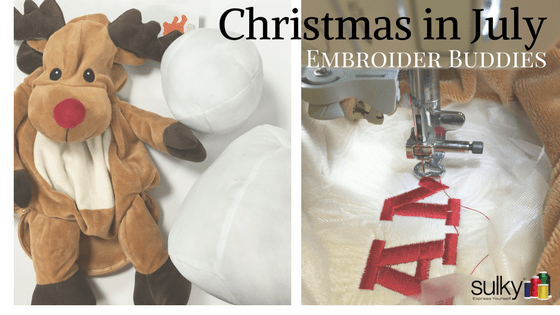
Christmas Embroider Buddies by Kelly Nagel Do you want to know a secret? I love being the girl who always gives the perfect gift. I especially like it when I …
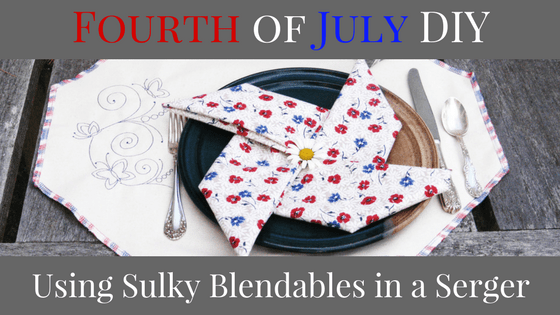
This series is written by guest blogger, Pamela Cox. 4th of July Napkins and Place-Mats The 4th of July is all about outdoor gatherings, fireworks, and celebrating our country’s independence! …
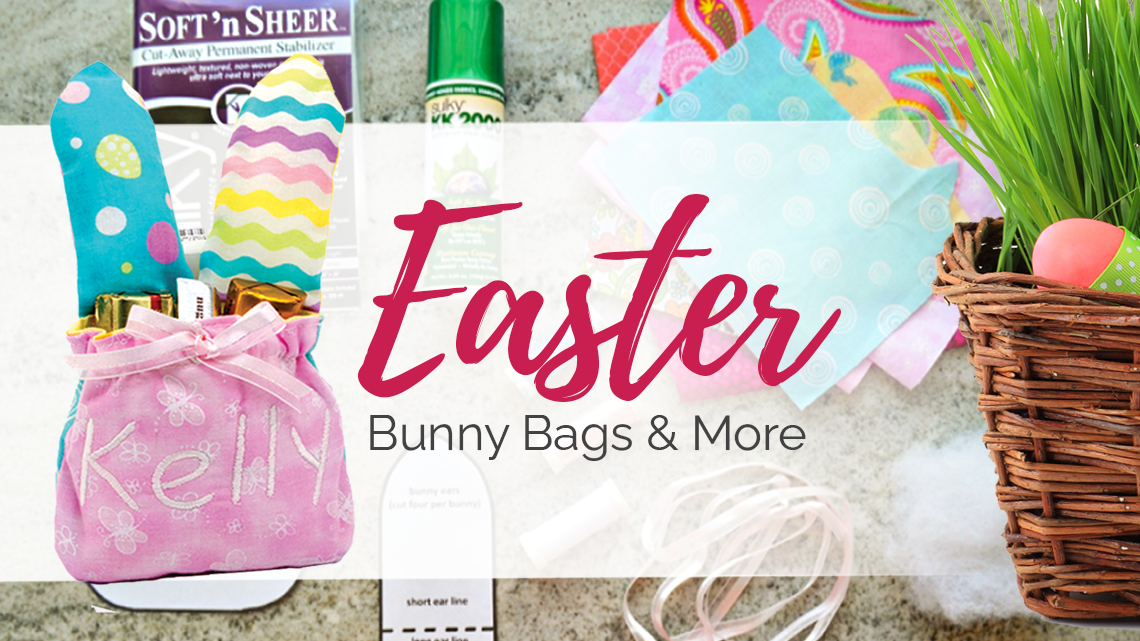
Easter Bunny Bags & More With Easter quickly approaching we have some fun Easter Bunny Bags & more inspiration for you to make just in time for the festivities! Bunny …
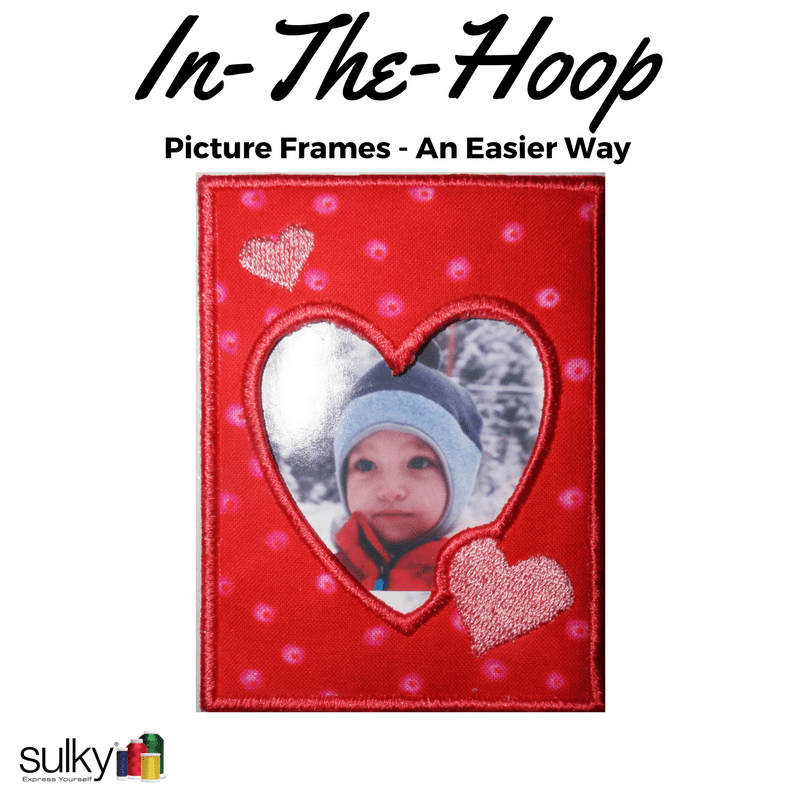
By Guest Blogger: Patti Lee, Vice President, Consumer Relations, Sulky of America I have fallen in love with in-the-hoop projects. Yes, the first prototype of each project takes some extra time; …
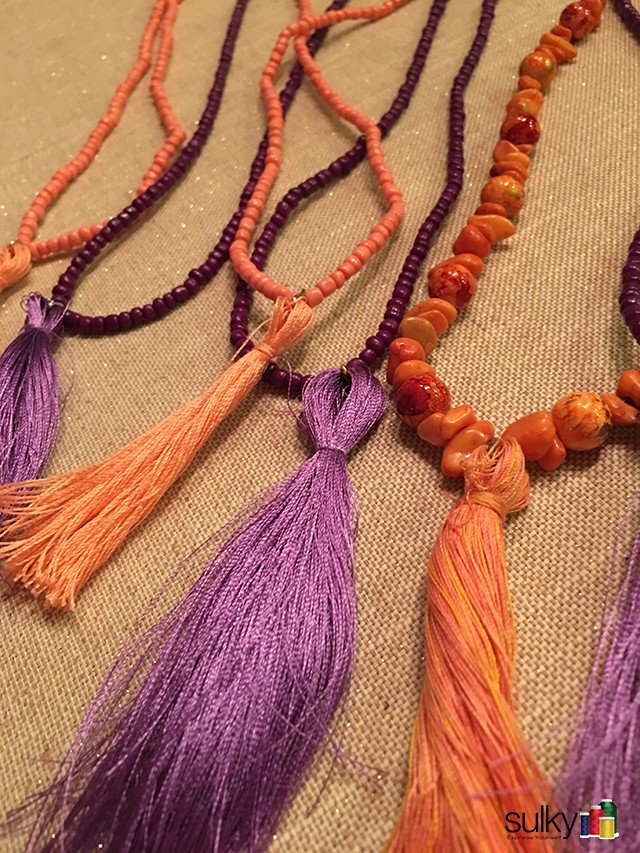
In case you are like me and need a couple more gifts, here is a fun and quick gift you can make. These trendy necklaces can be made in …
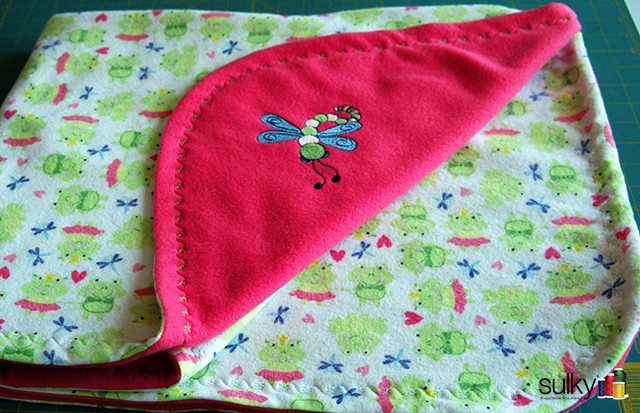
This series is written by guest blogger, Pamela Cox. Pamela is an expert embroiderer, designer, digitizer and all around wonderful girl! We are so happy to have her contributing to …