Machine Embroidery on Swimsuits
Machine embroidery on swimsuits doesn’t have to be as difficult as it seems. With a few tips and techniques, Spandex and Lycra blends actually can behave and undergo multiple needle penetrations to produce beautiful stitchouts.
Whether a two-piece or one-piece style, swimsuits offer more of a canvas to play with when it comes to machine embroidery designs. People tend to be a bit more adventurous with embellishments on swimwear, opting for fringe, bling and outlandish patterns. If you want to go big and choose a design that’s a bit outside of your comfort zone, or a design you love that won’t fit anything else in your wardrobe, try it on a swimsuit! Just be sure to follow these recommendations and choose a design that will work with the swimsuit fabric.
Design & Placement on Swimsuits
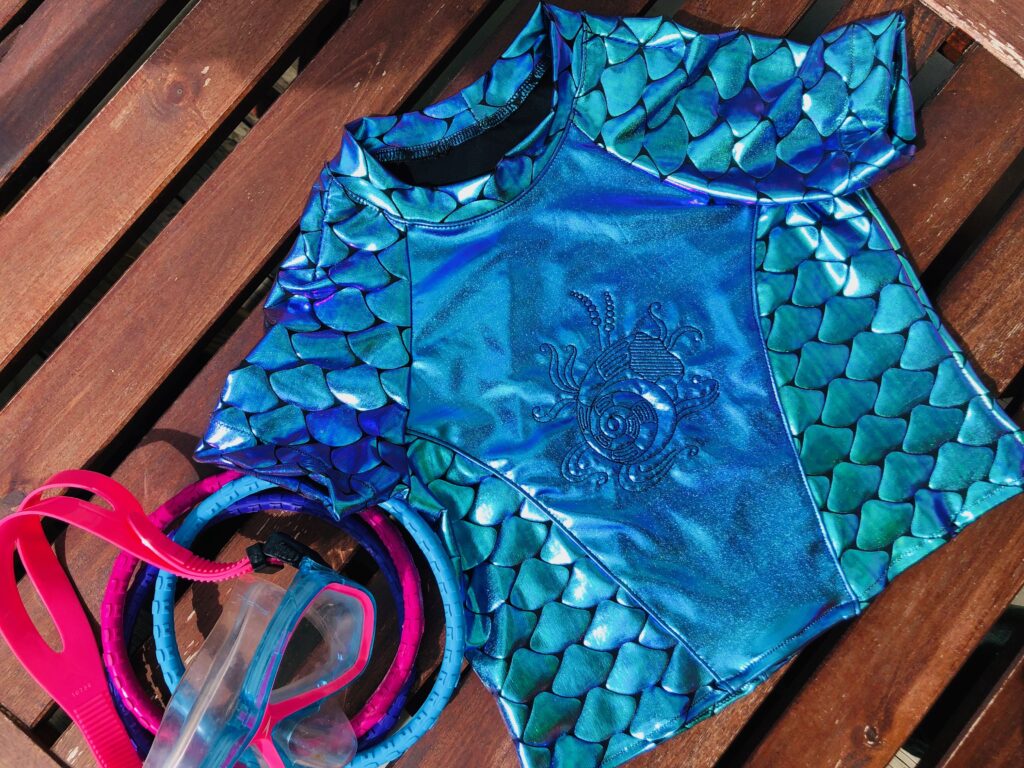
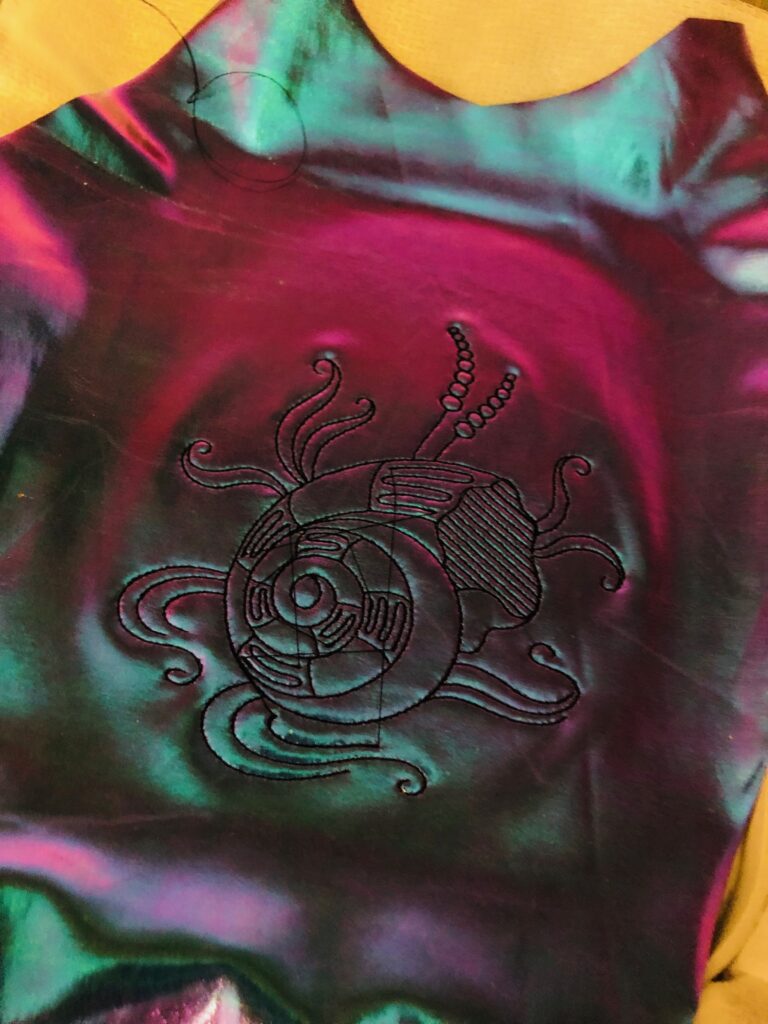
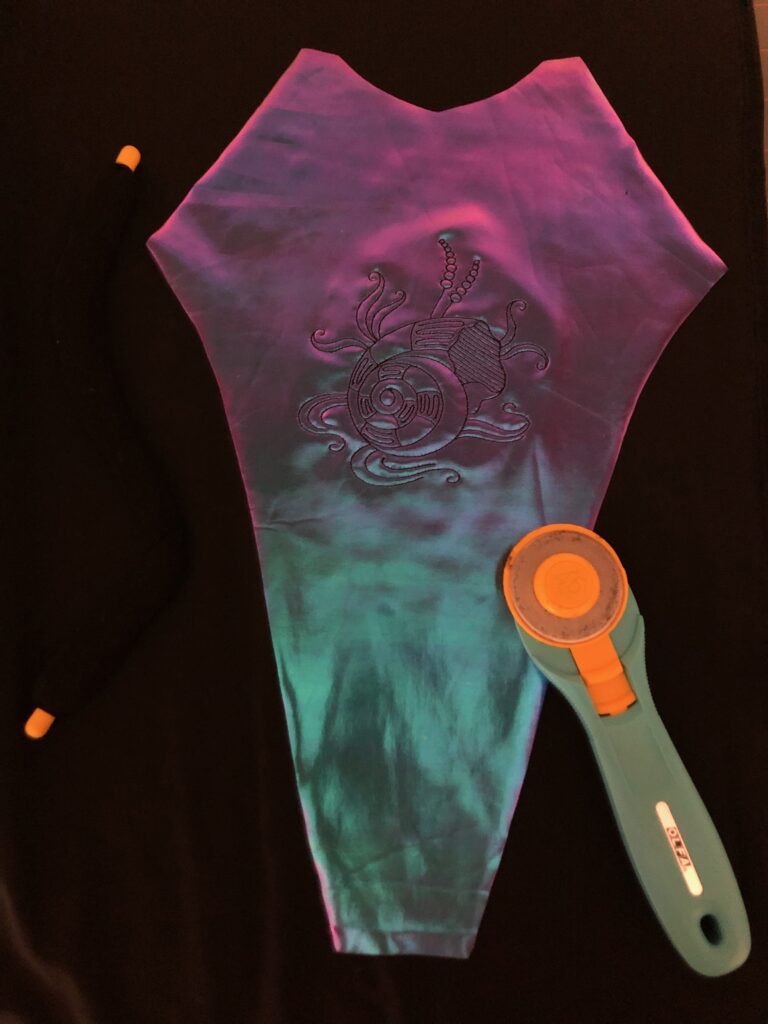
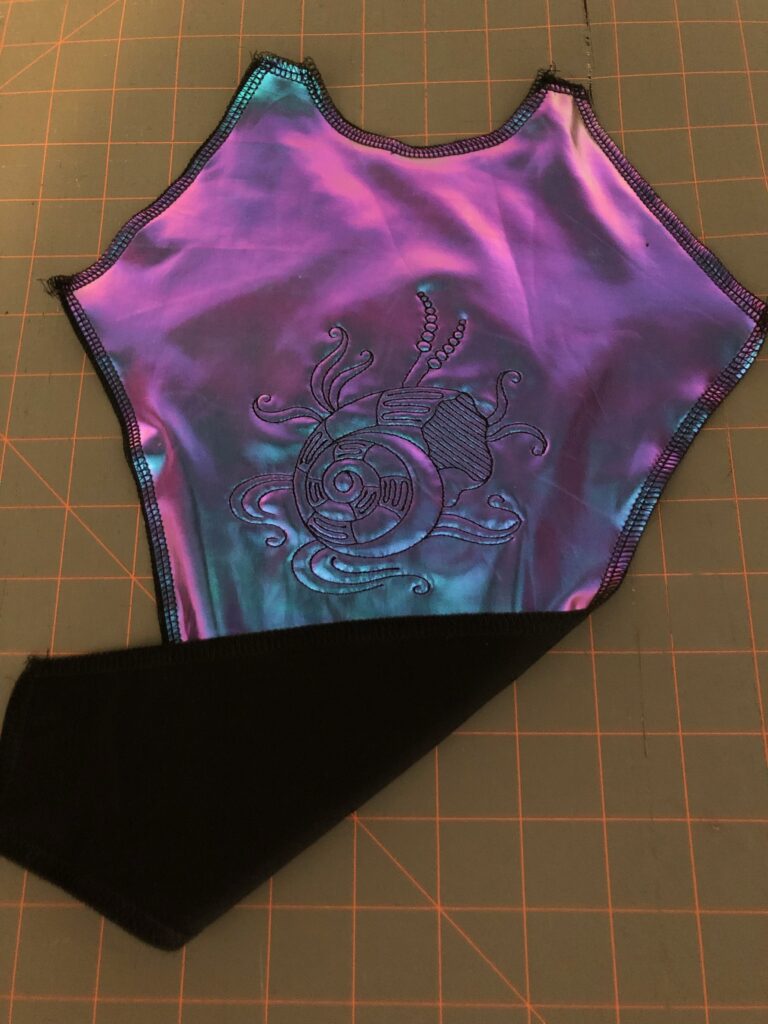
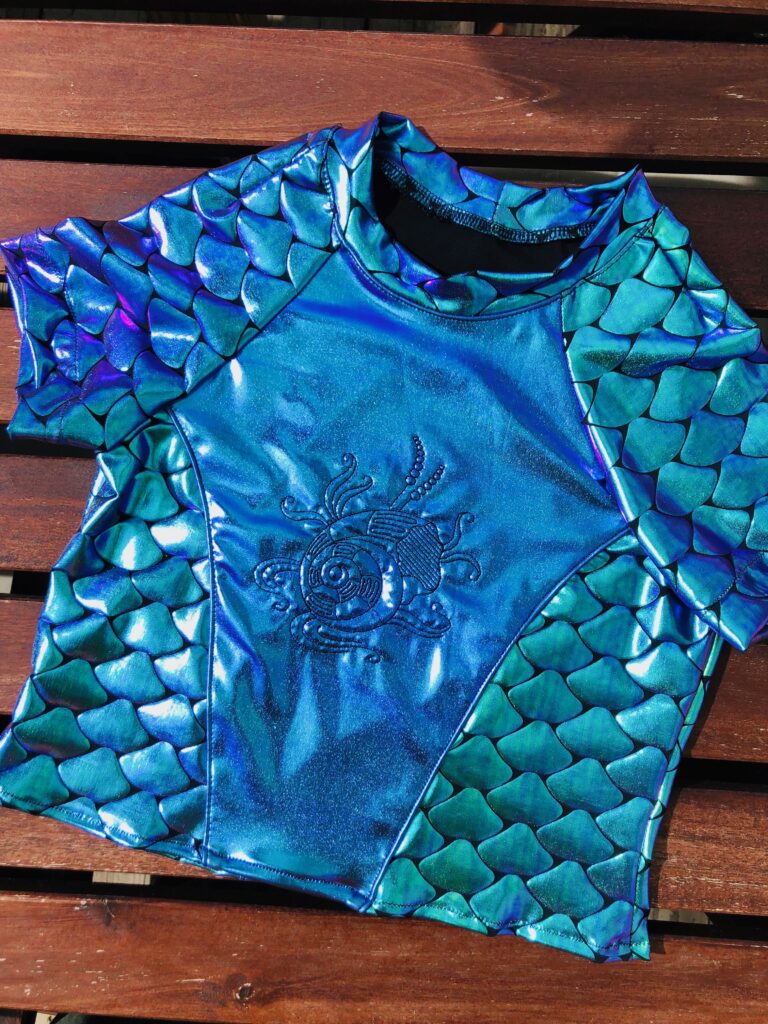
Step 1. Choose a design with open fill stitches or no fill stitches at all. A line-art-style design works well with garments that have considerable stretch, as the thread enables the fabric to move properly. The design featured above is Redwork Seashell 3 from Embroidery Library.
Step 2. When adding machine embroidery on swimsuits, plan the placement so the design isn’t in a high-stretch area. The fabric will stretch when worn, but across the shoulder, neckline or hip line will stretch most of all, distorting the finished design.
Stabilizer & Hooping
Step 3. Use a cut-away stabilizer. Soft ‘n Sheer Extra is generally a good choice for most swimwear fabrics. Hoop two layers to ensure proper stabilization.
Step 4. Do NOT hoop the fabric with the stabilizer. Hoop the stabilizer alone, and then use KK 2000 to place the fabric over the hooped stabilizer. Do NOT use the baste-in-the-hoop function to further secure the fabric to avoid excess needle holes.
Needle & Thread Choice
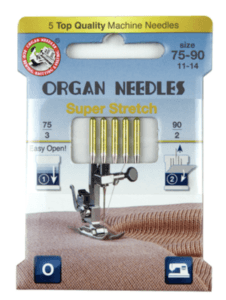
Step 5. Install one of our Super Stretch Organ Needles. This needle has a medium ballpoint that has a thickened eye to enlarge the puncture area. The middle ball tip prevents the destruction of fabric threads. A specifically shaped groove reduces the occurrence of missed stitches by optimally spacing the needle from the rotating hook. The loop formation is stable during the entire sewing process. The needle shank developed especially for this needle prevents the needle from “flapping” at high stitch counts.
Step 6. Choose a lighter weight thread that’s colorfast and can be bleached. Sulky PolyLite is the perfect choice! It’s a 60 wt. thread that produces fine details on super stretchy fabrics.
Step 7. Use hoop clips or binder clips to secure the rest of the swimsuit out of the way of the needle after the hoop is placed onto the machine. The fabric will want to stretch in all directions, so be sure to avoid stretching it within the inner hoop ring during this process.
Swimsuit Pattern Considerations
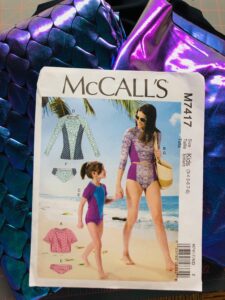
Step 8. If making a swimsuit from scratch, rather than adding machine embroidery to a purchased swimsuit, embroider all designs prior to construction. The featured pattern is McCall’s 7417, View C.
Step 9. Add a lining to the embroidered pattern piece if the pattern doesn’t call for one. Or, if embroidering a purchased swimsuit, fuse Tender Touch to the embroidery wrong side once embroidery is complete.
Step 10. Always test-stitch the chosen design, stabilizer, thread and needle combination to ensure they work together to produce desired results.


Love this article. I am making many team and individual costumes for my granddaughter’s Competitive Roller Skating team. This is perfect information.