TEAM USA Appliqué In the Hoop
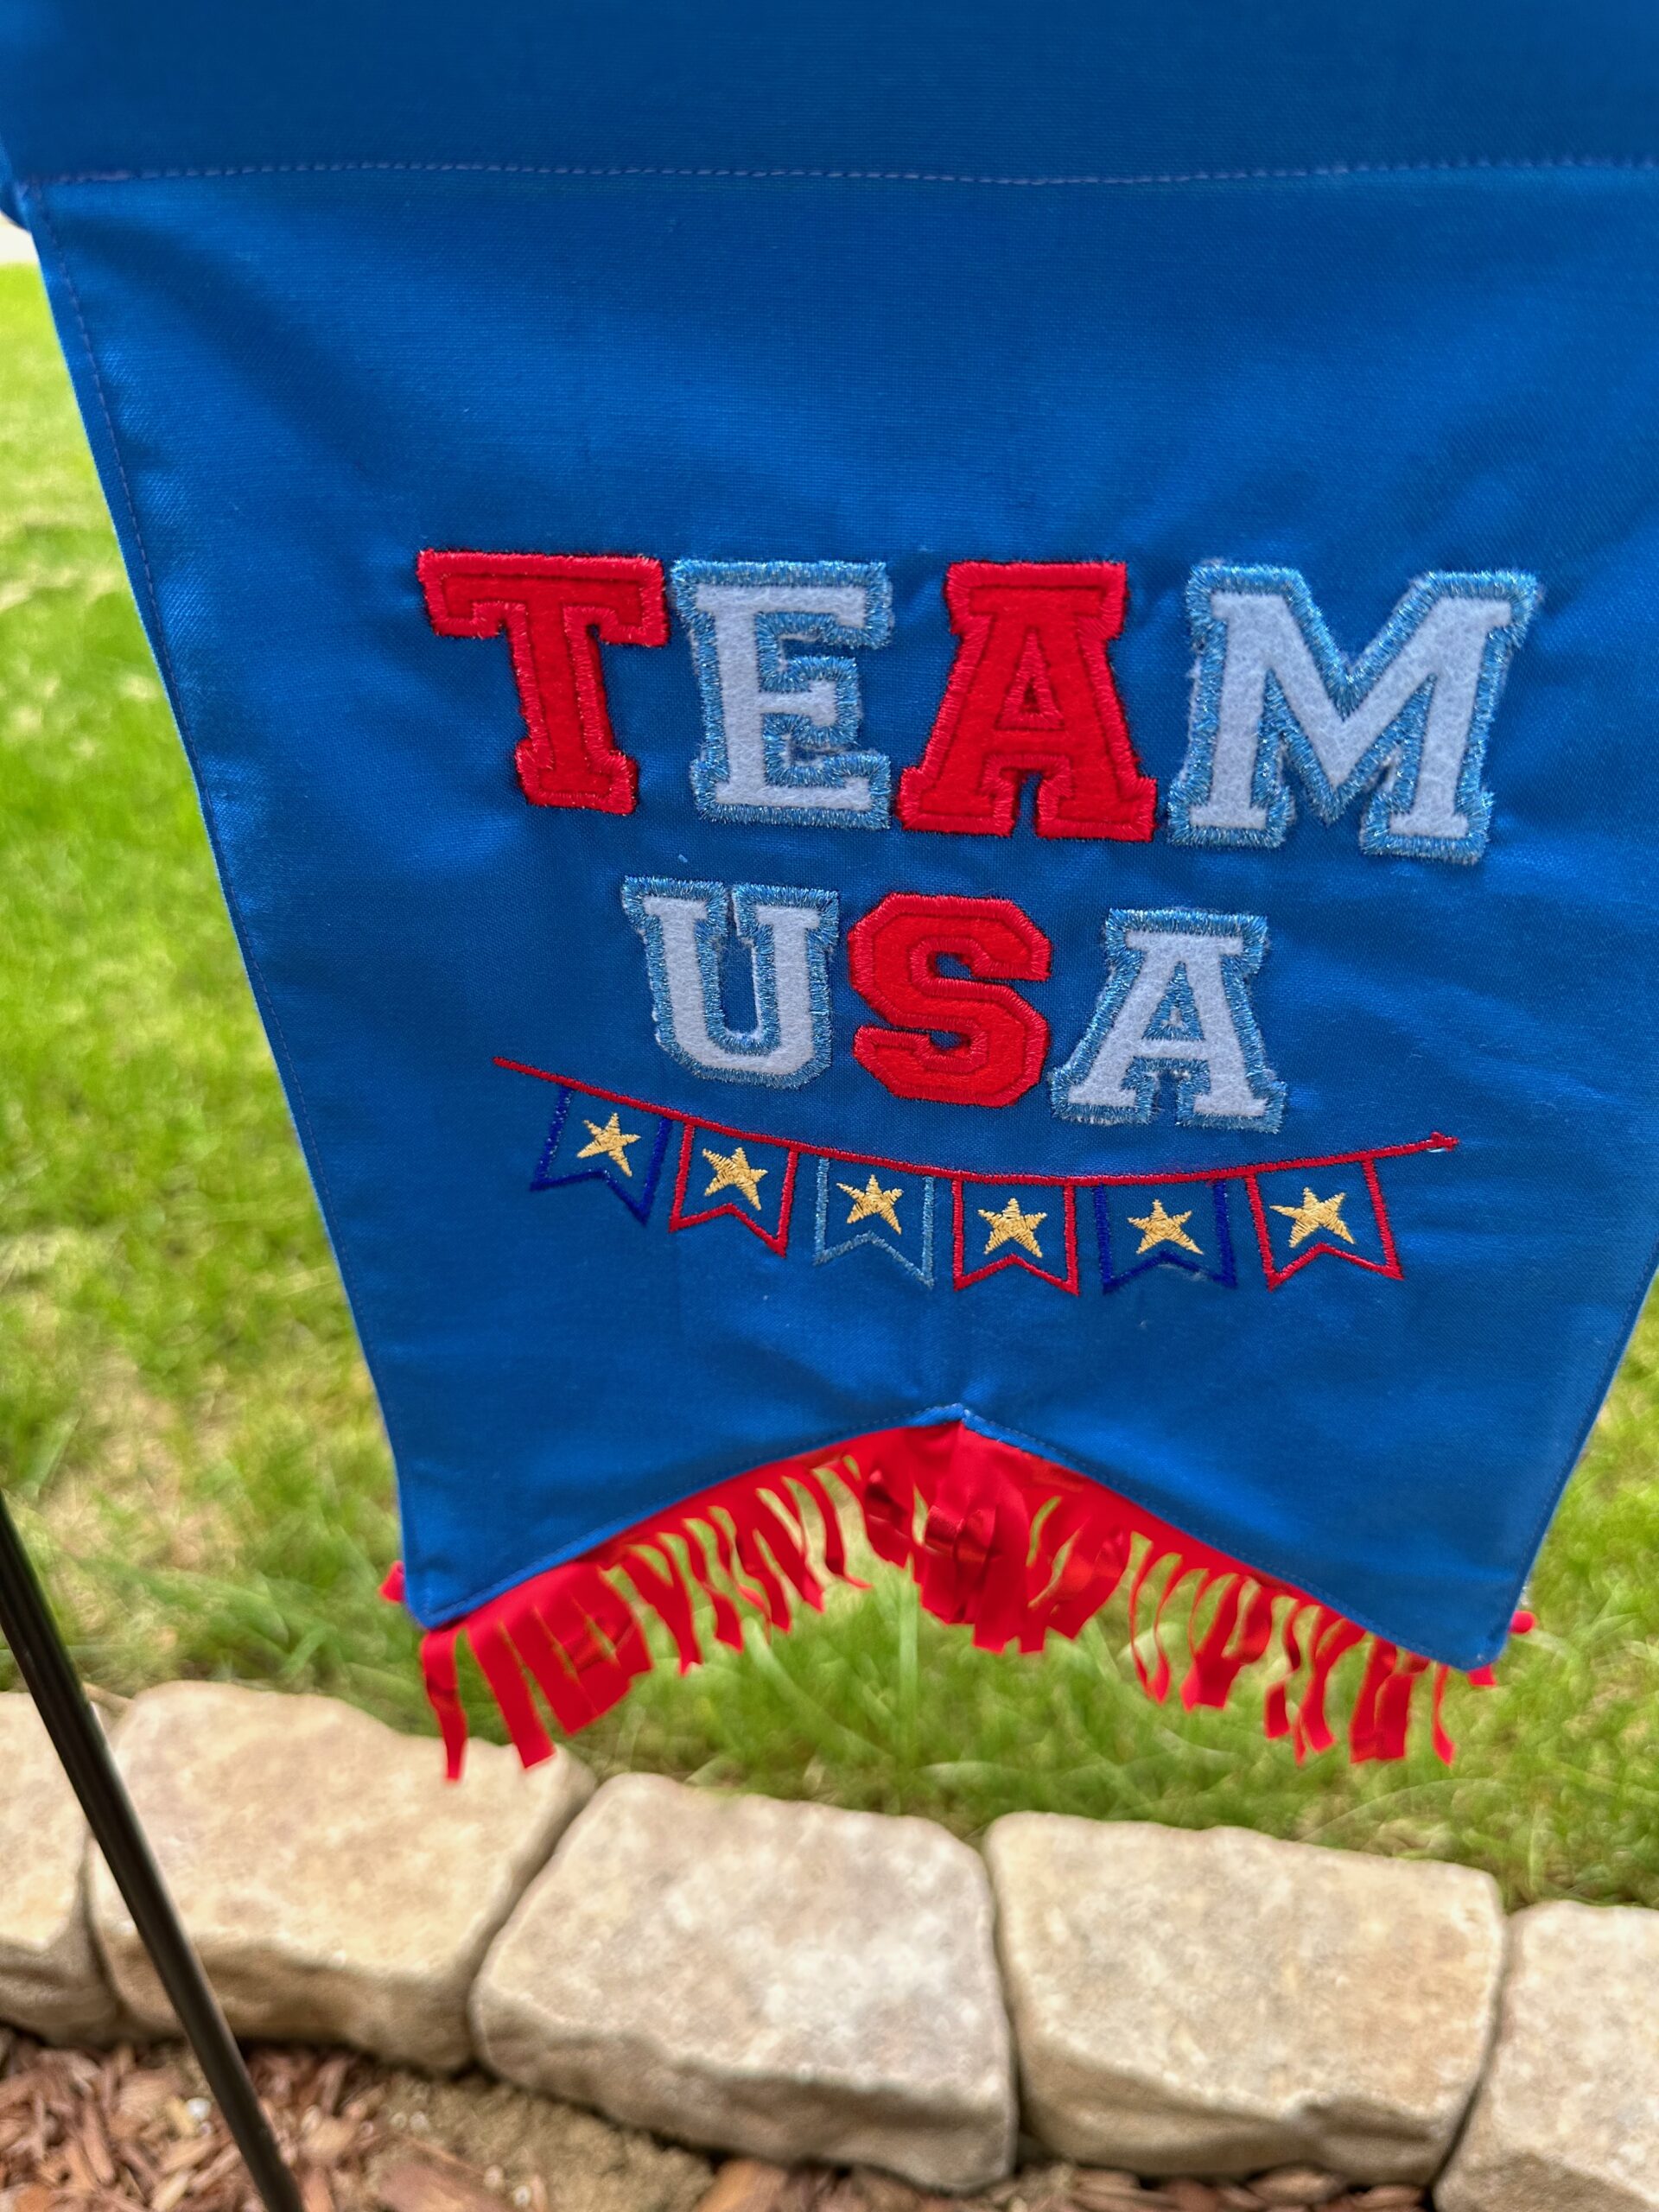
Add USA Appliqué Embroidery to a fun garden flag or wall hanging to add to your patriotic décor.
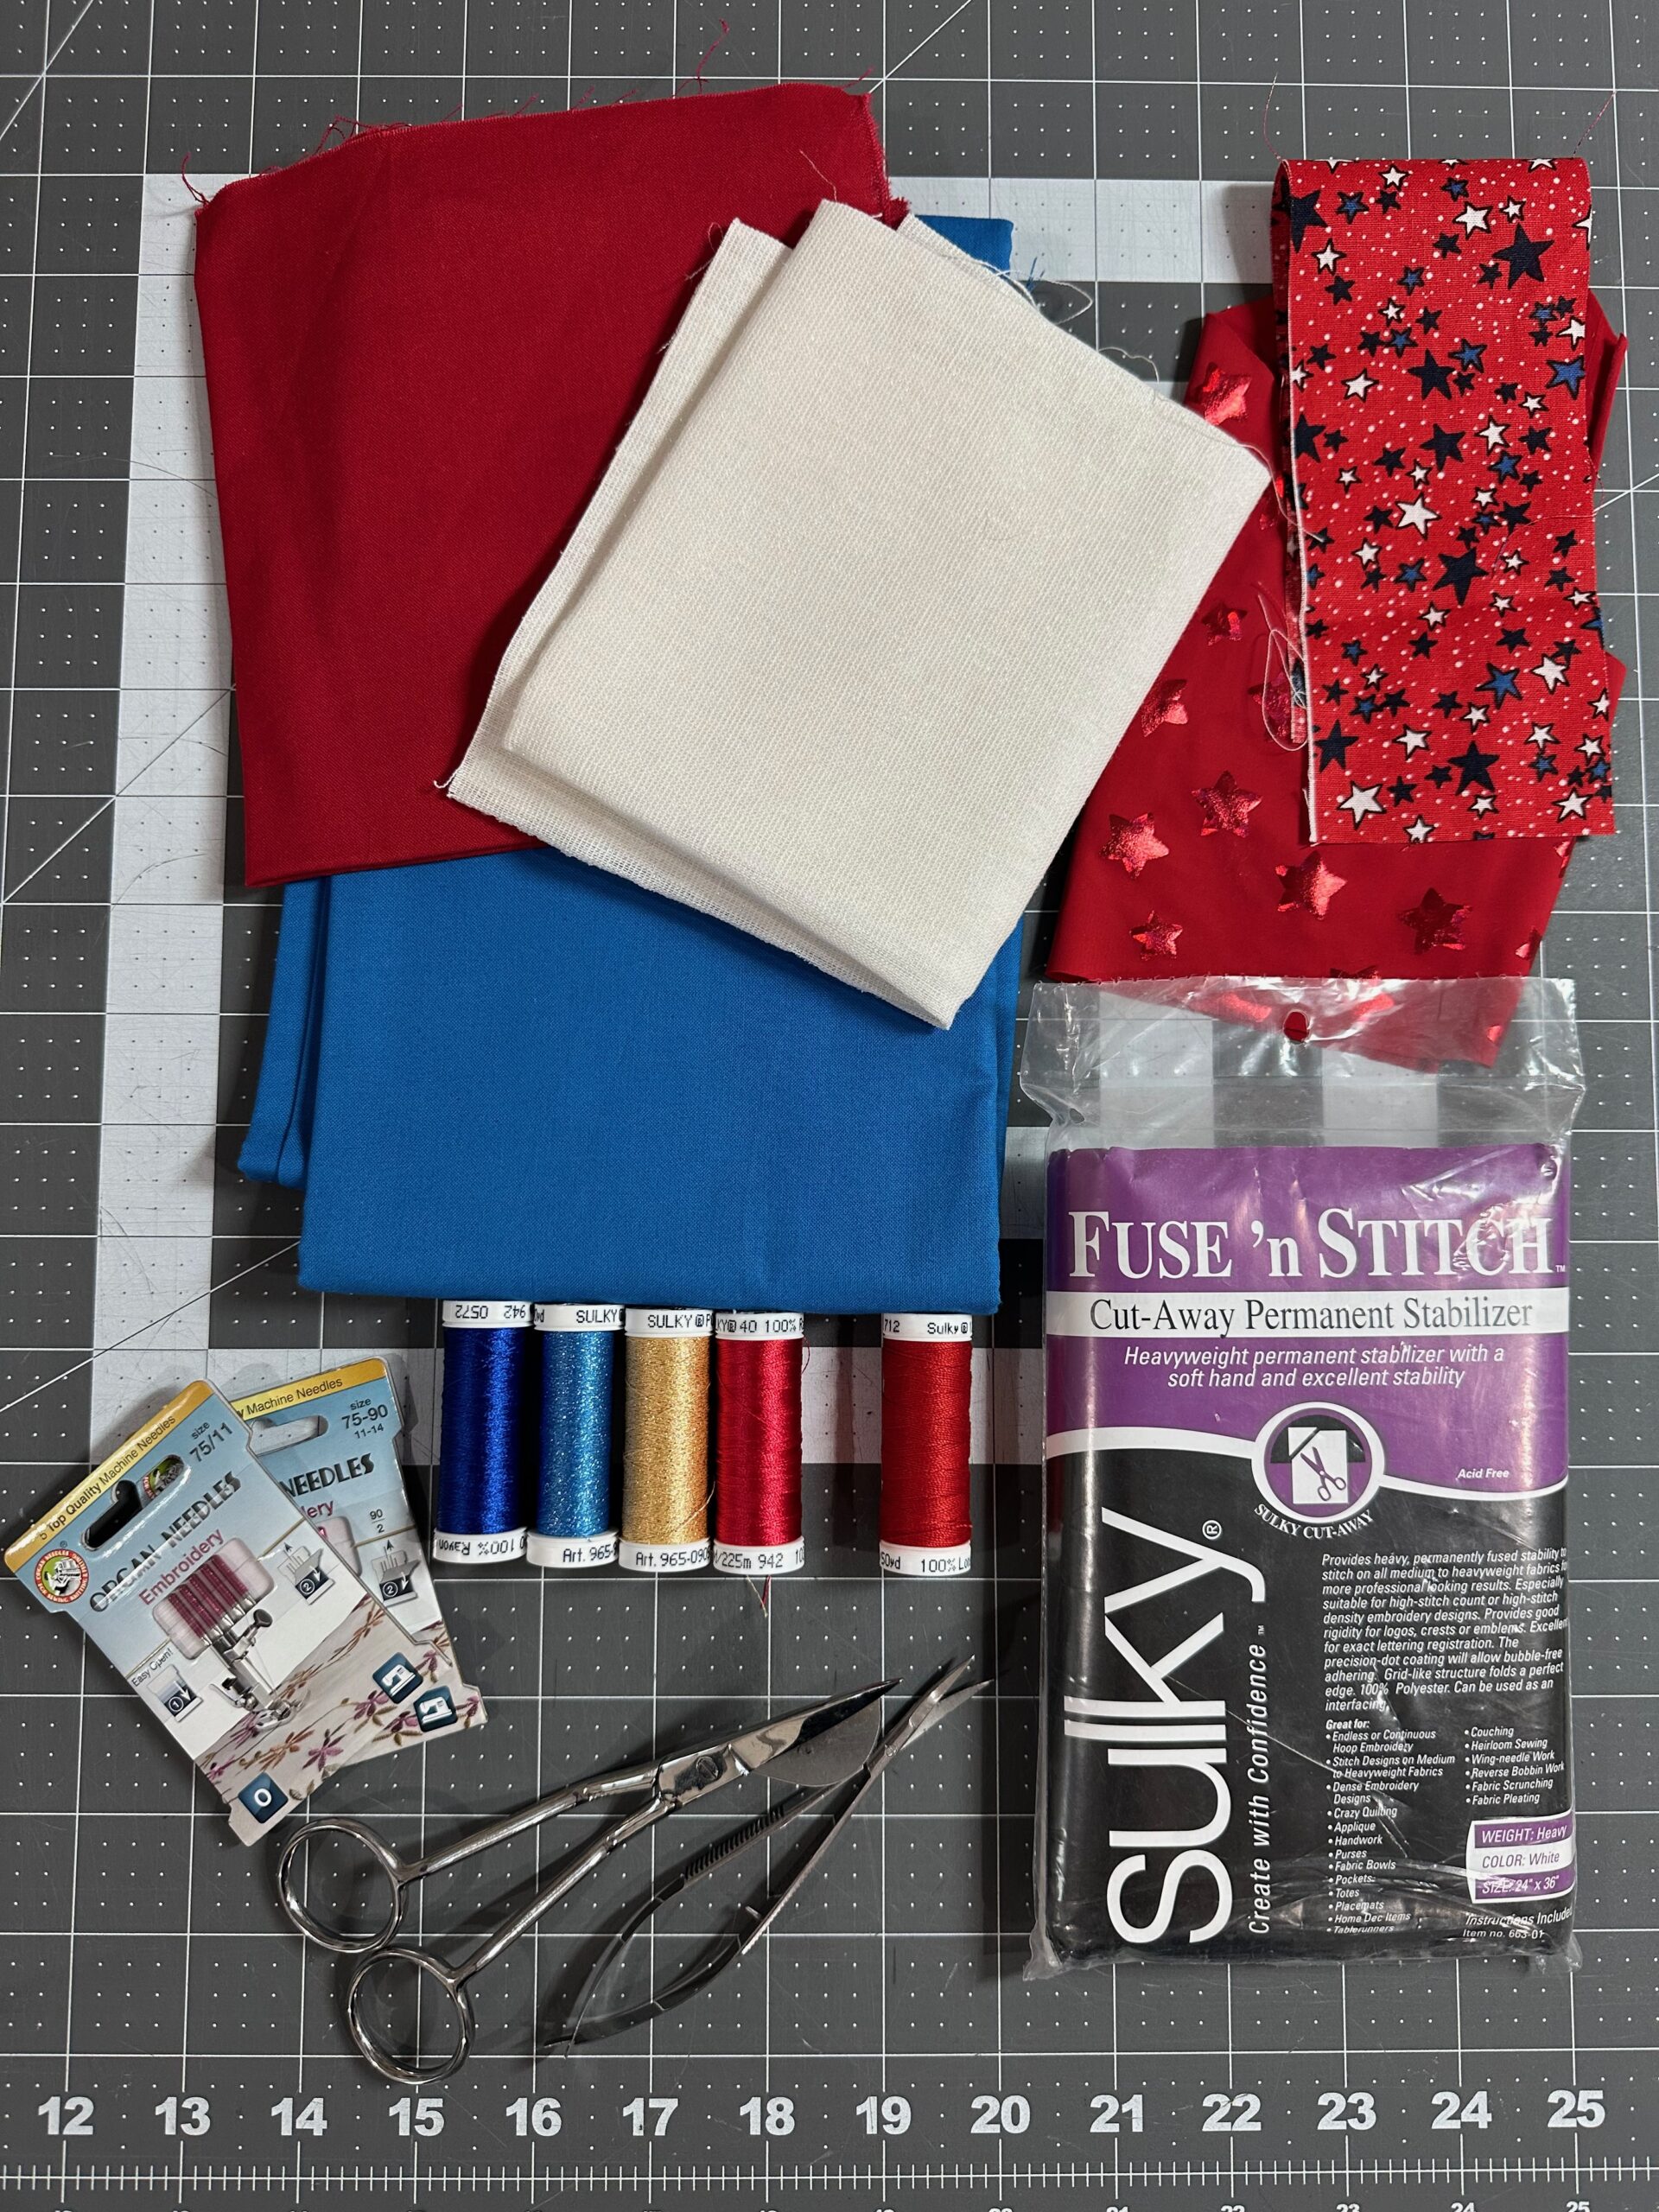
SUPPLIES FOR USA Appliqué Embroidery Garden Flag
- Uncle Sam Machine Embroidery Palette (comes with 6 designs in 3 sizes and 11 spools of Sulky Thread – including Rayon and Poly Sparkle); featured design: Team USA
- Sulky 50 wt. Cotton Thread (construction)
- (2) fabric rectangles approximately 9″W x 14″ H
- 2 1/2″ x 11″ rectangle of no-fray fabric (for fringe)
- Sulky Tear-Easy™ Stabilizer
- Sulky Felty™ (for appliqué portions of design)
- Appliqué scissors
- Curved Tip Squeezers
- Sulky KK2000™ Temporary Spray Adhesive
- Organ Needles: size 75/11 & 90/14 Embroidery
- Sulky Clear Embroidery Tape
- Clover Hot Ruler (optional)
- DIME Magnetic Hoop (optional)
APPLIQUÉ EMBROIDERY
The featured design, Team USA from the Sulky Uncle Sam Machine Embroidery Collection, is available in three sizes. For this project, the 5×7 hoop size was used. If desired, create a larger or smaller flag to fit the hanger you may have.
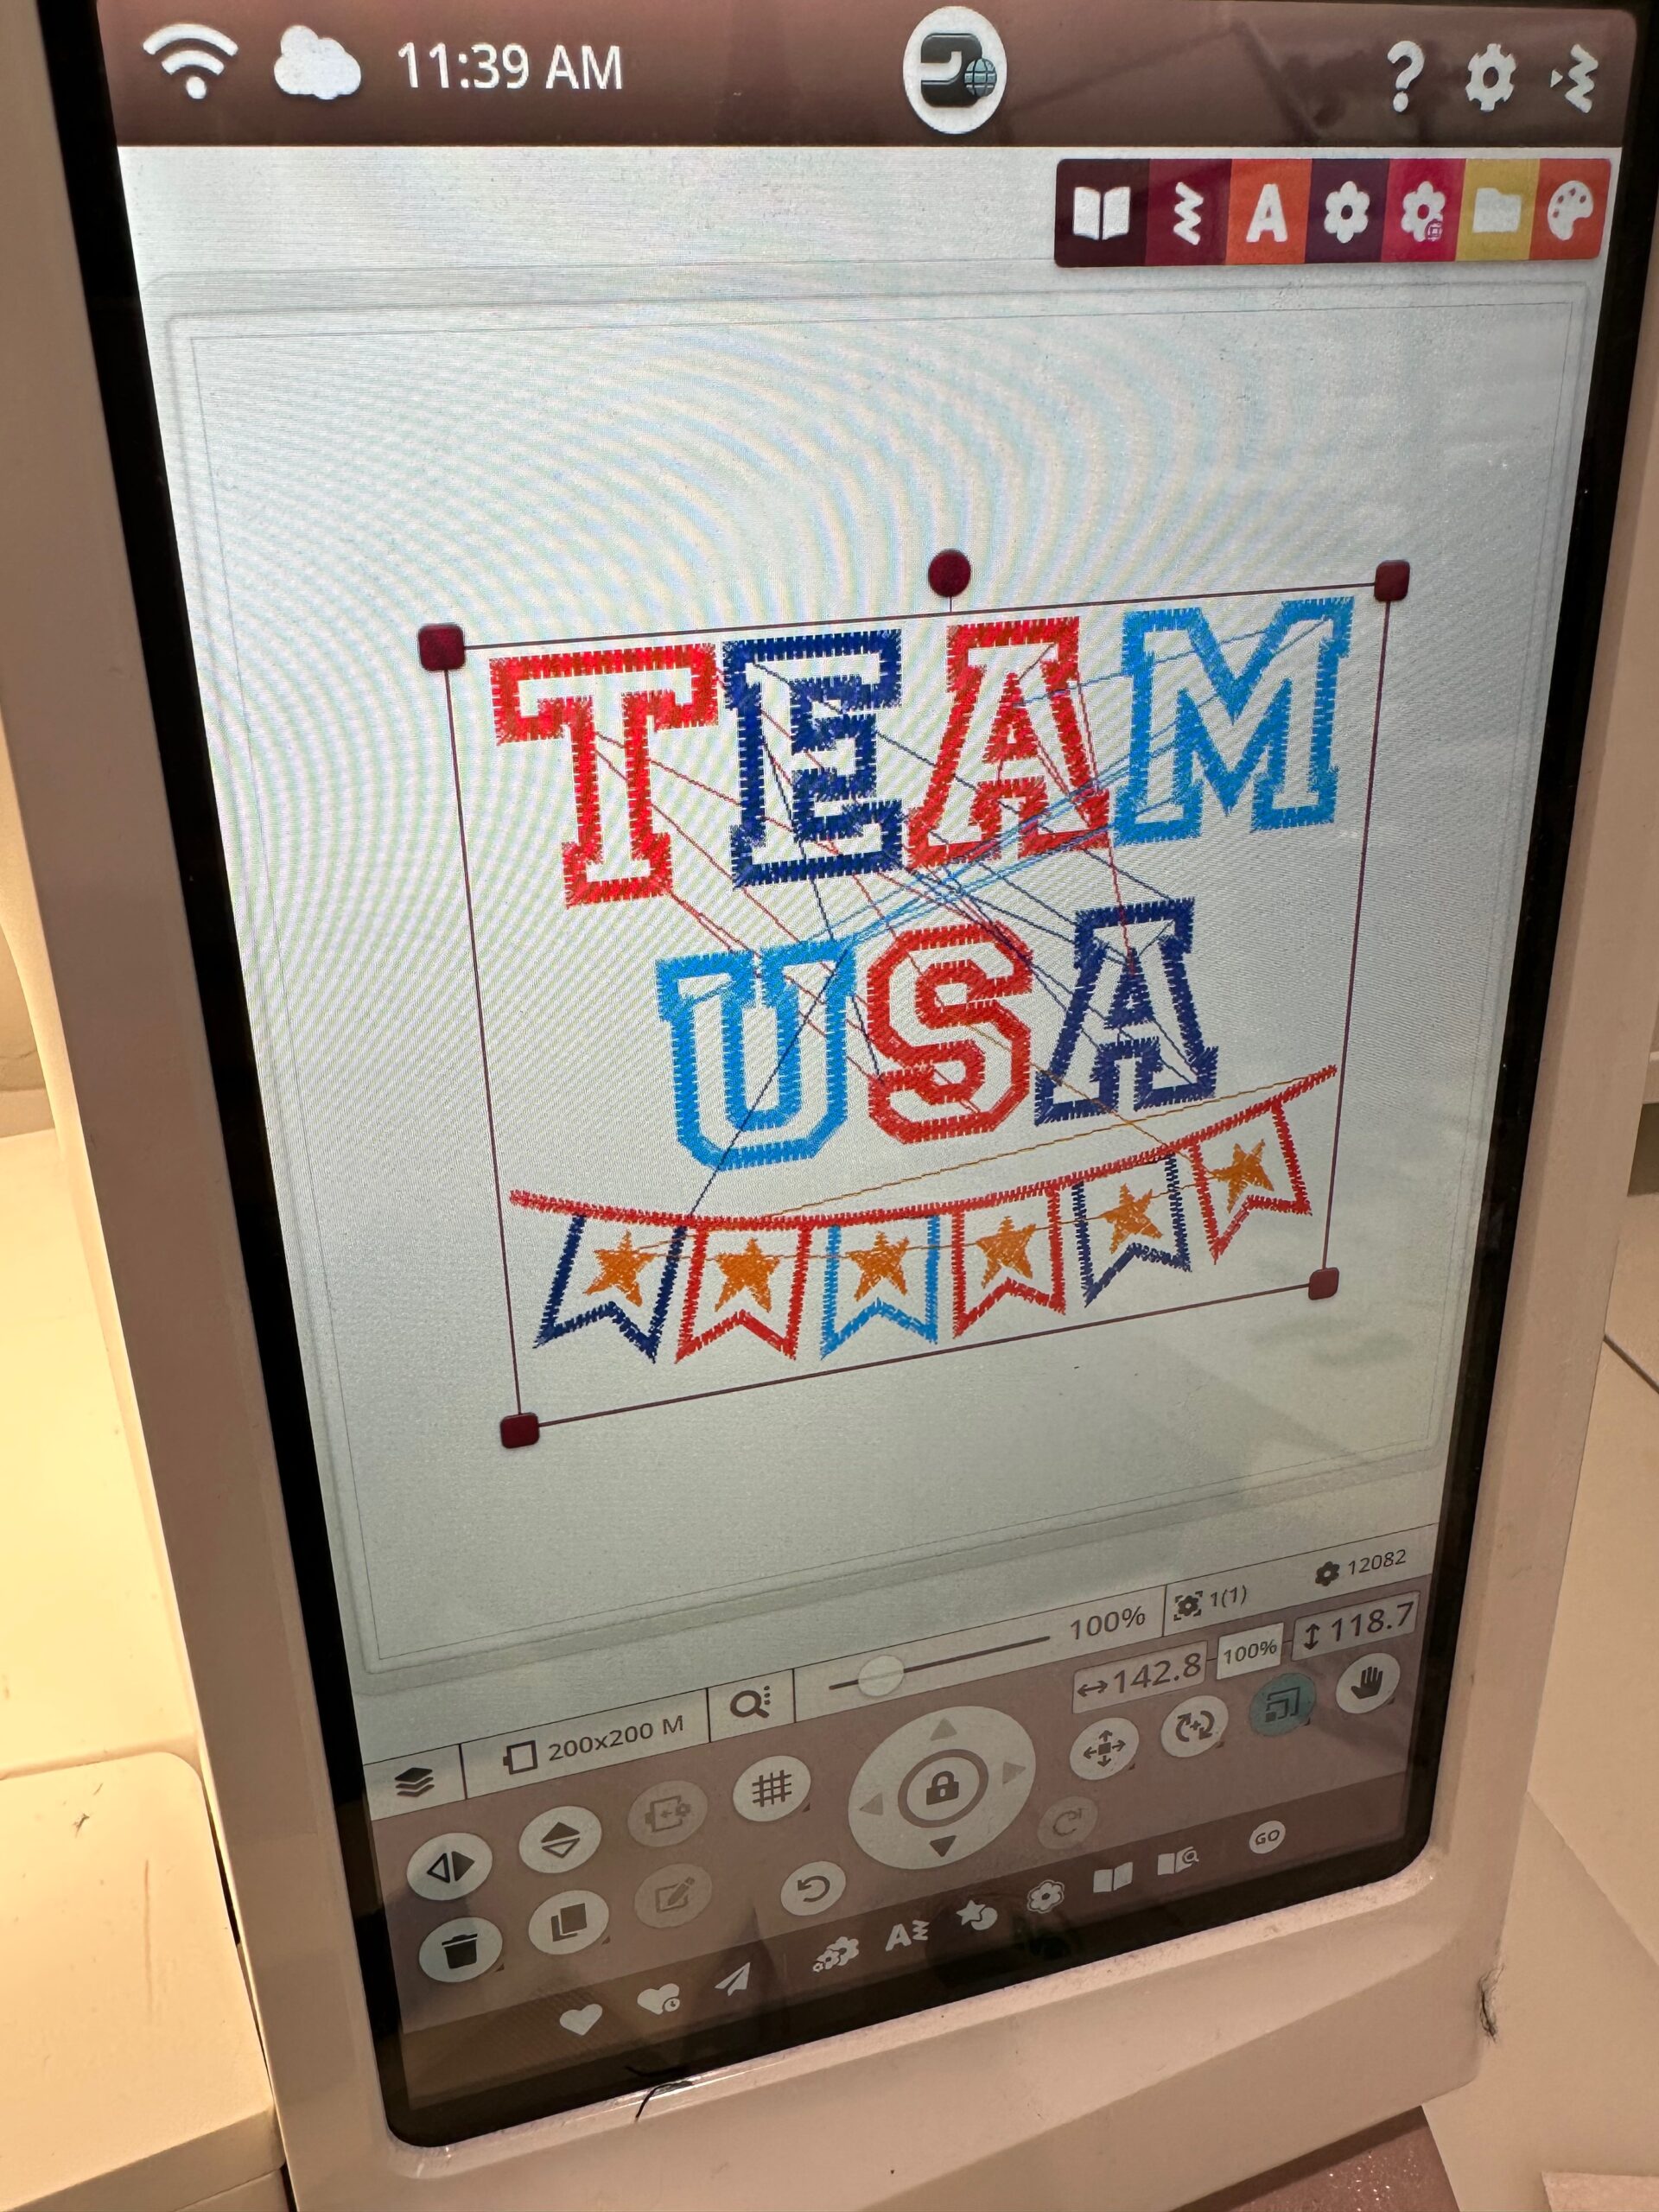
Load the design into the machine. Refer to the color sequence chart for the intended threads to use in the design. Note that most, if not all, machine brands do not recognize Sulky Poly Sparkle Thread so they default to a different color. This is why it’s helpful to refer to the color sequence chart that comes with the design files, rather than guessing at the machine.
Hoop one fabric rectangle with a layer of Sulky Tear-Easy stabilizer. If using a lightweight cotton fabric, you may prefer to use two layers of Tear-Easy for the best result. (Note that if you do this, you’ll need to tear away each layer of stabilizer independently once embroidery is complete.) Make sure to orient the fabric/design so the fabric is vertical (long edges are the side edges of the flag).
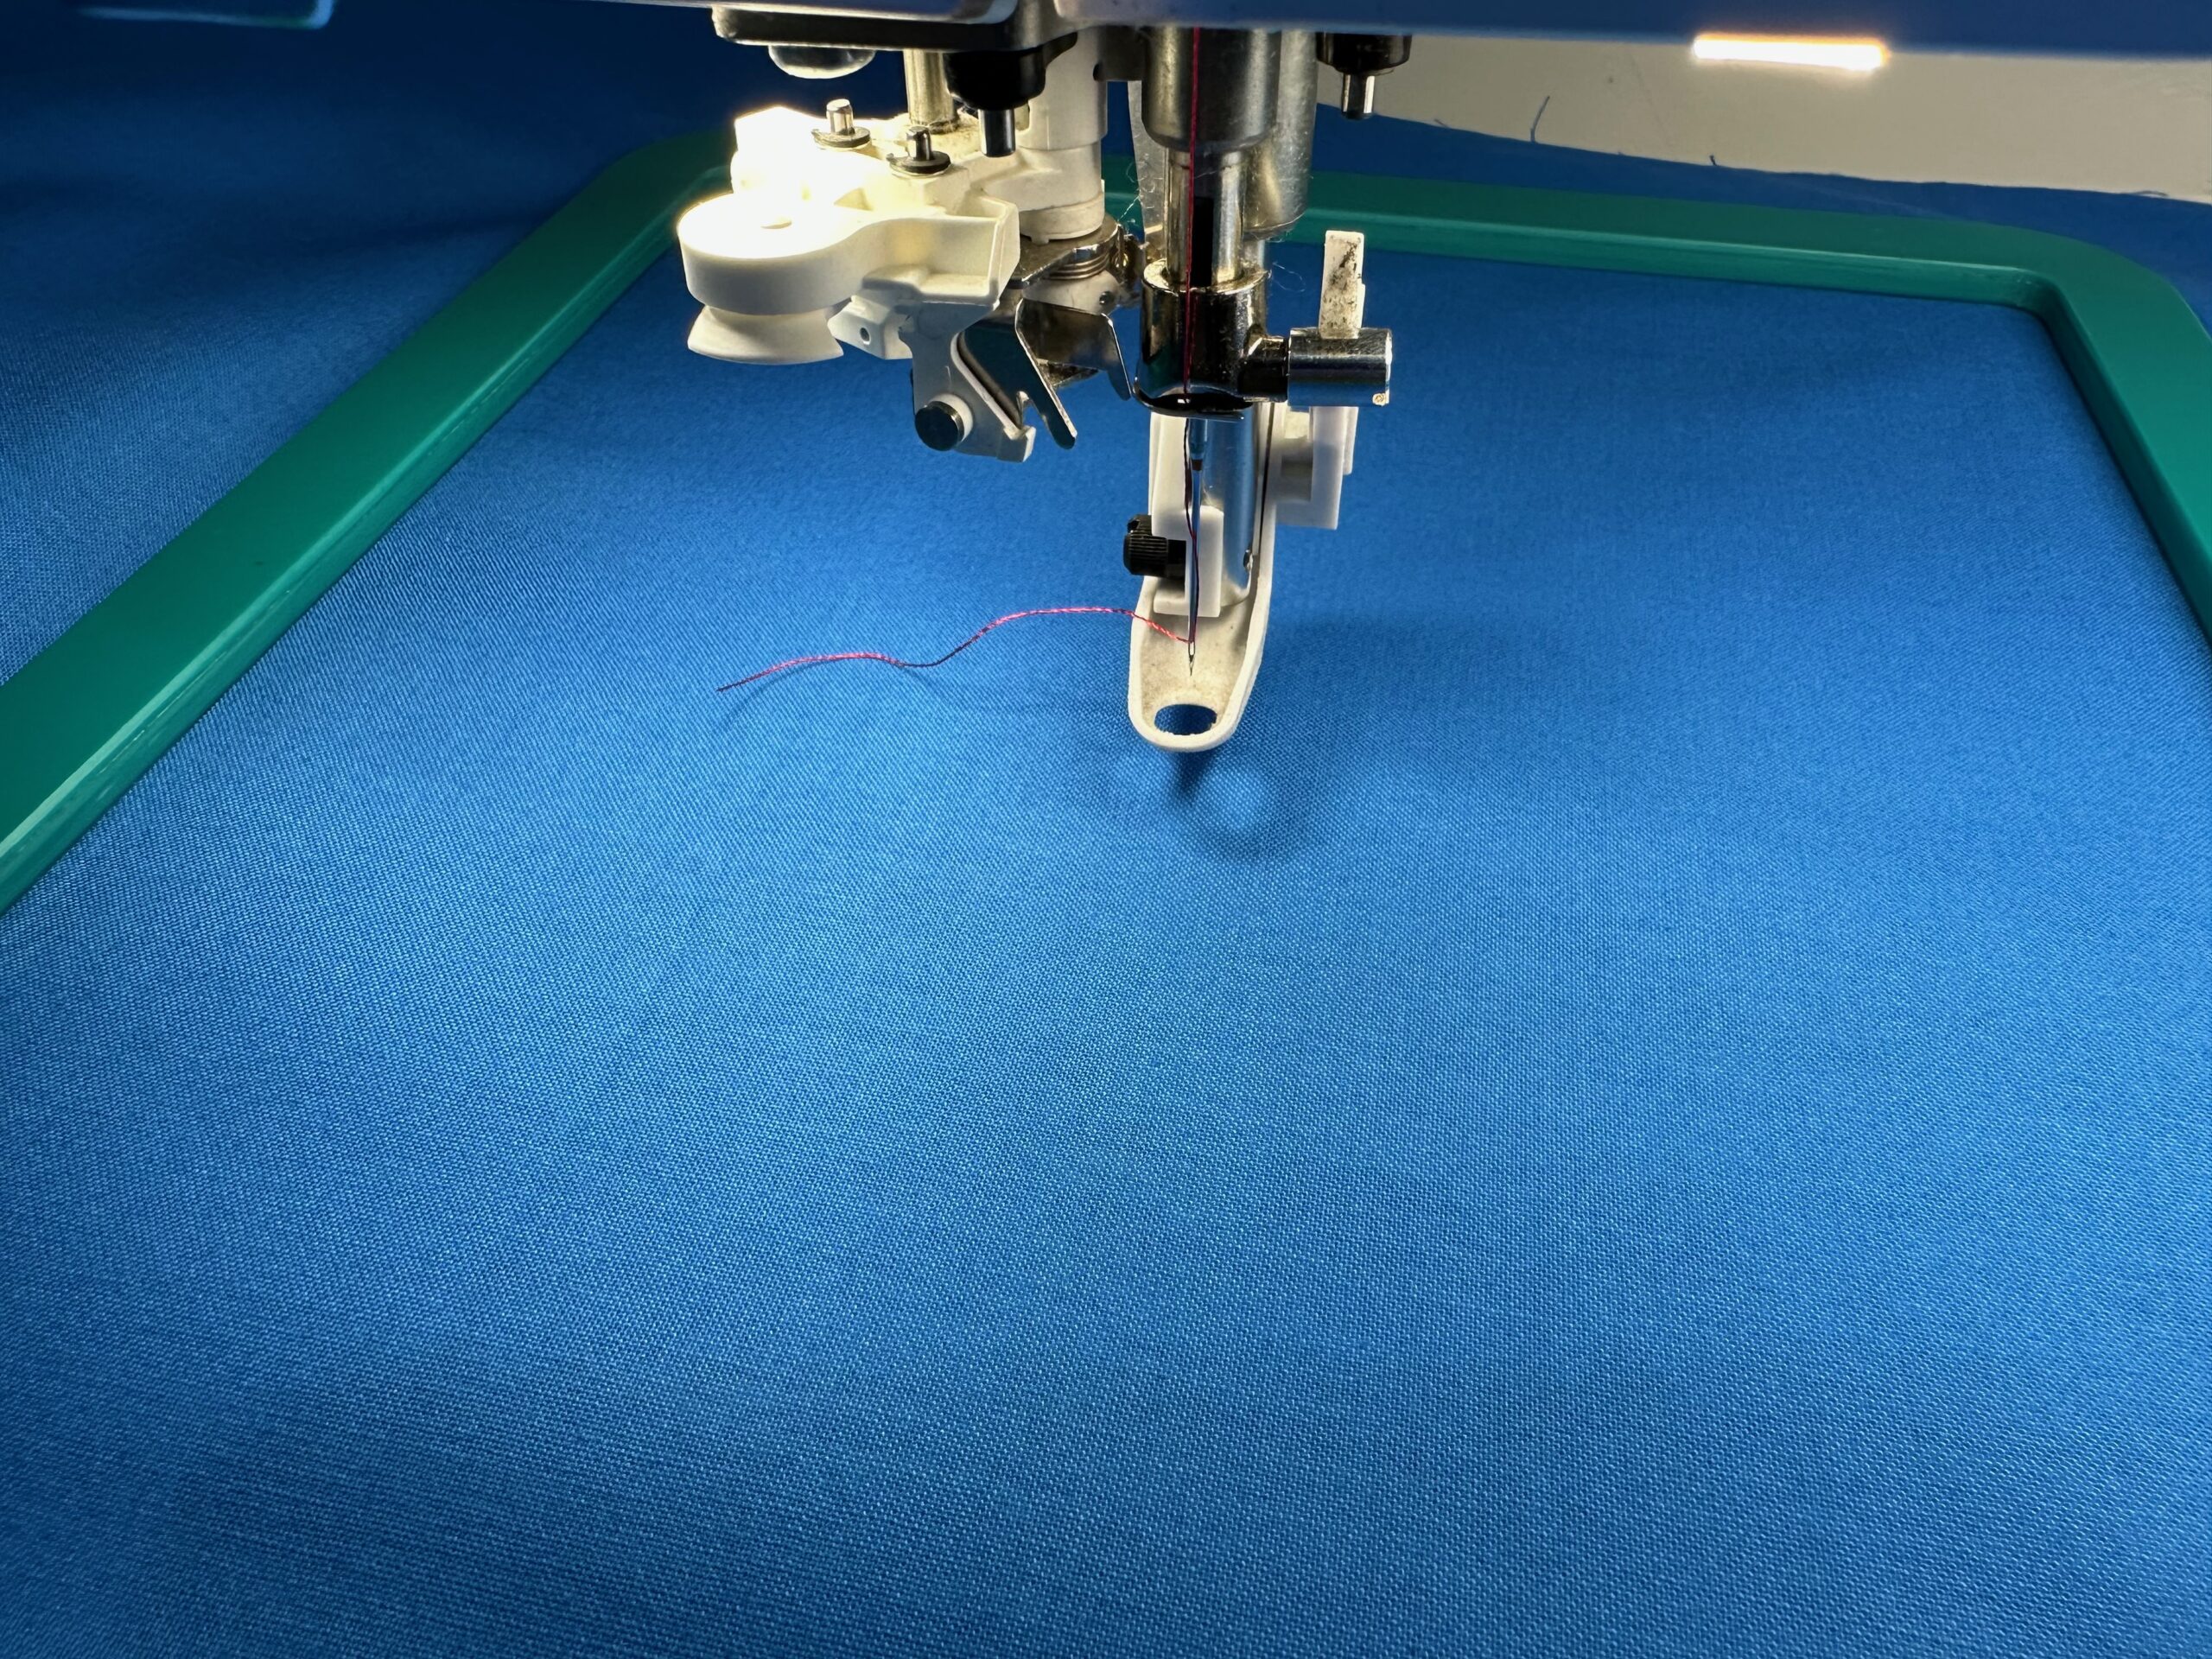
Notice that the lettering will stitch out first, which are the appliqué designs. Choose two Felty colors for the appliqué fabrics (in this case: red and light blue).
Stitch the first color stop, which are the placement stitches for the first two appliqué pieces.
Place two Felty rectangles over the placement stitches, using KK2000 to secure.
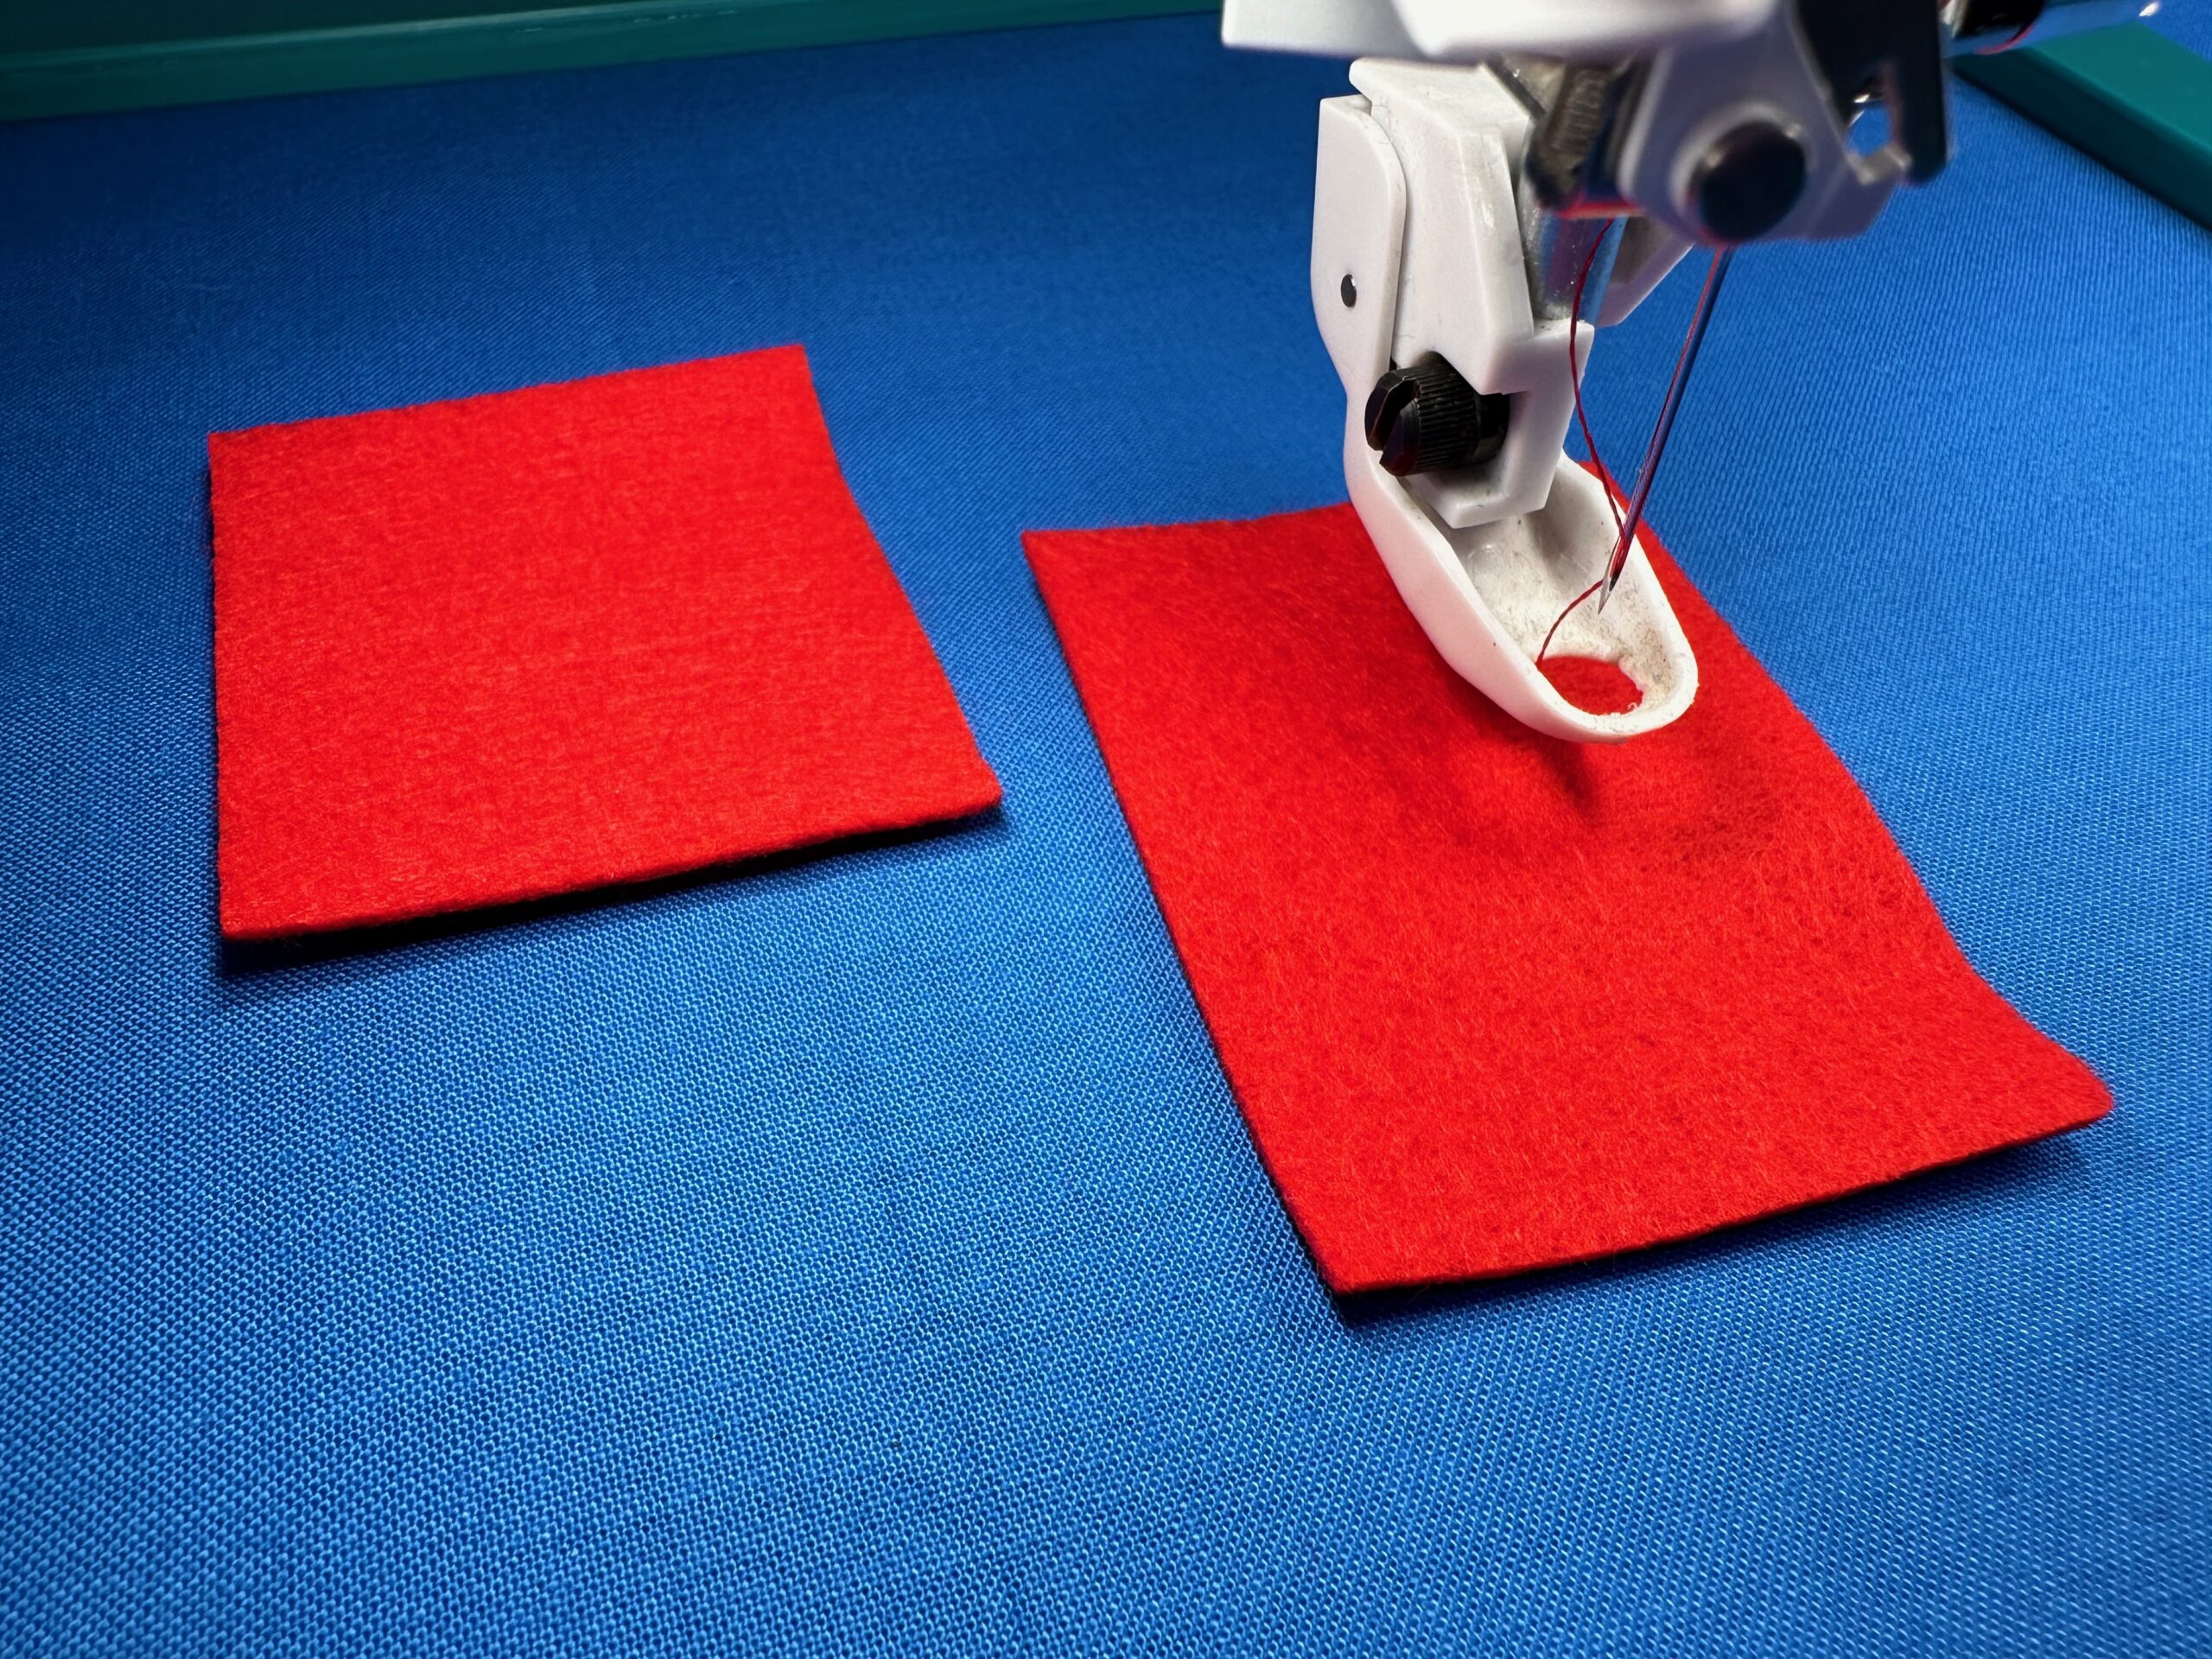
Then, stitch the second color stop, which are the tacking stitches that secure the Felty to the fabric.
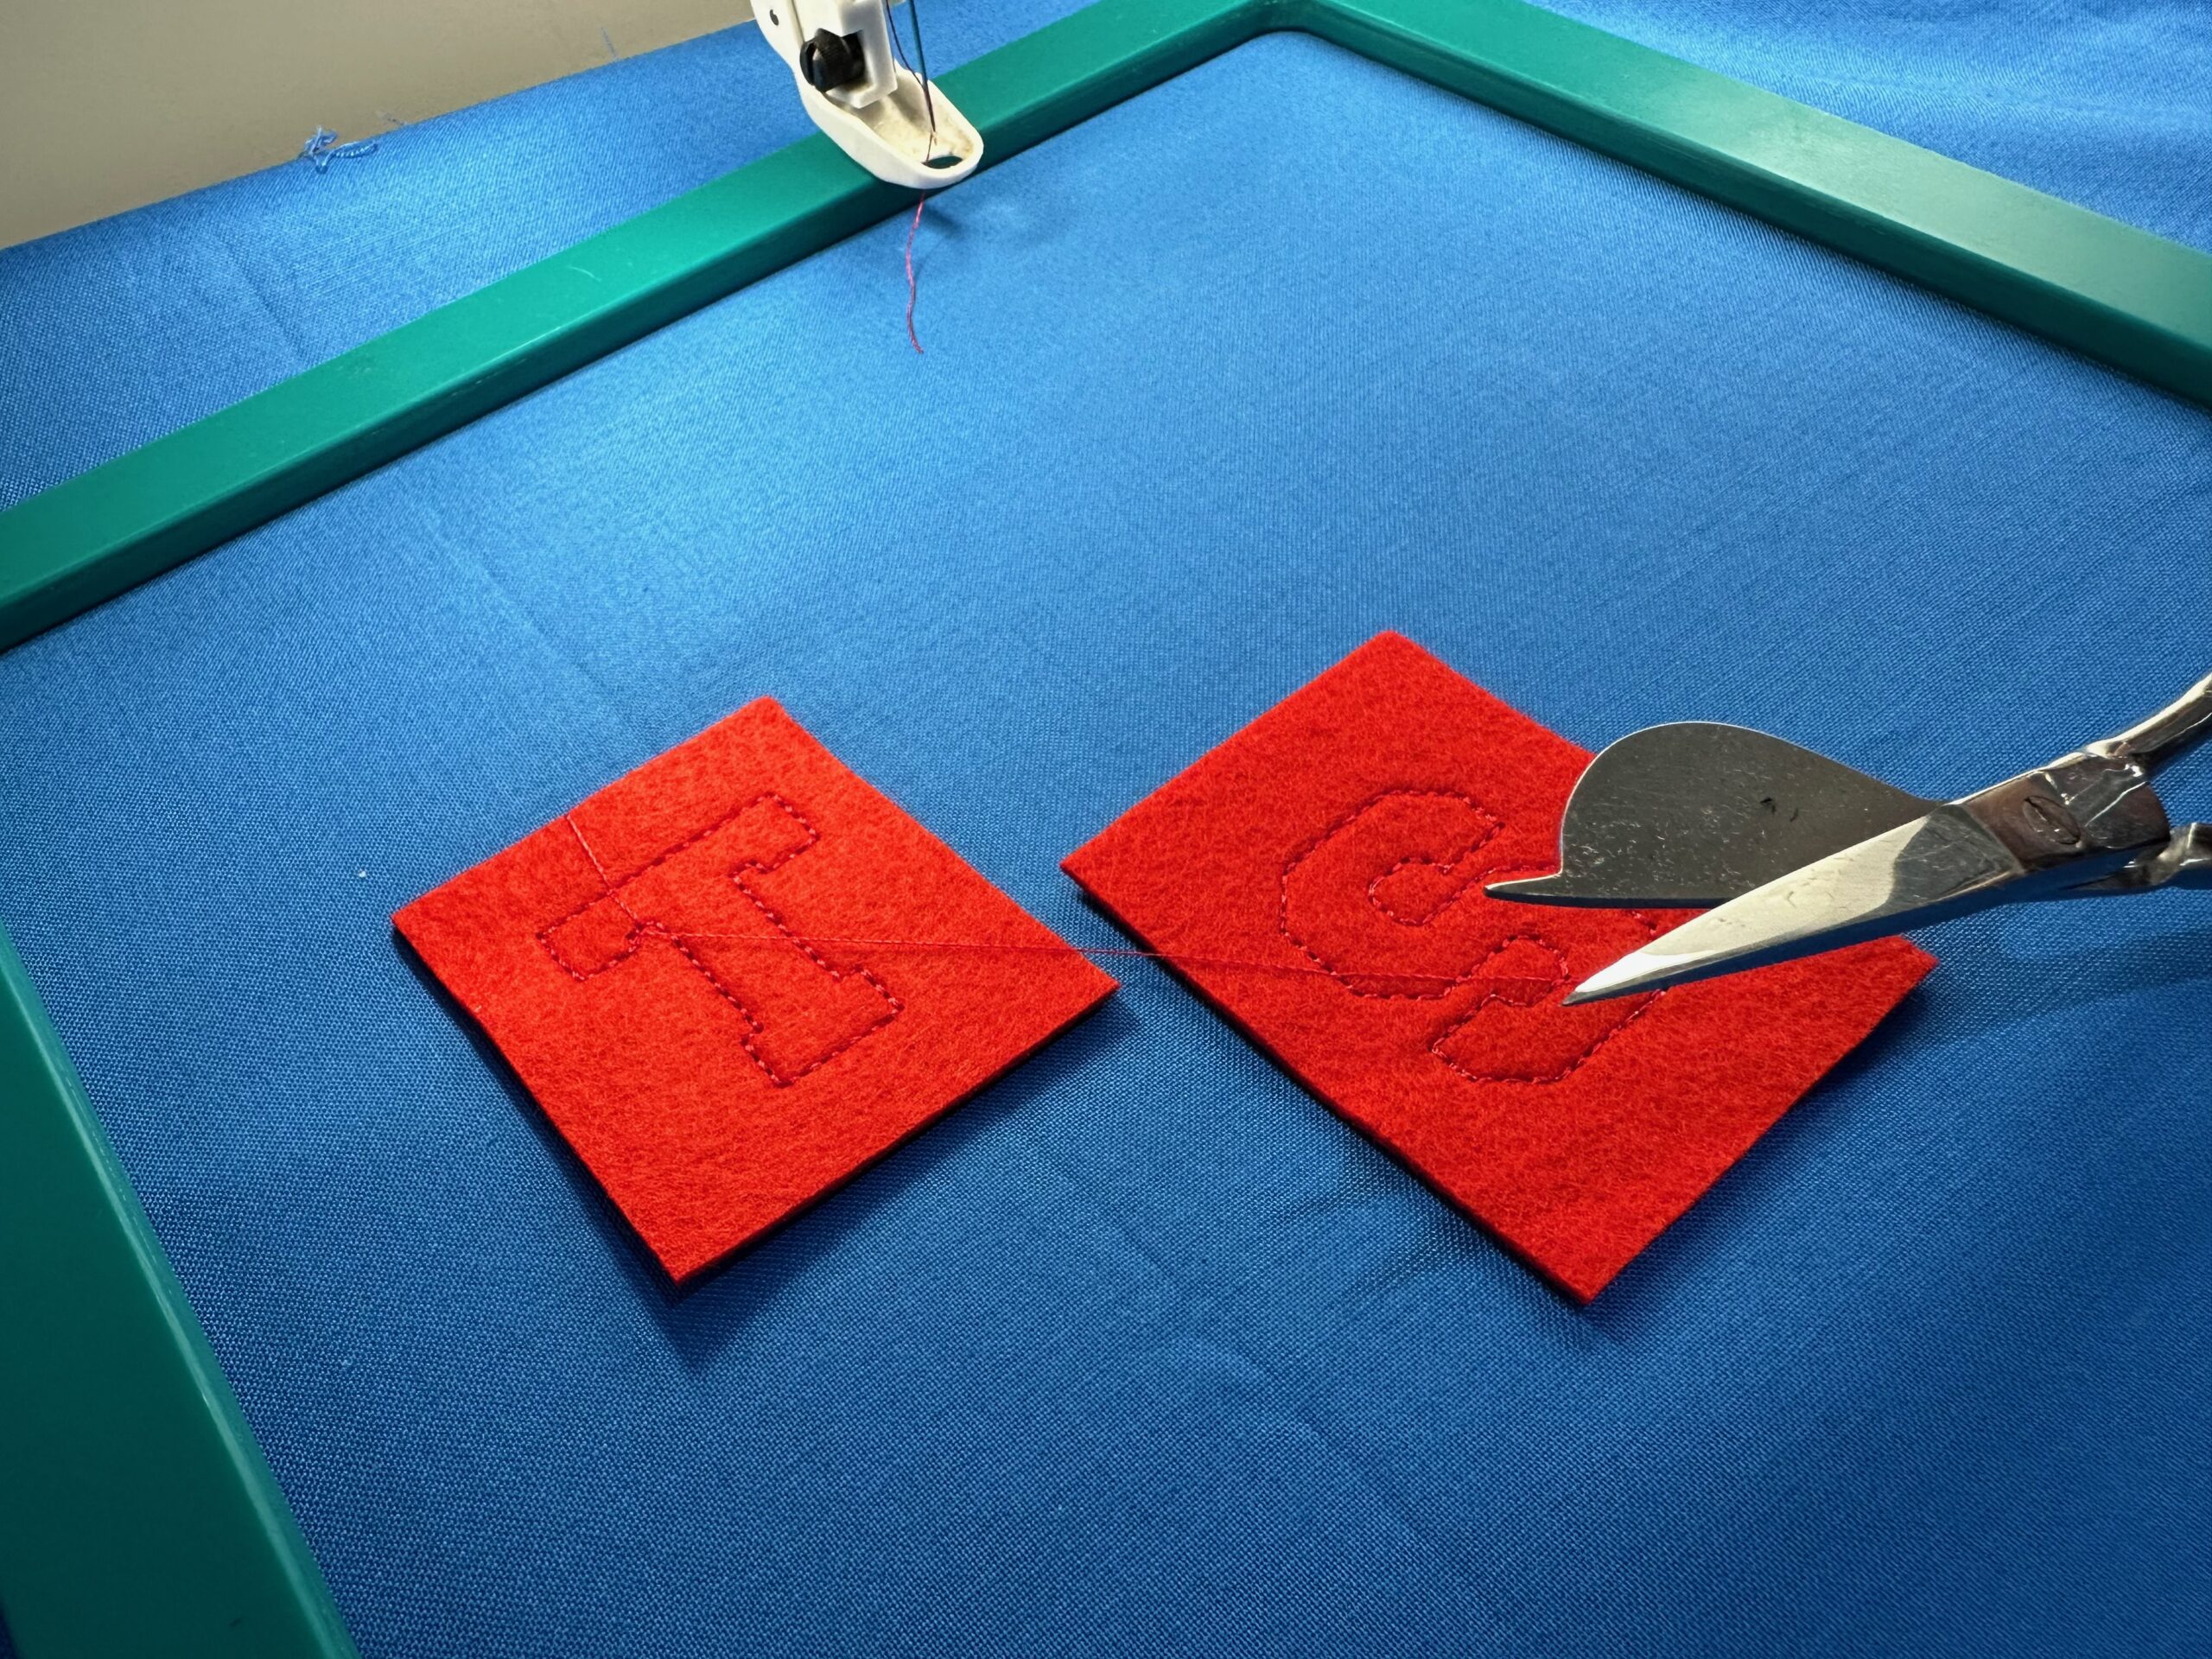
Use appliqué scissors to trim as close to the tacking stitches as possible. You may need to also use Curved Tip Squeezers to access smaller areas to trim away.
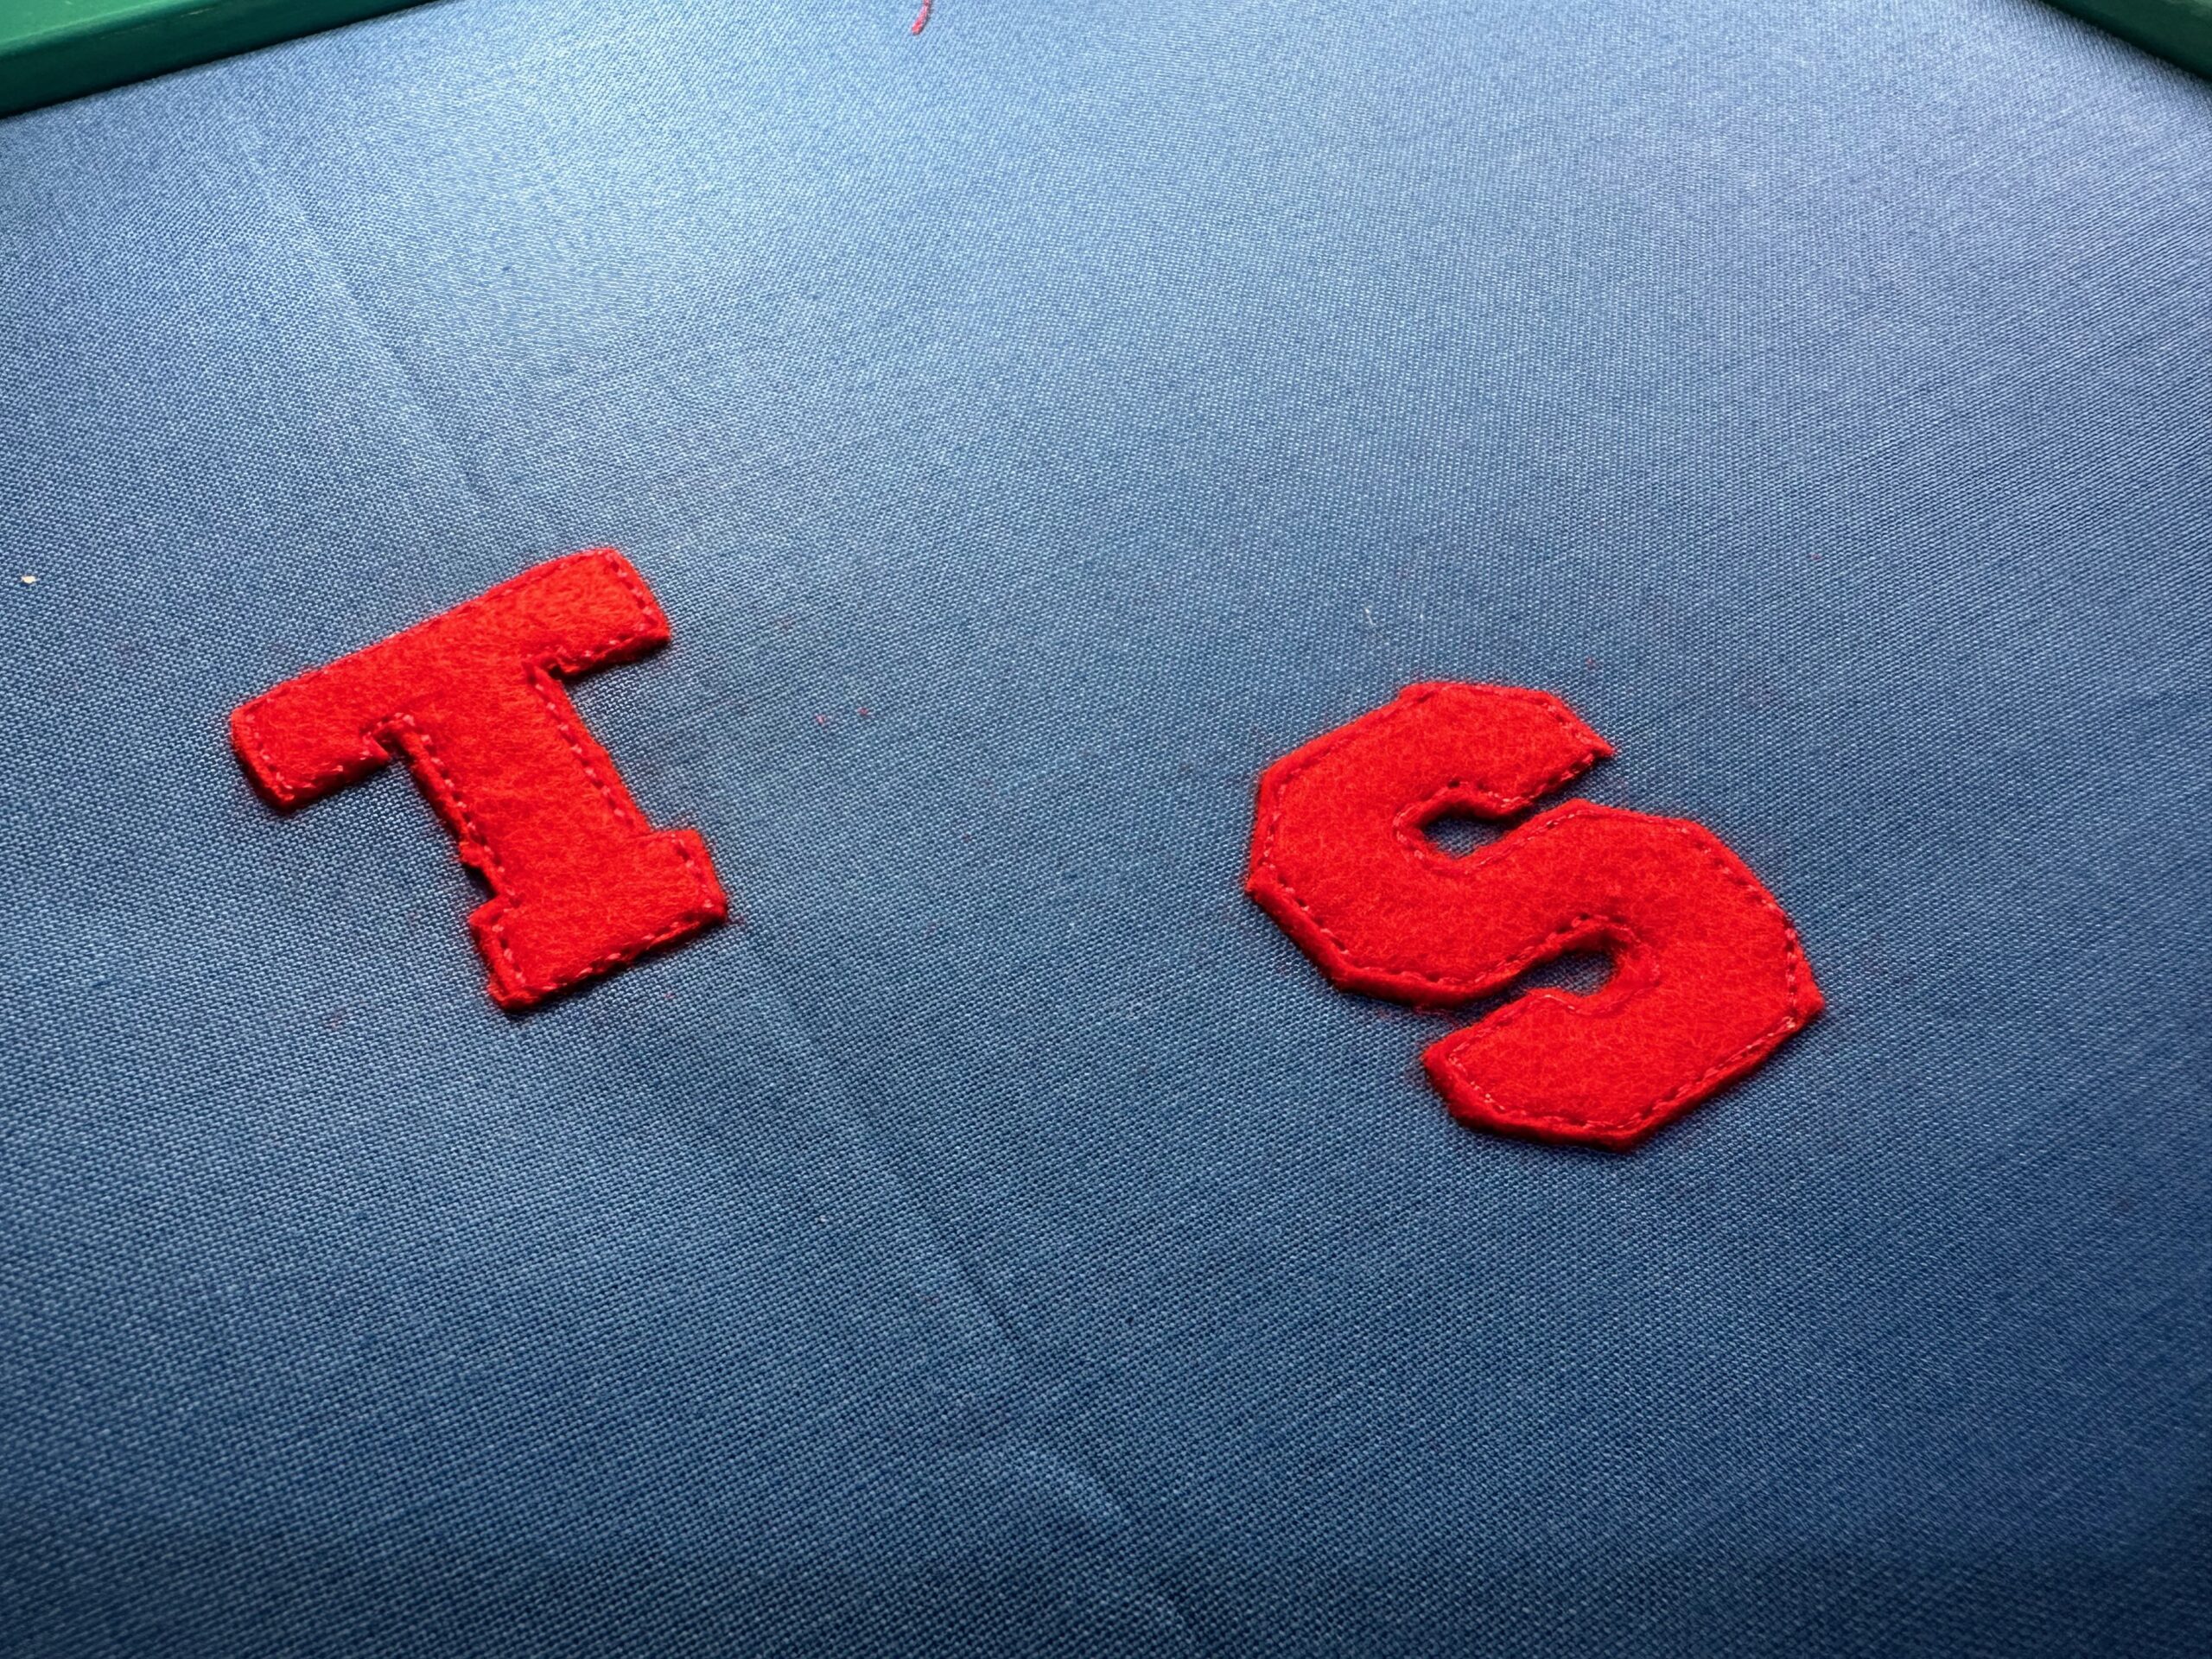
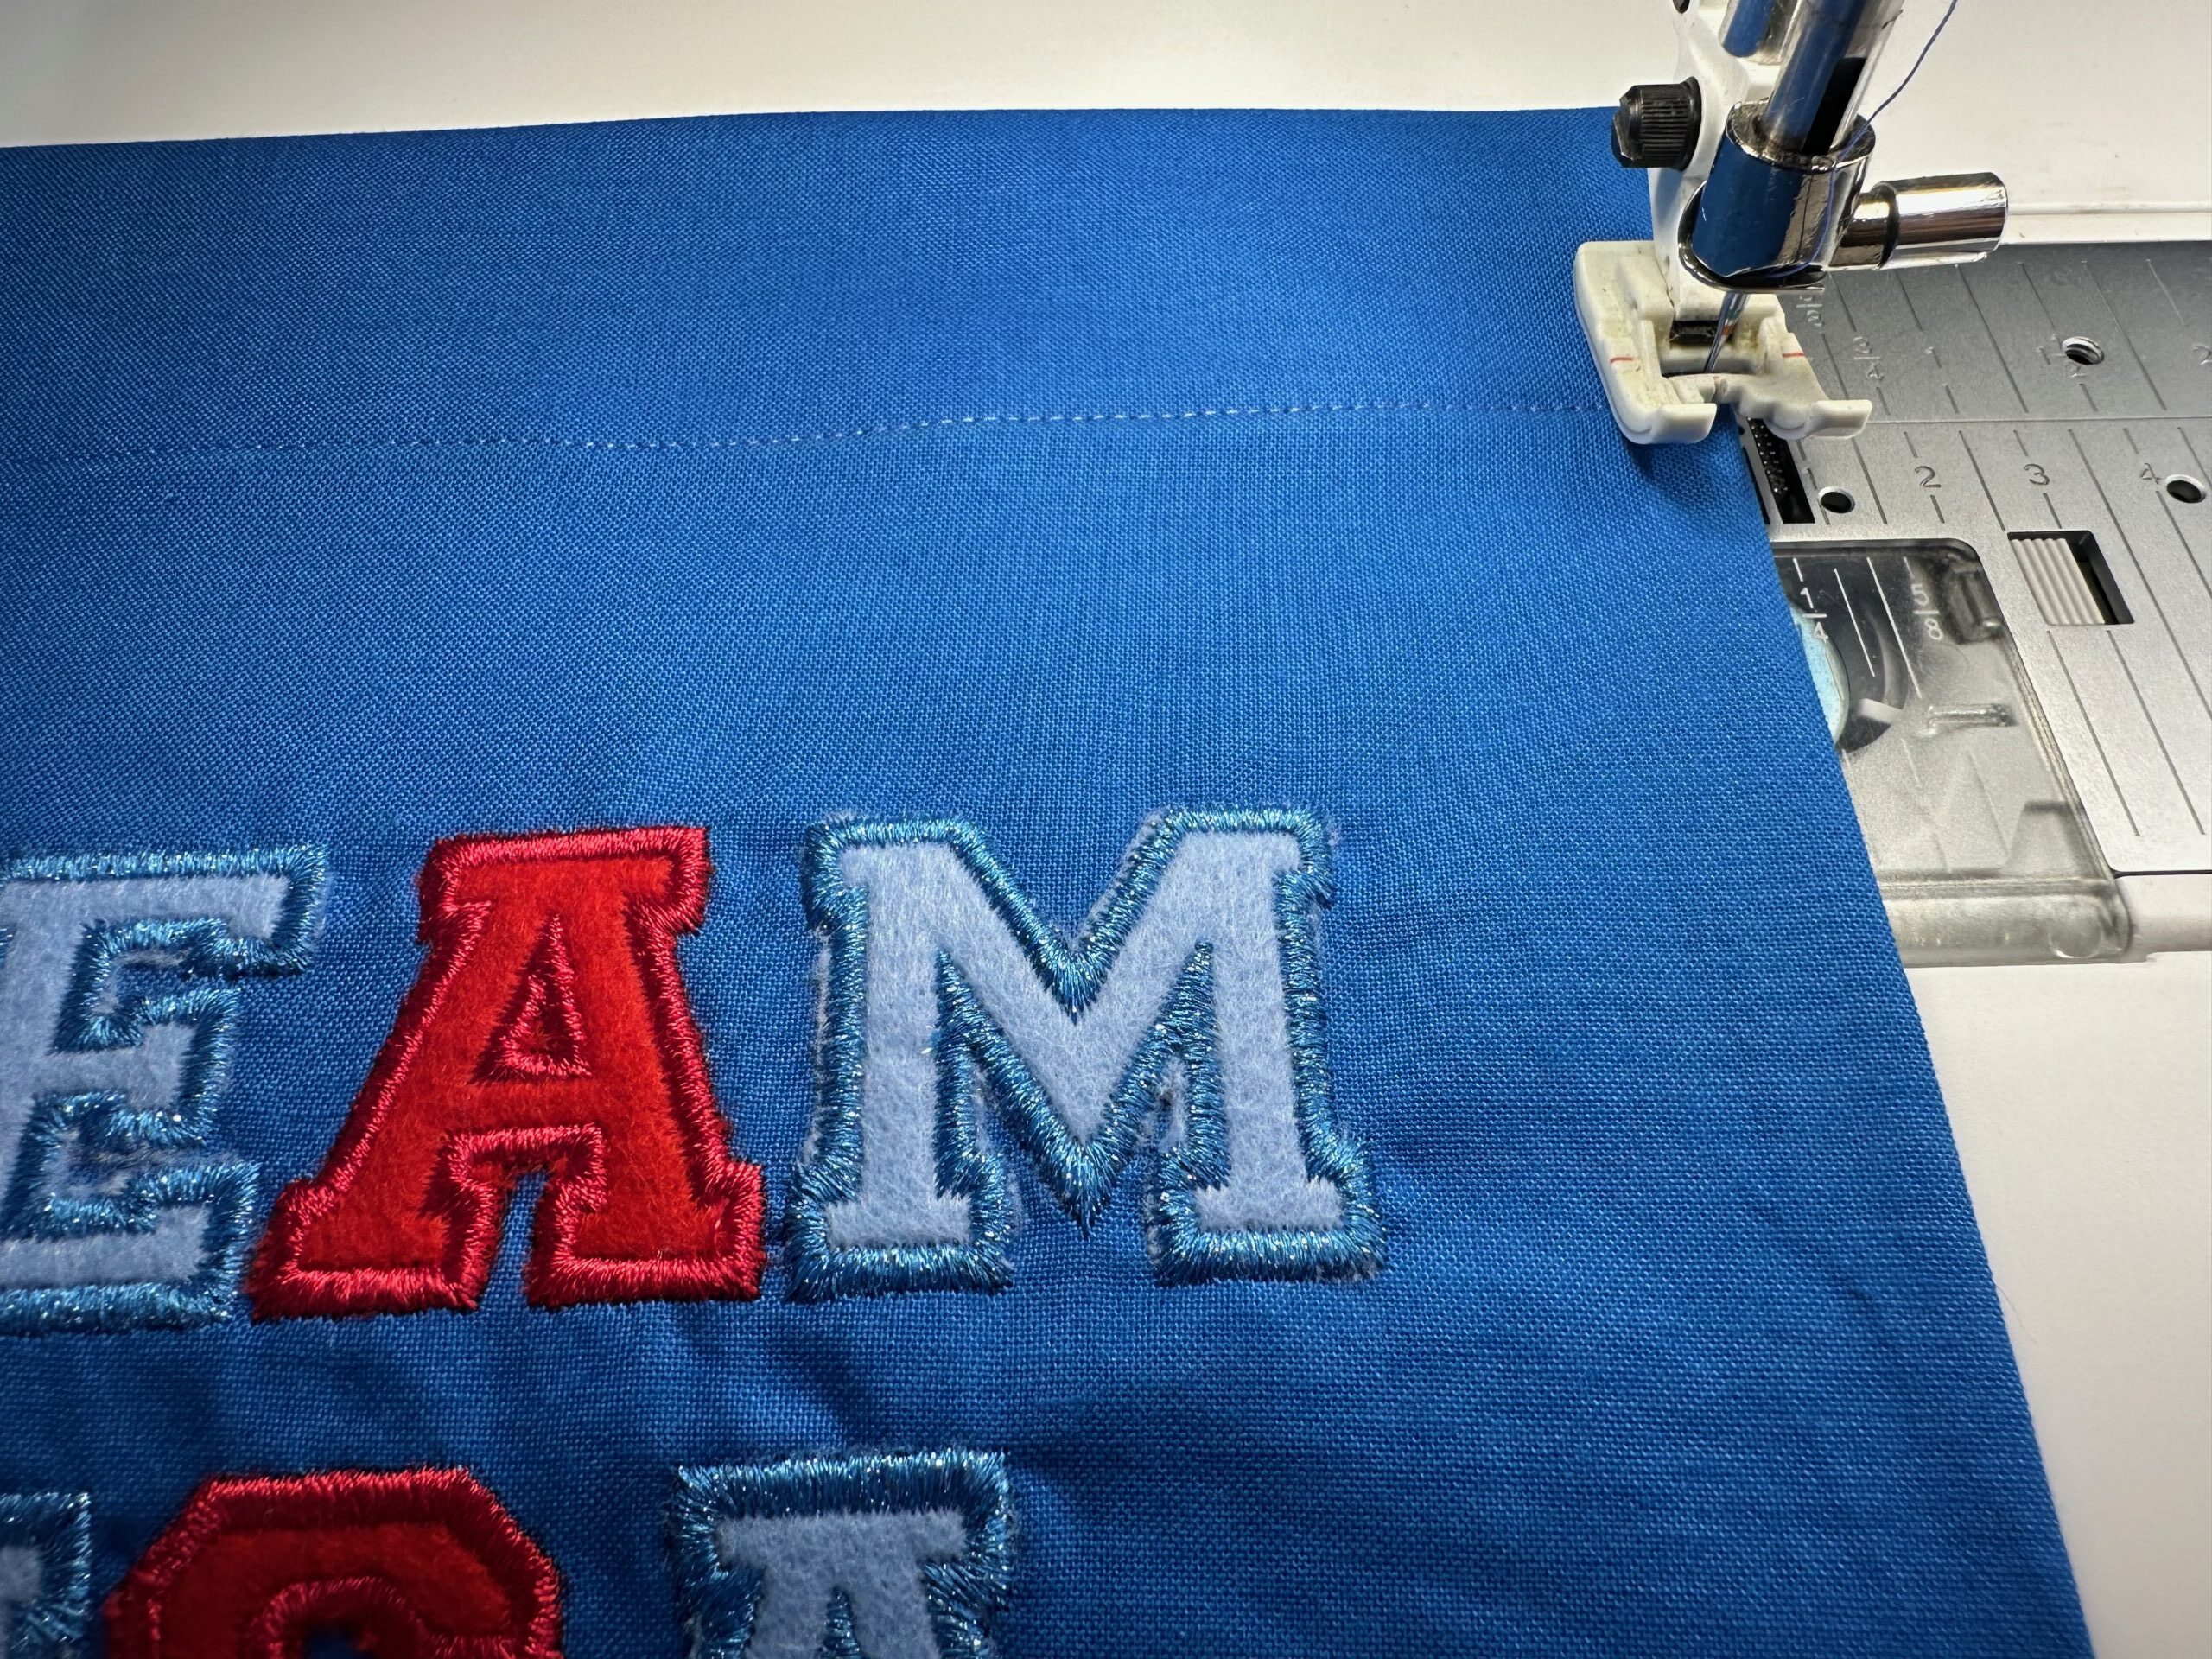
Then, stitch the next color stop, which are the satin stitches that finish the Felty edges.
Continue in this manner until the entire TEAM USA lettering is stitched. Then, embroidery the remaining design, which is the flag bunting and stars.
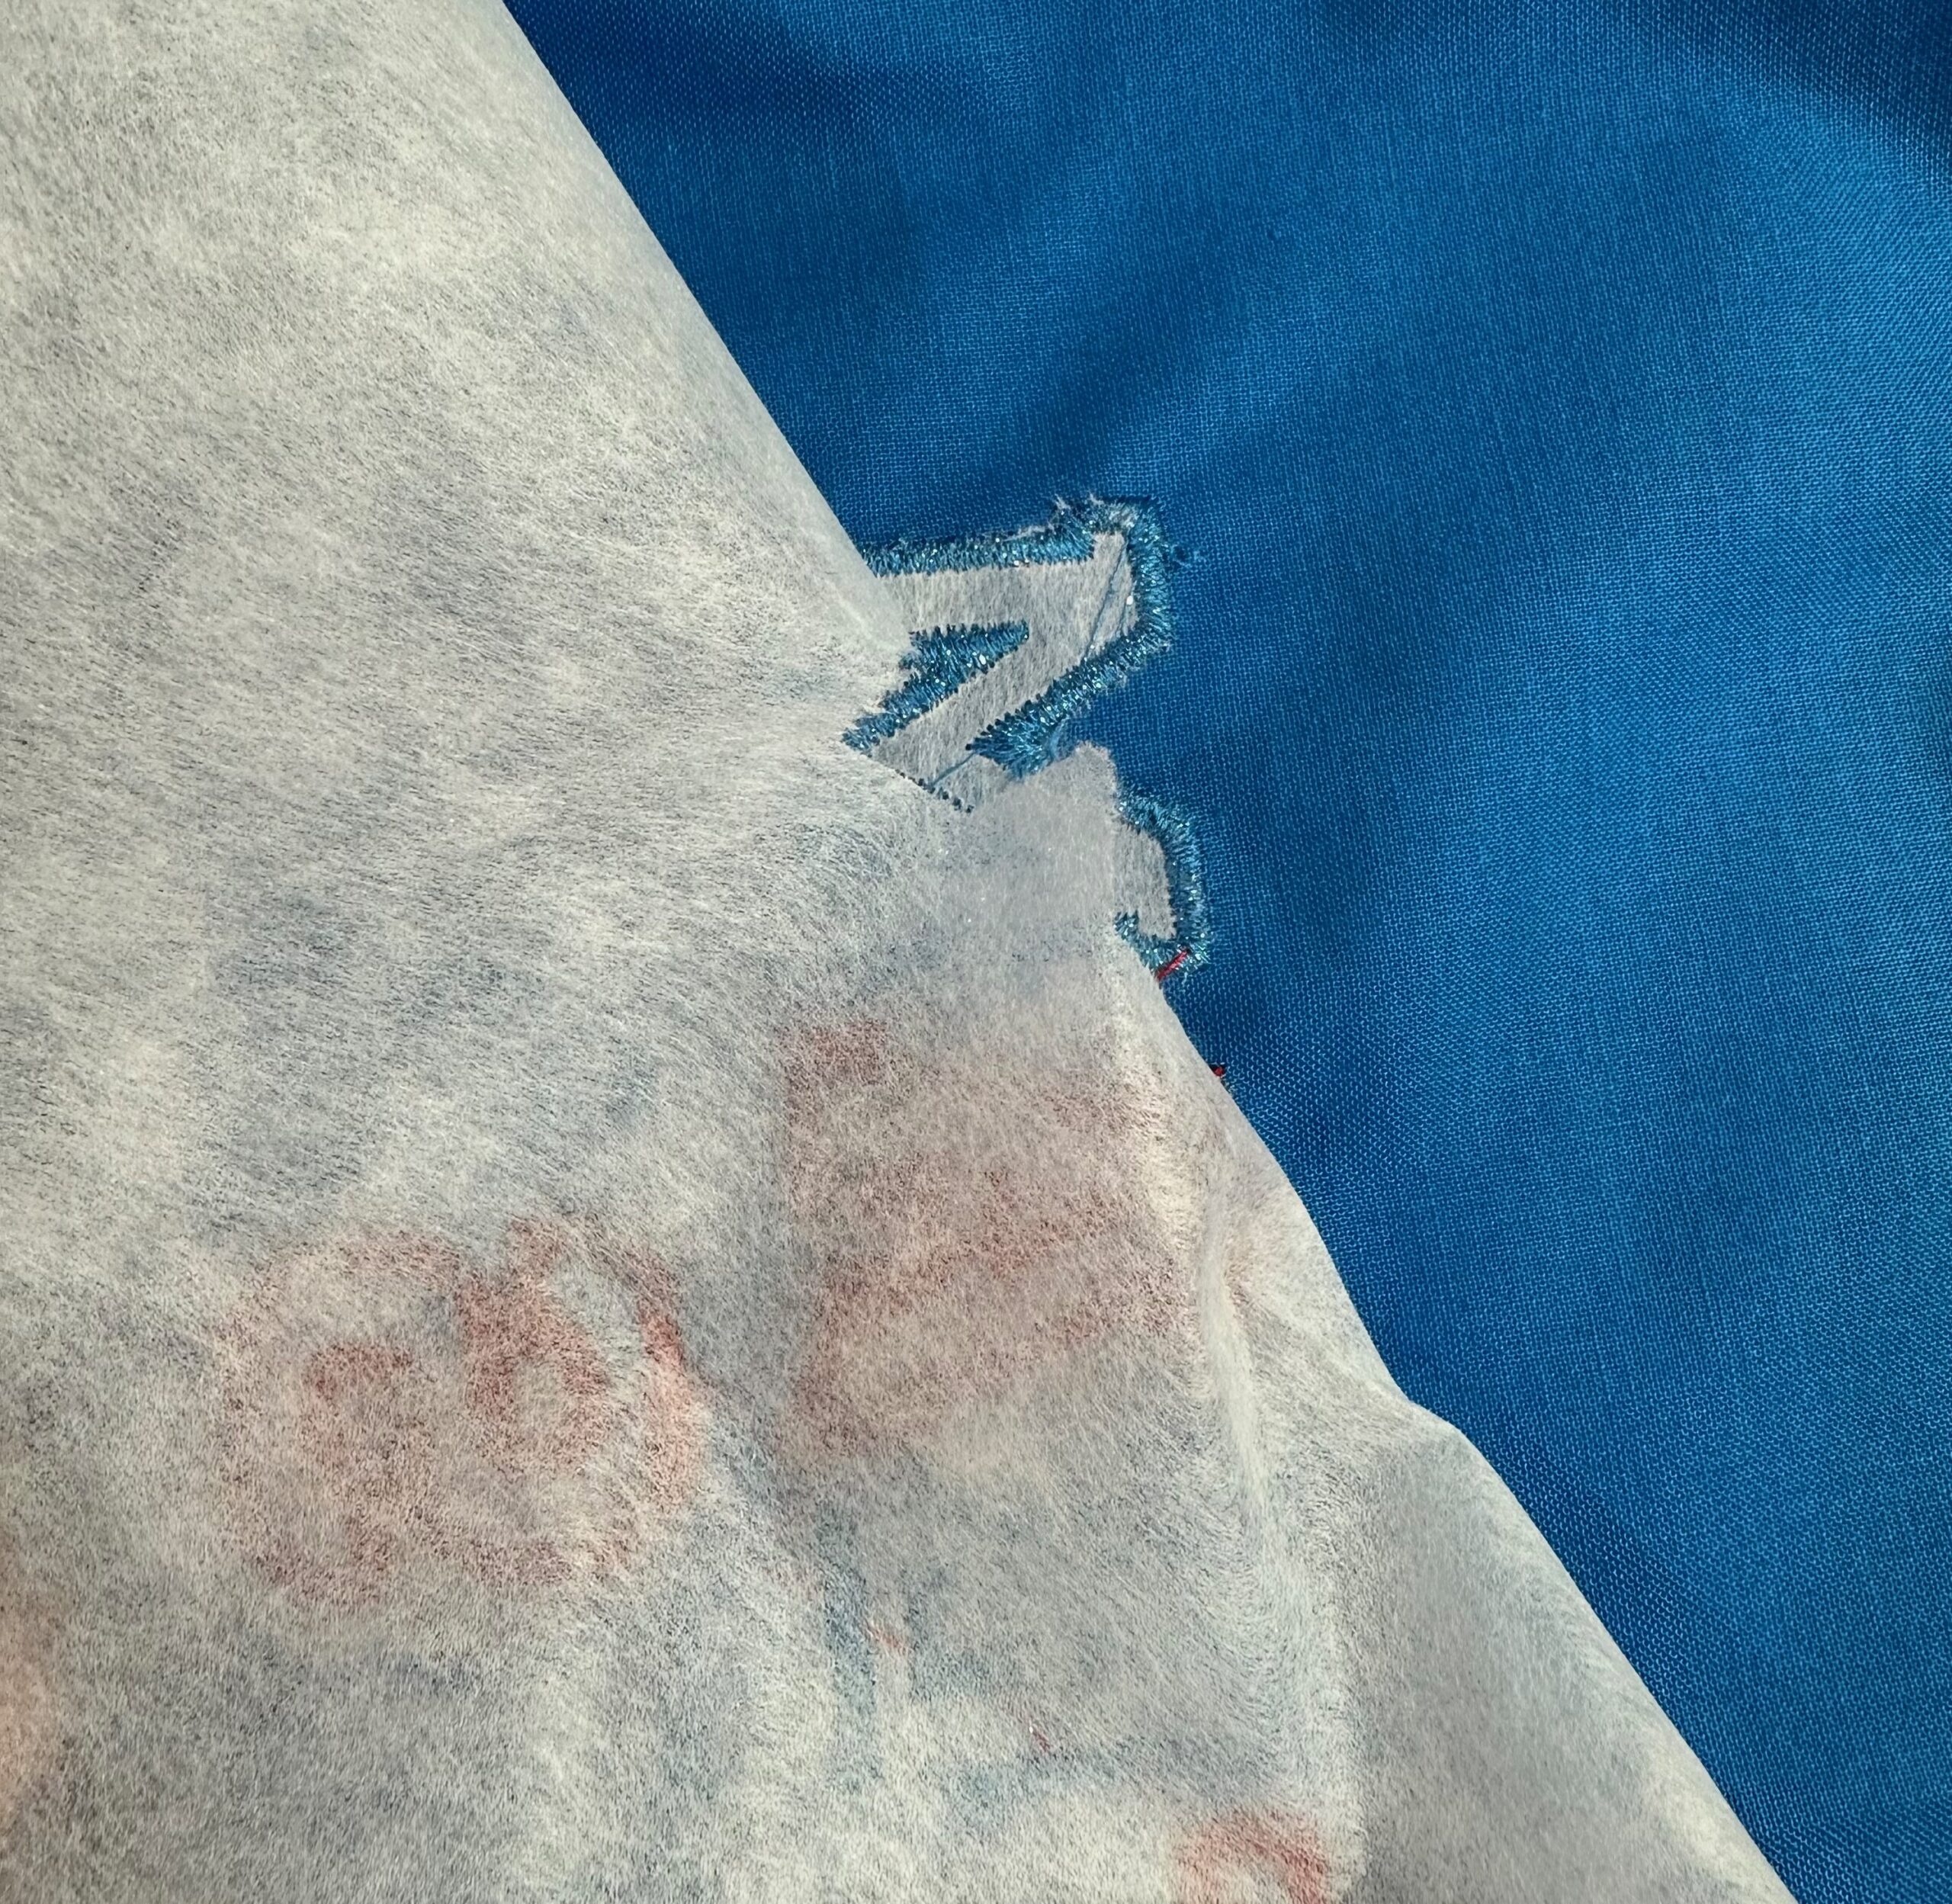
When embroidery is complete, gently tear away the stabilizer beyond the design perimeter.
FLAG PATTERN
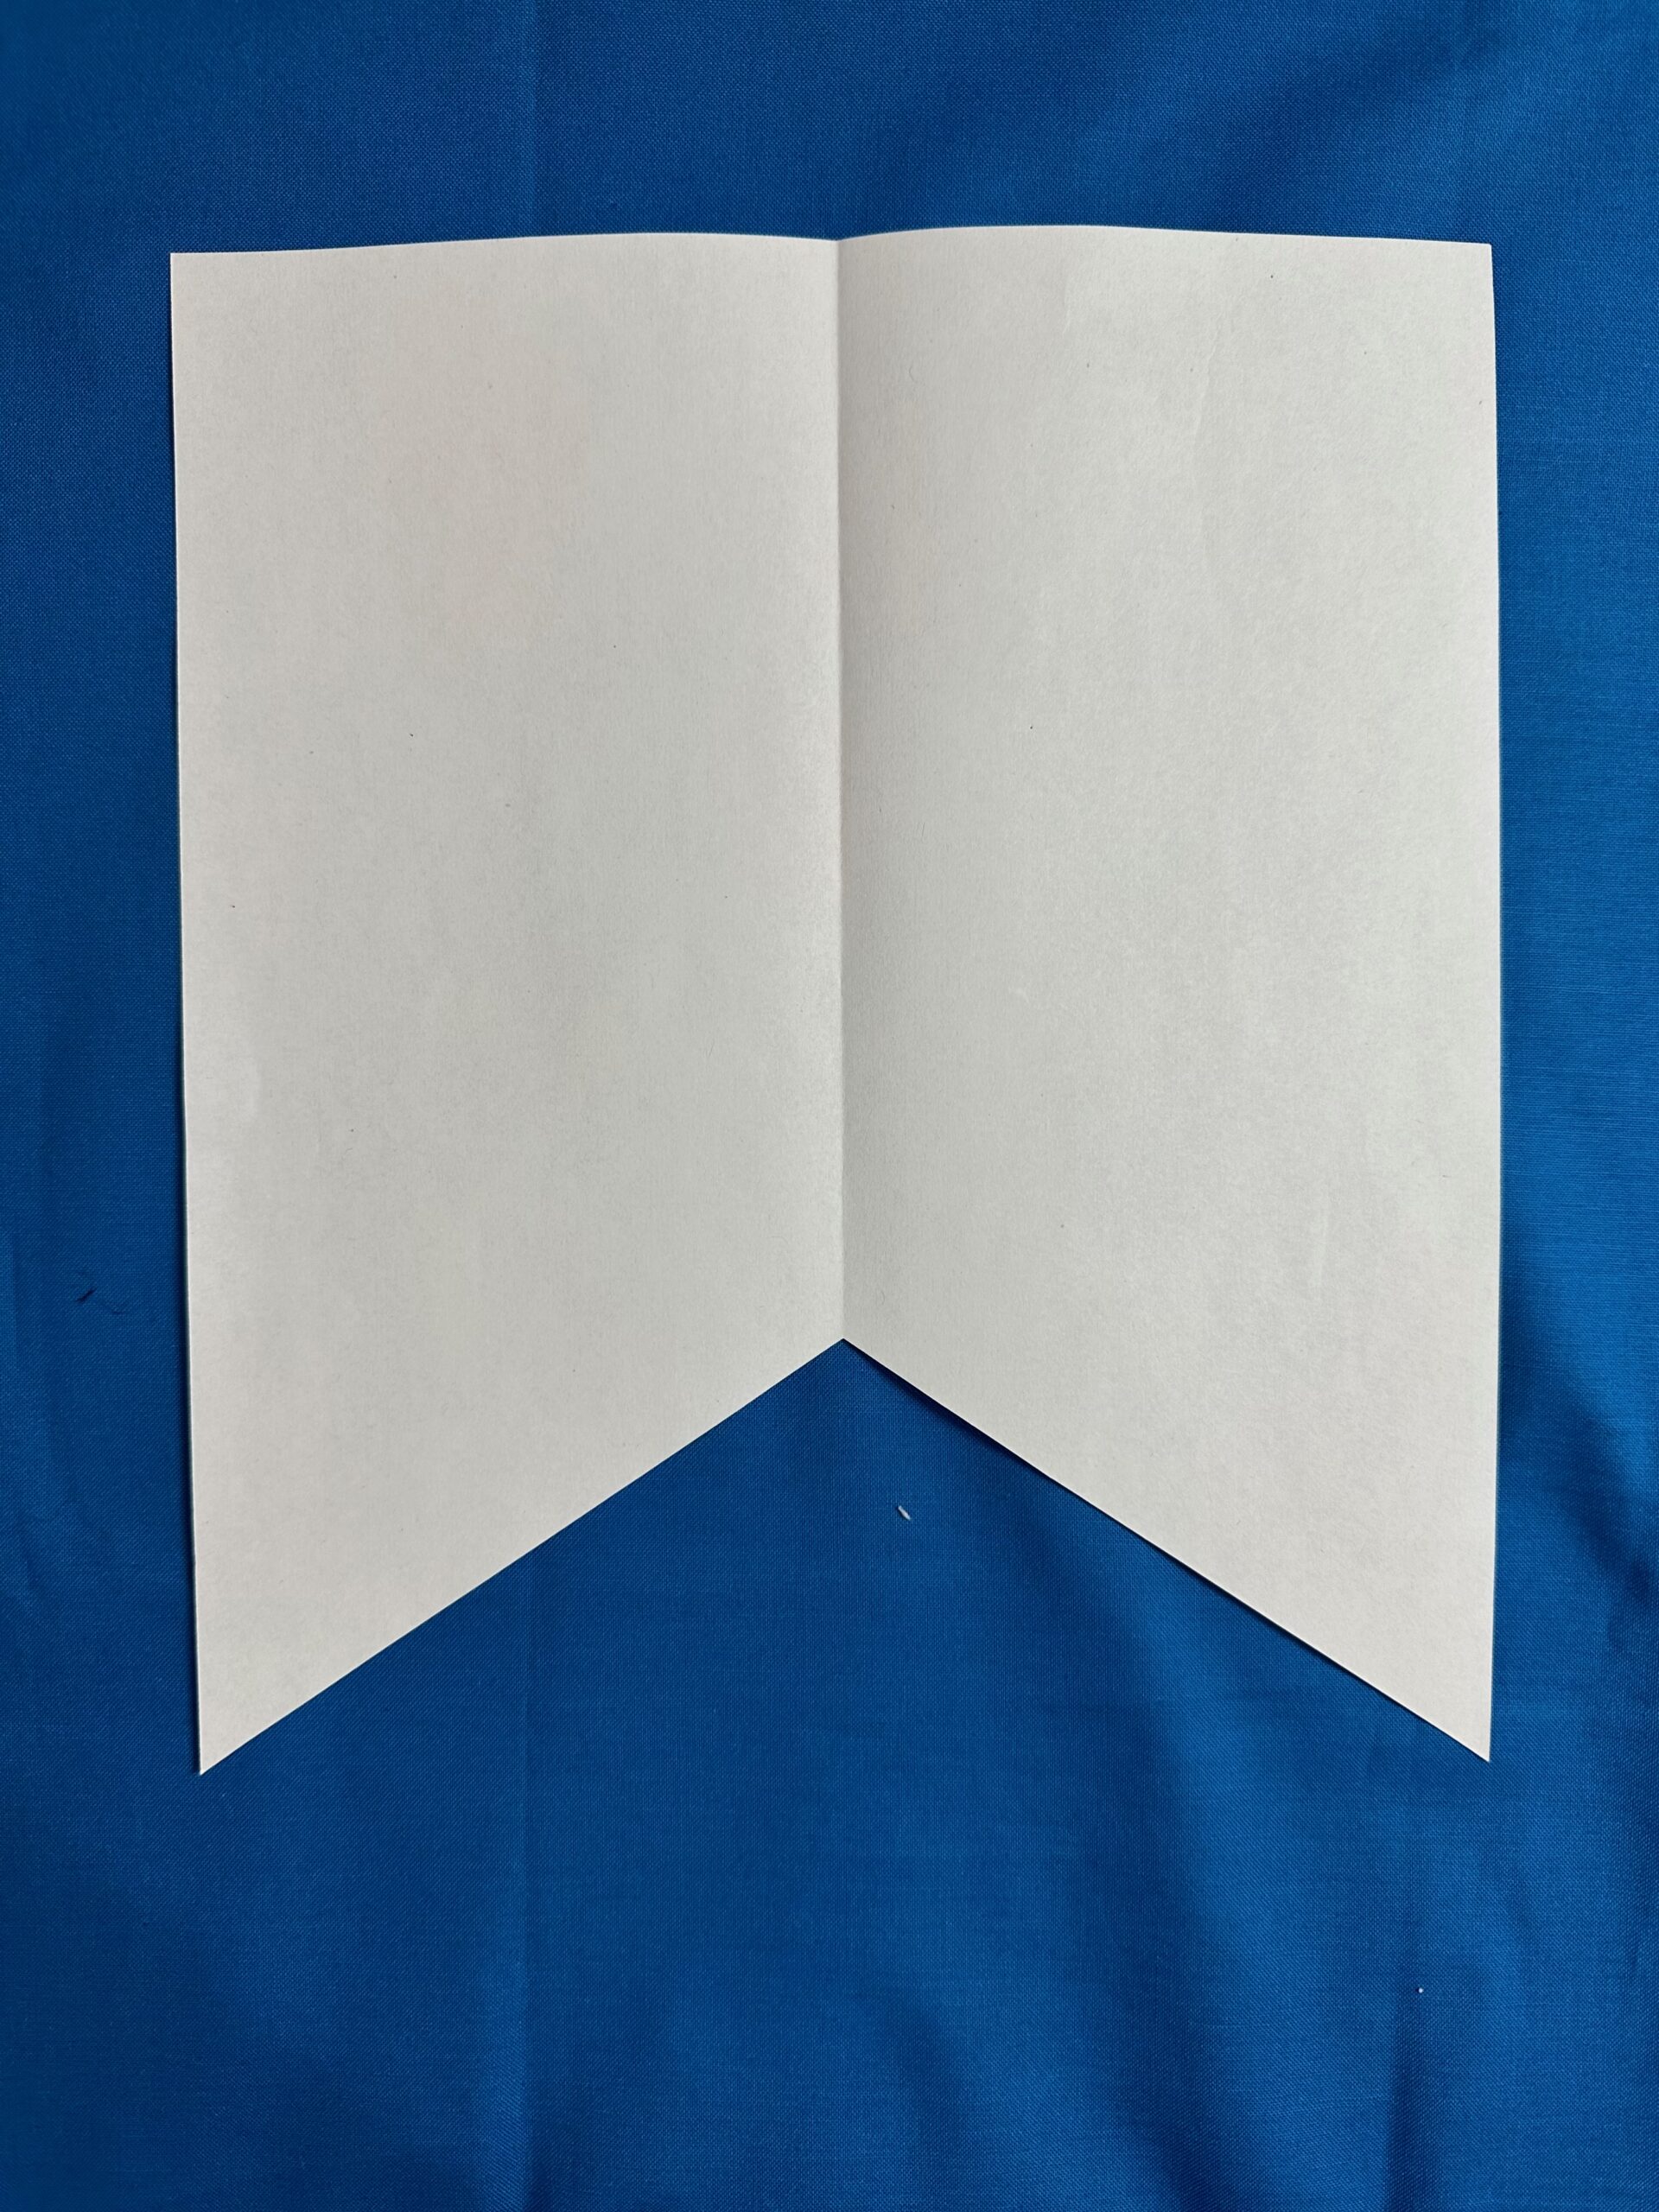
Using an 8 1/2″ x 11″ piece of paper, draft a pattern for the garden flag.
Fold the paper in half lengthwise. Using the flag motif from the embroidery design (or another flag you like better), mimic the lower-edge shape. The featured flags have two triangle points, so that’s what we’ll use here. If desired, stick with a straight edge and continue with the instructions for the fringe.
Draw a diagonal line along the lower edge of the paper to denote the triangle shape. Cut along the line, and then unfold the paper to reveal the pattern. The featured pattern measures approximately 8″ x 11″, with a center triangle cut away that measures about 5″ tall from the center point to the triangle lower edge.
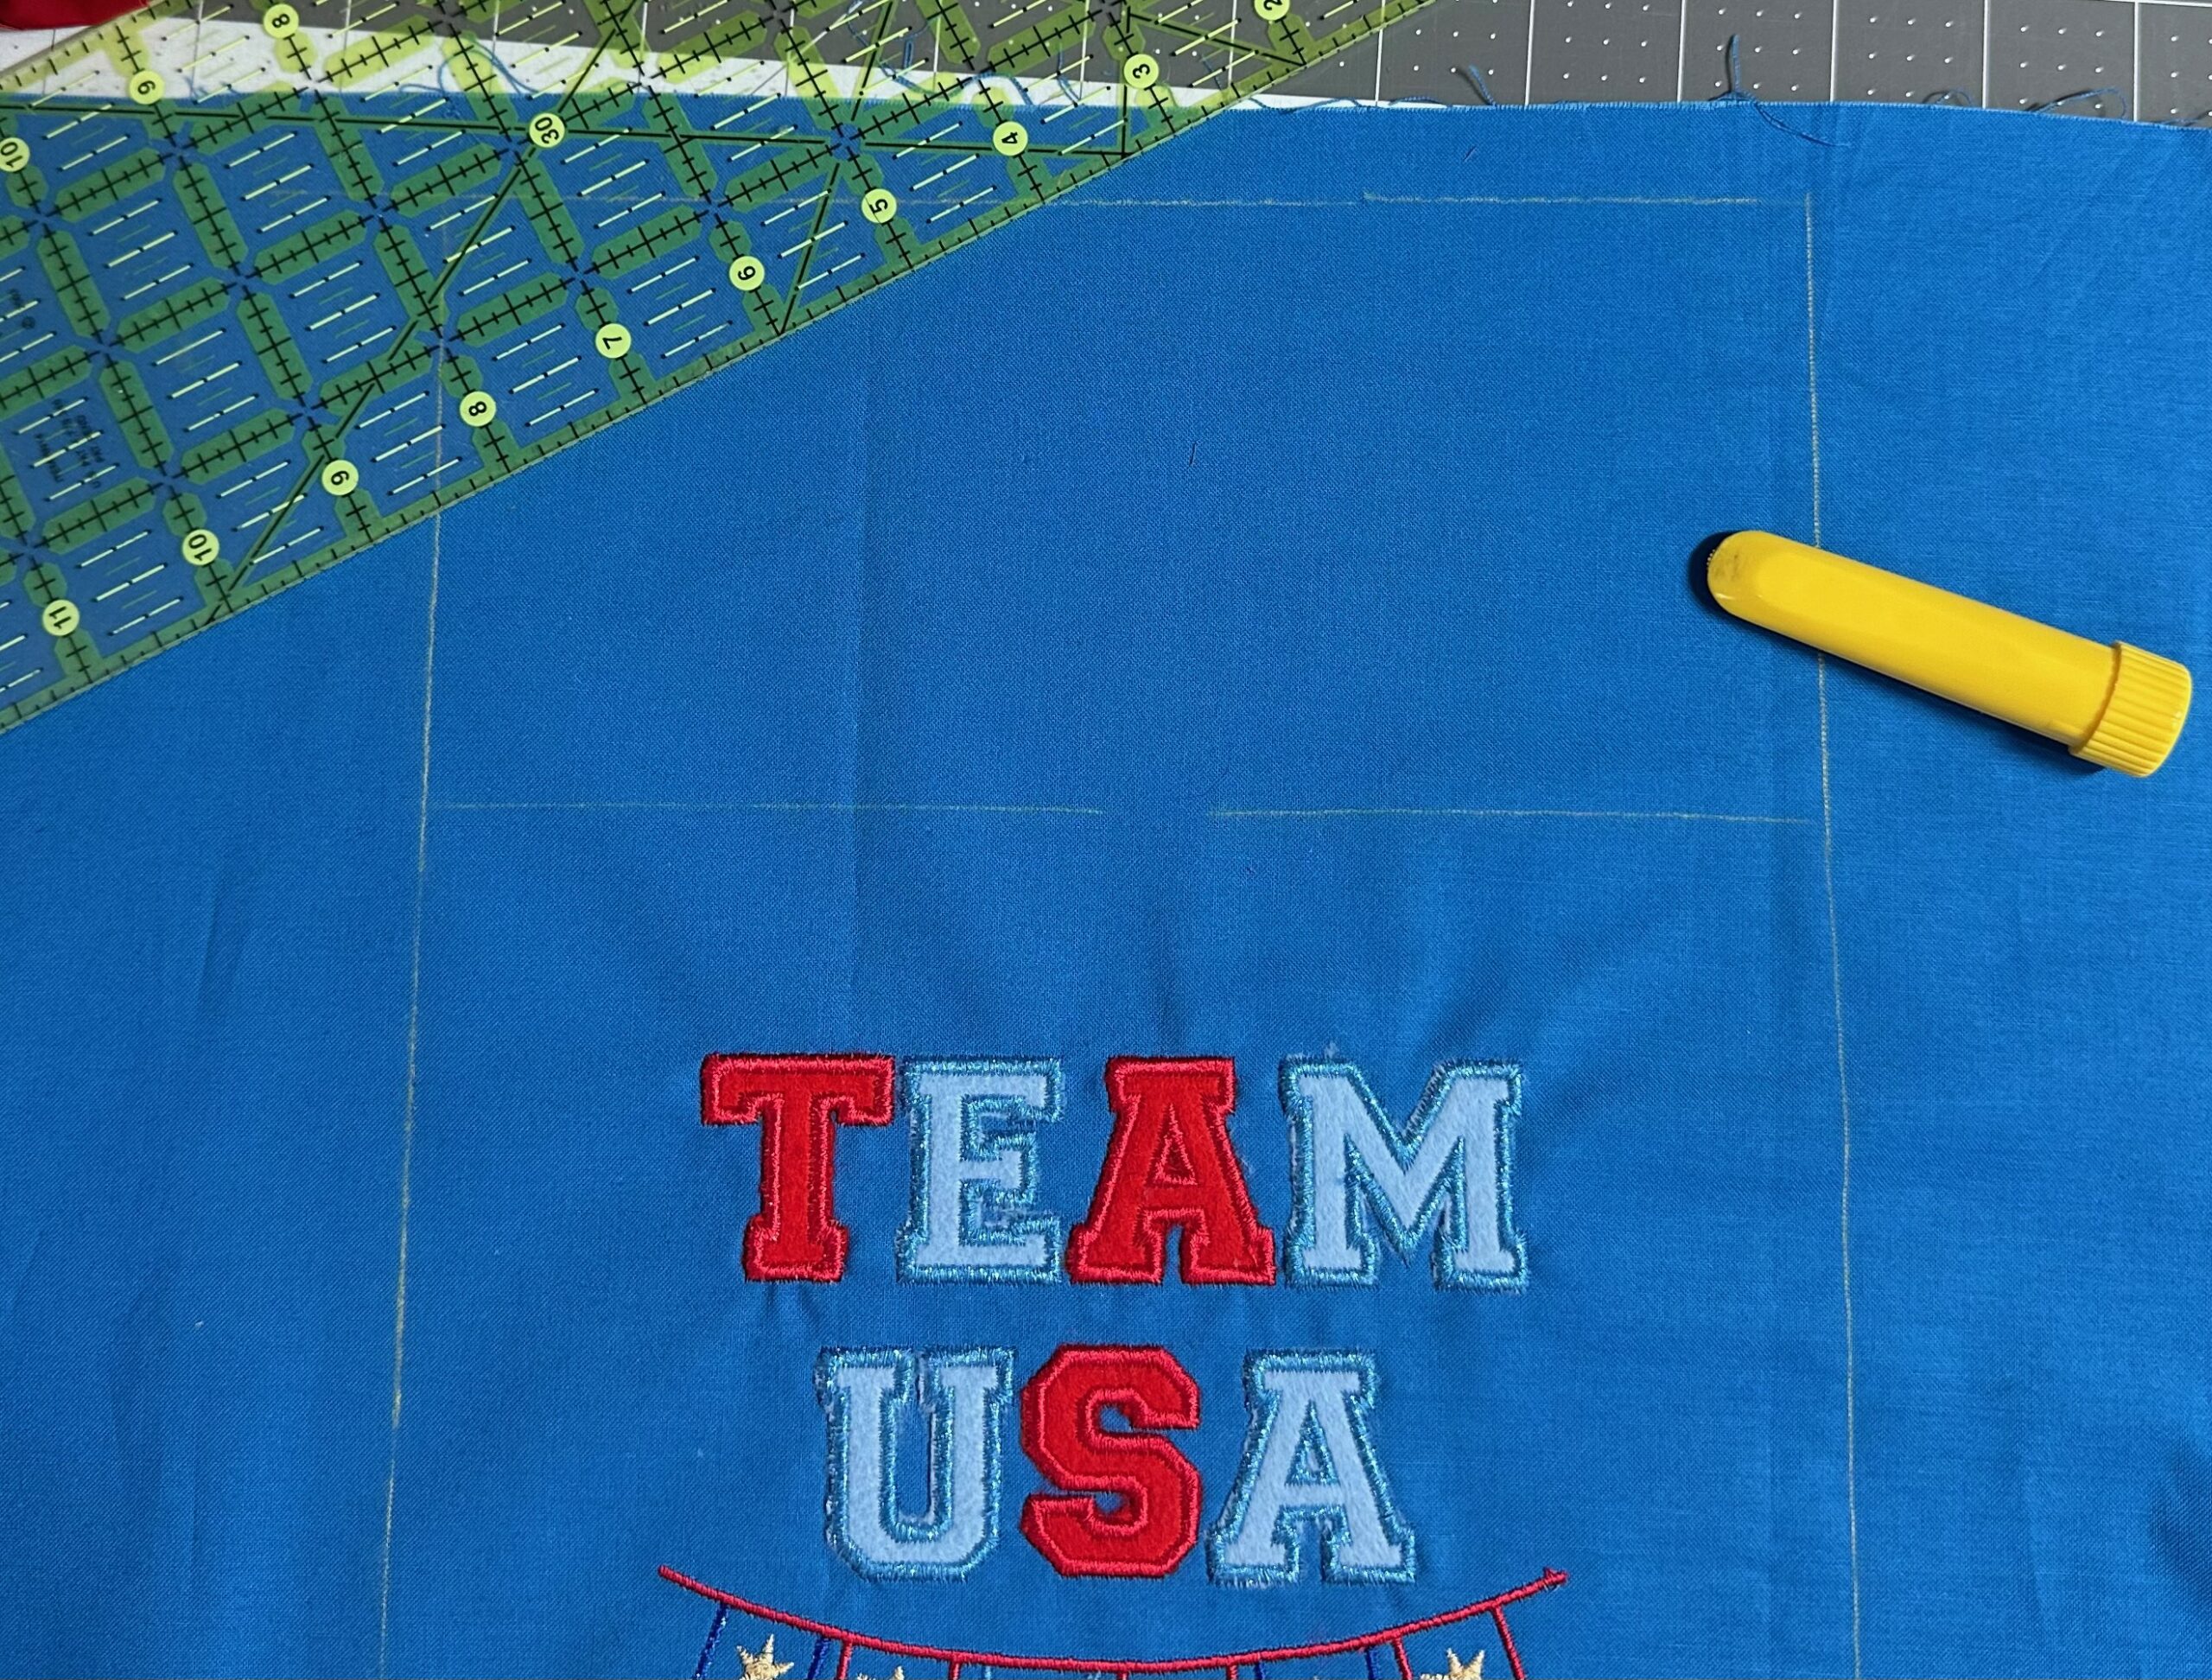
Center the pattern over the finished embroidery. Using chalk or a removable fabric marker, trace 1/4″ beyond the template on all sides. At the lower-edge corners, draw a line 1/4″ from each point to square them off.

Measure and mark 4″ from the pattern upper edge for the casing allowance.
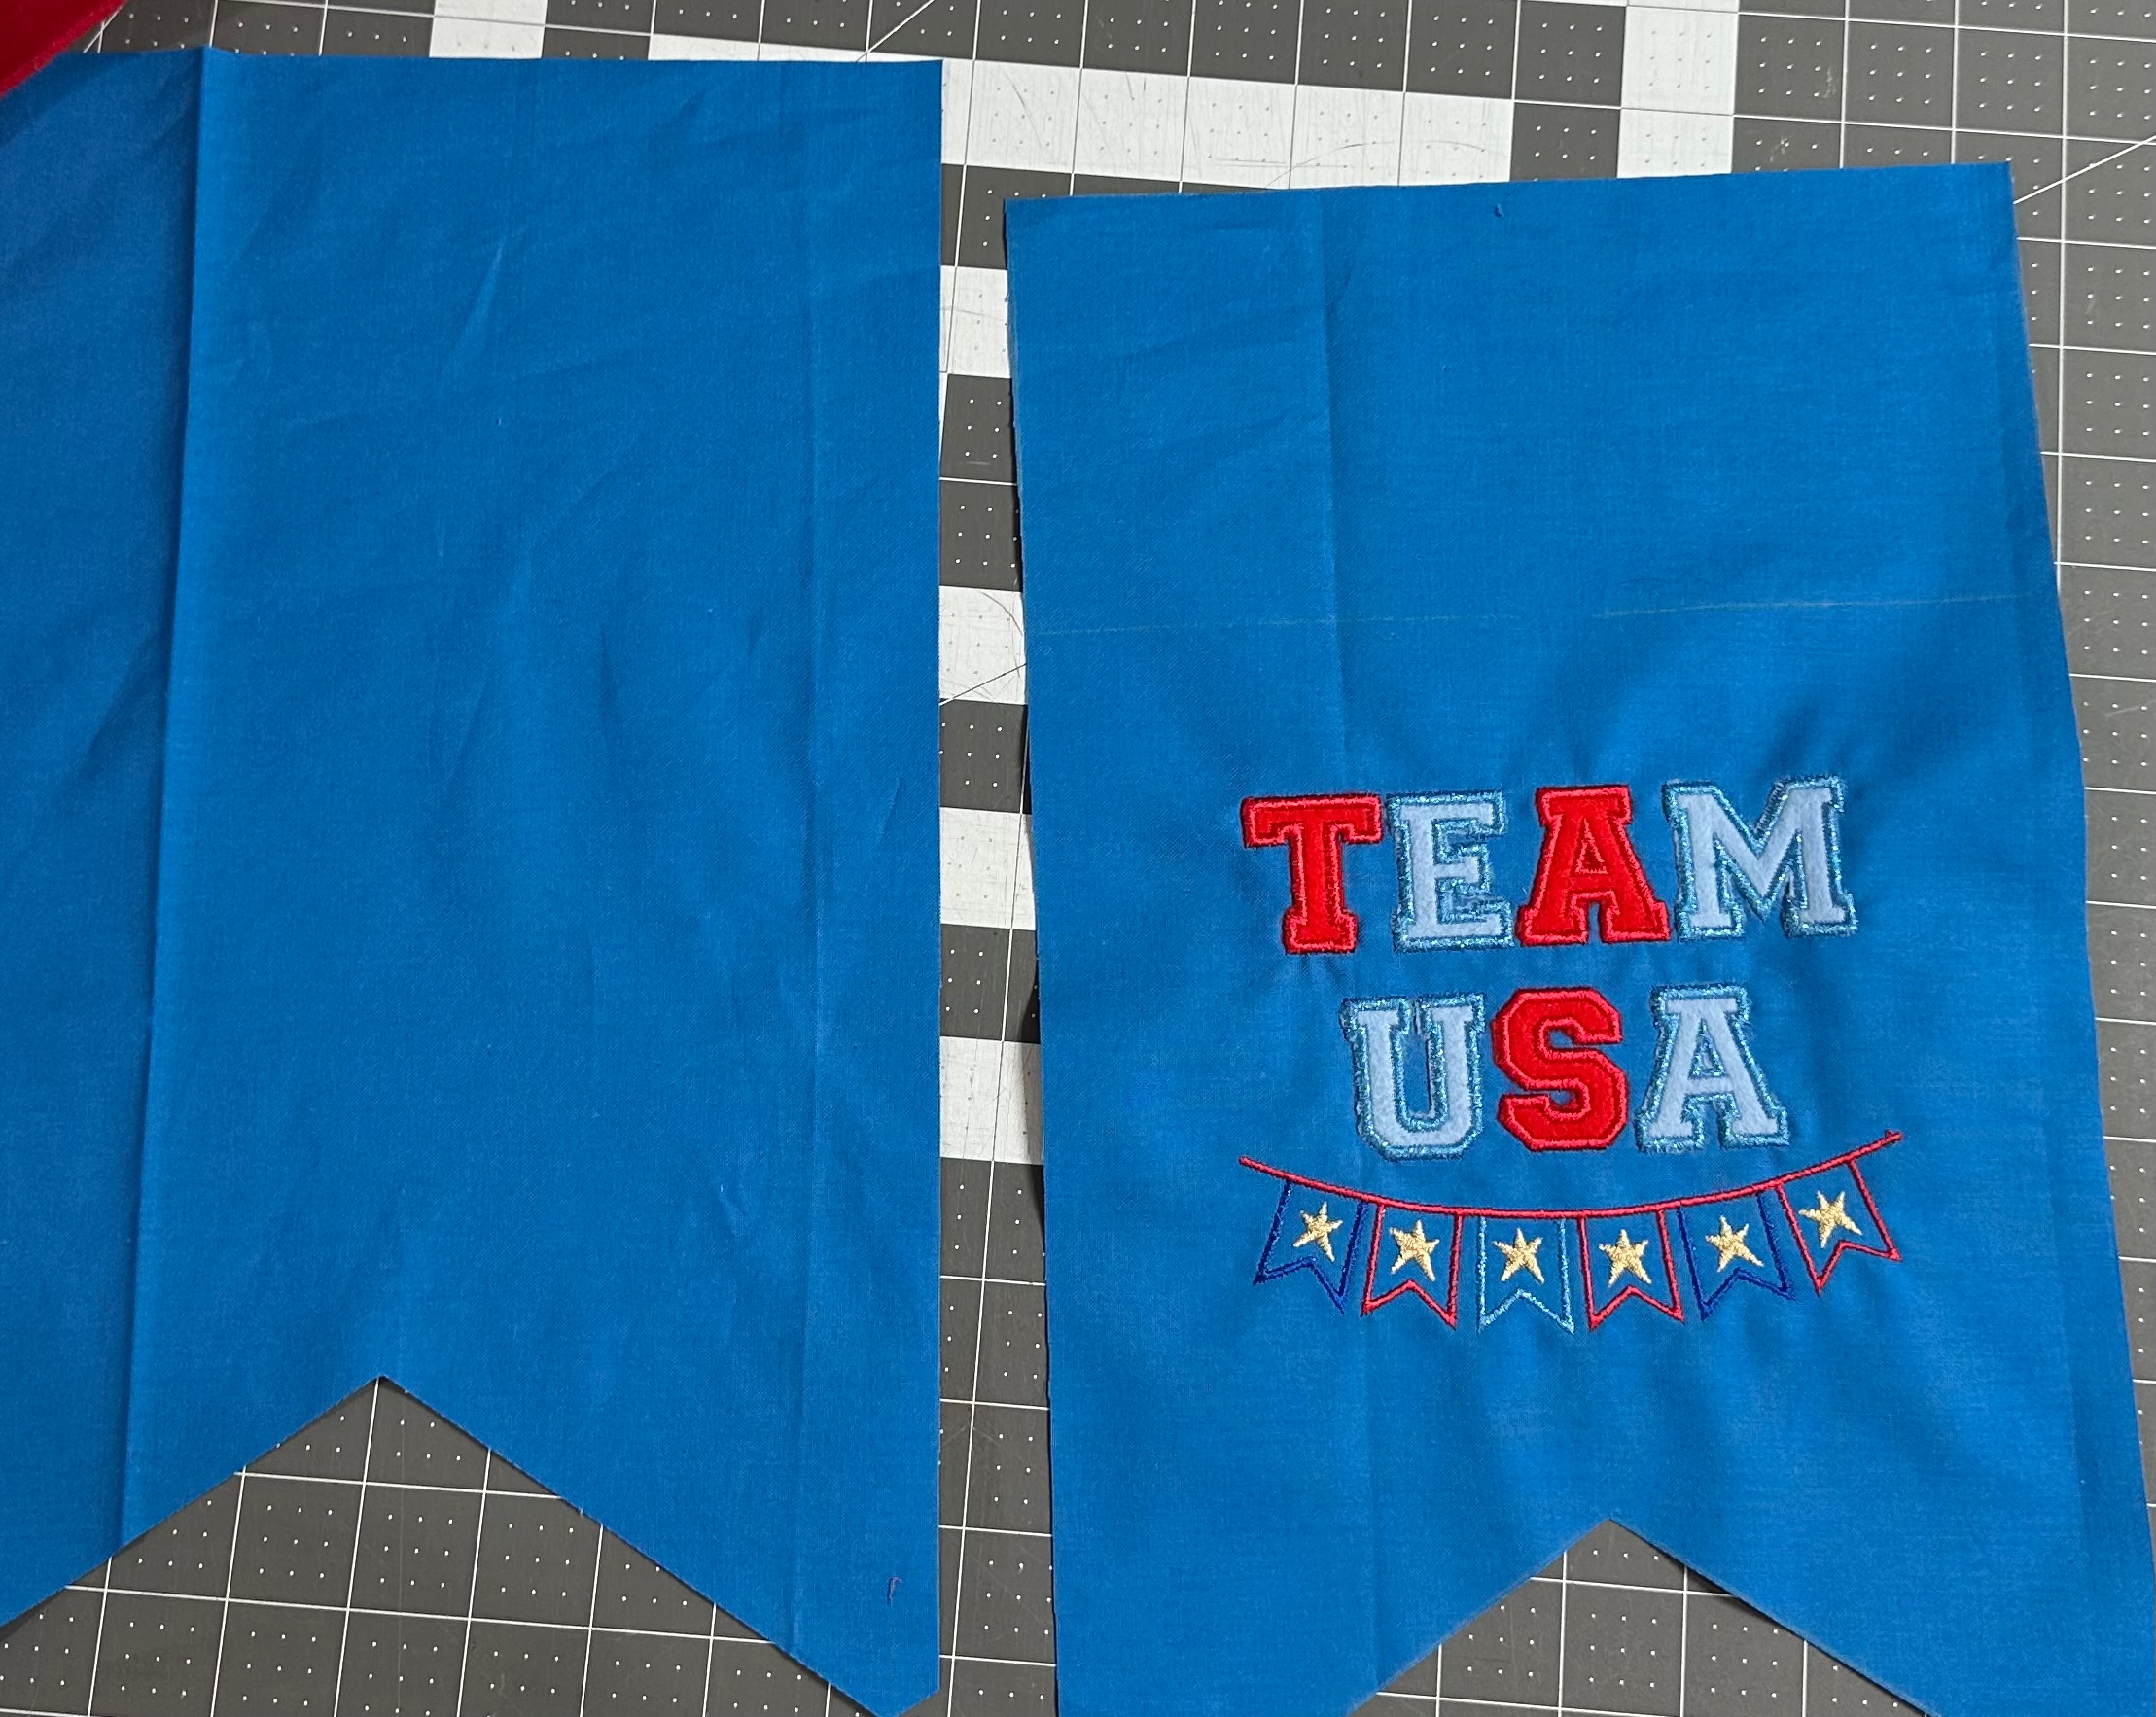
Cut two flags along the outermost lines from both fabric rectangles.
APPLIQUÉ FLAG TRIM
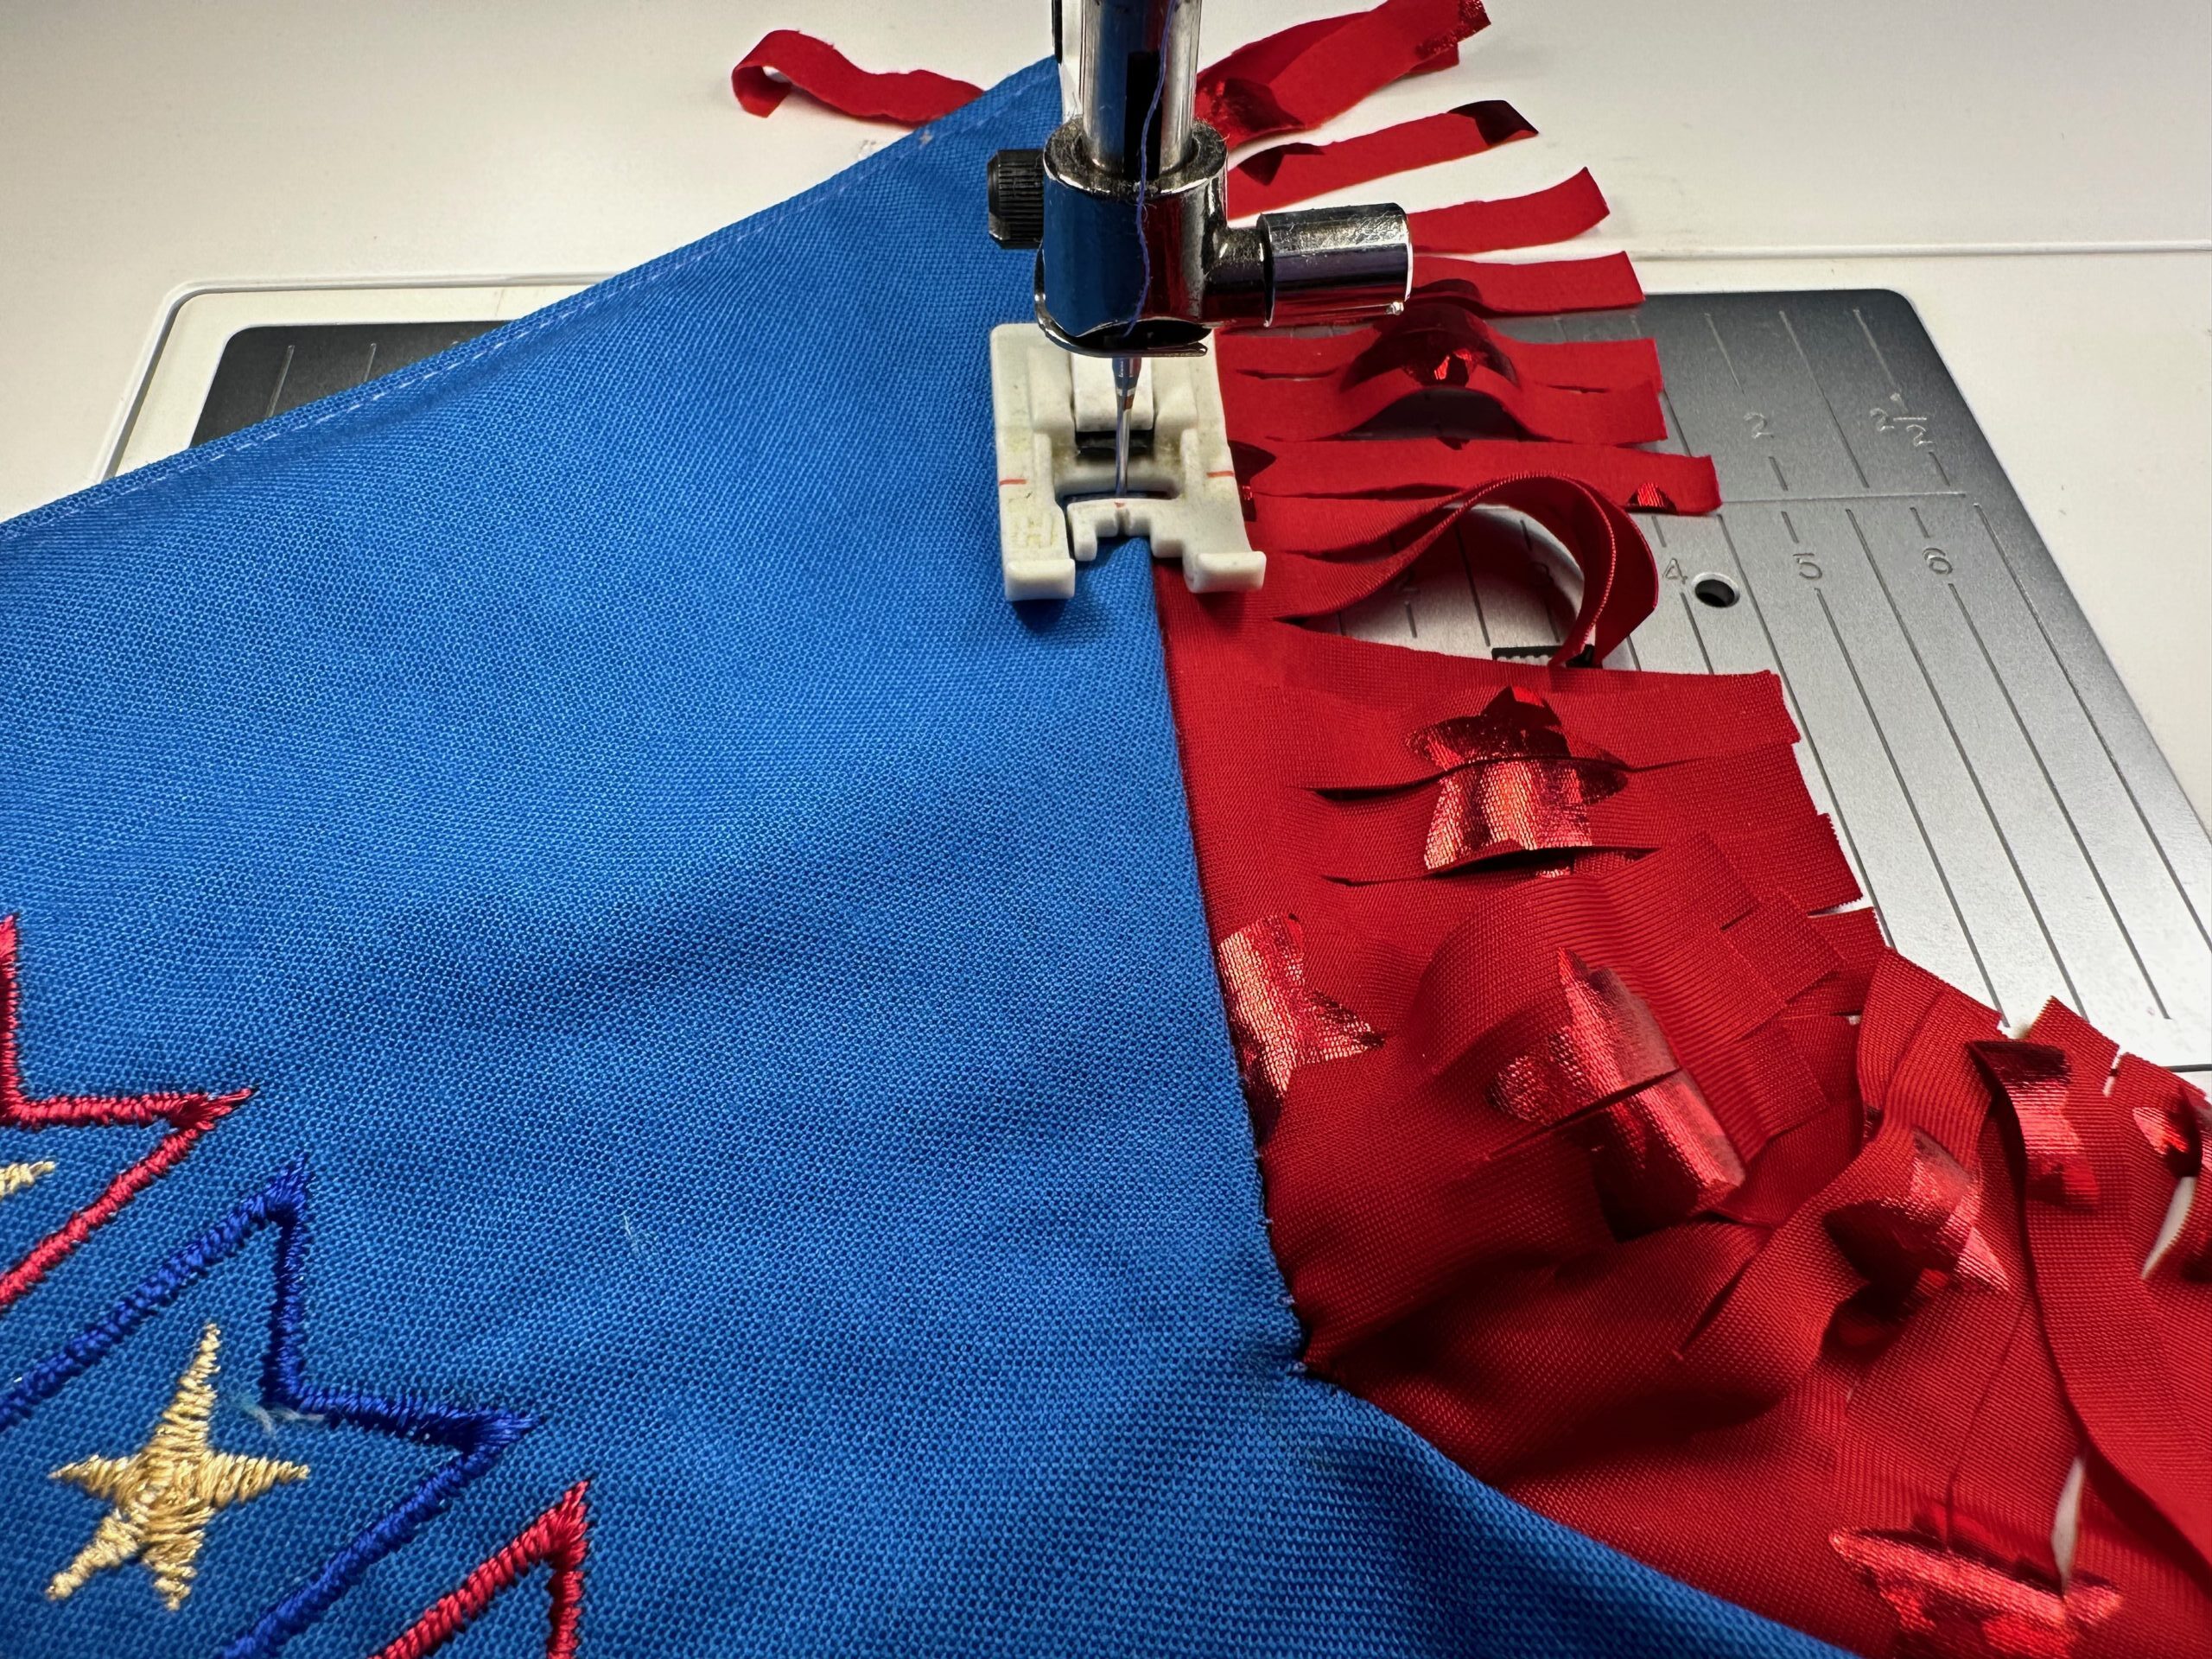
Make the fringe trim to border the flag lower edge. Choose a no-fray fabric that’s relatively lightweight so it has movement (even better if it also has sparkle!). The featured fabric is a stretch lame with embossed star motifs.
Cut an approximate 2″ x 11″ rectangle of the fringe fabric. (This length should match the length of the flag lower edge. Measure both diagonal edges, and then add 1″.)
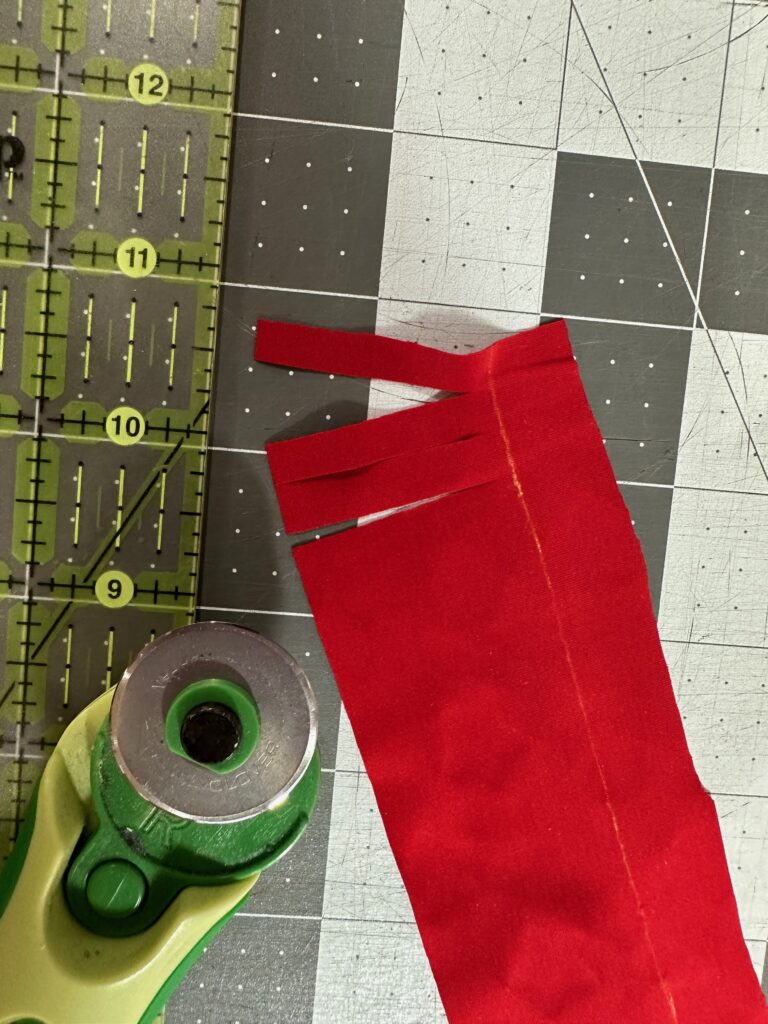
Draw a line 1/2″ inside one long edge.
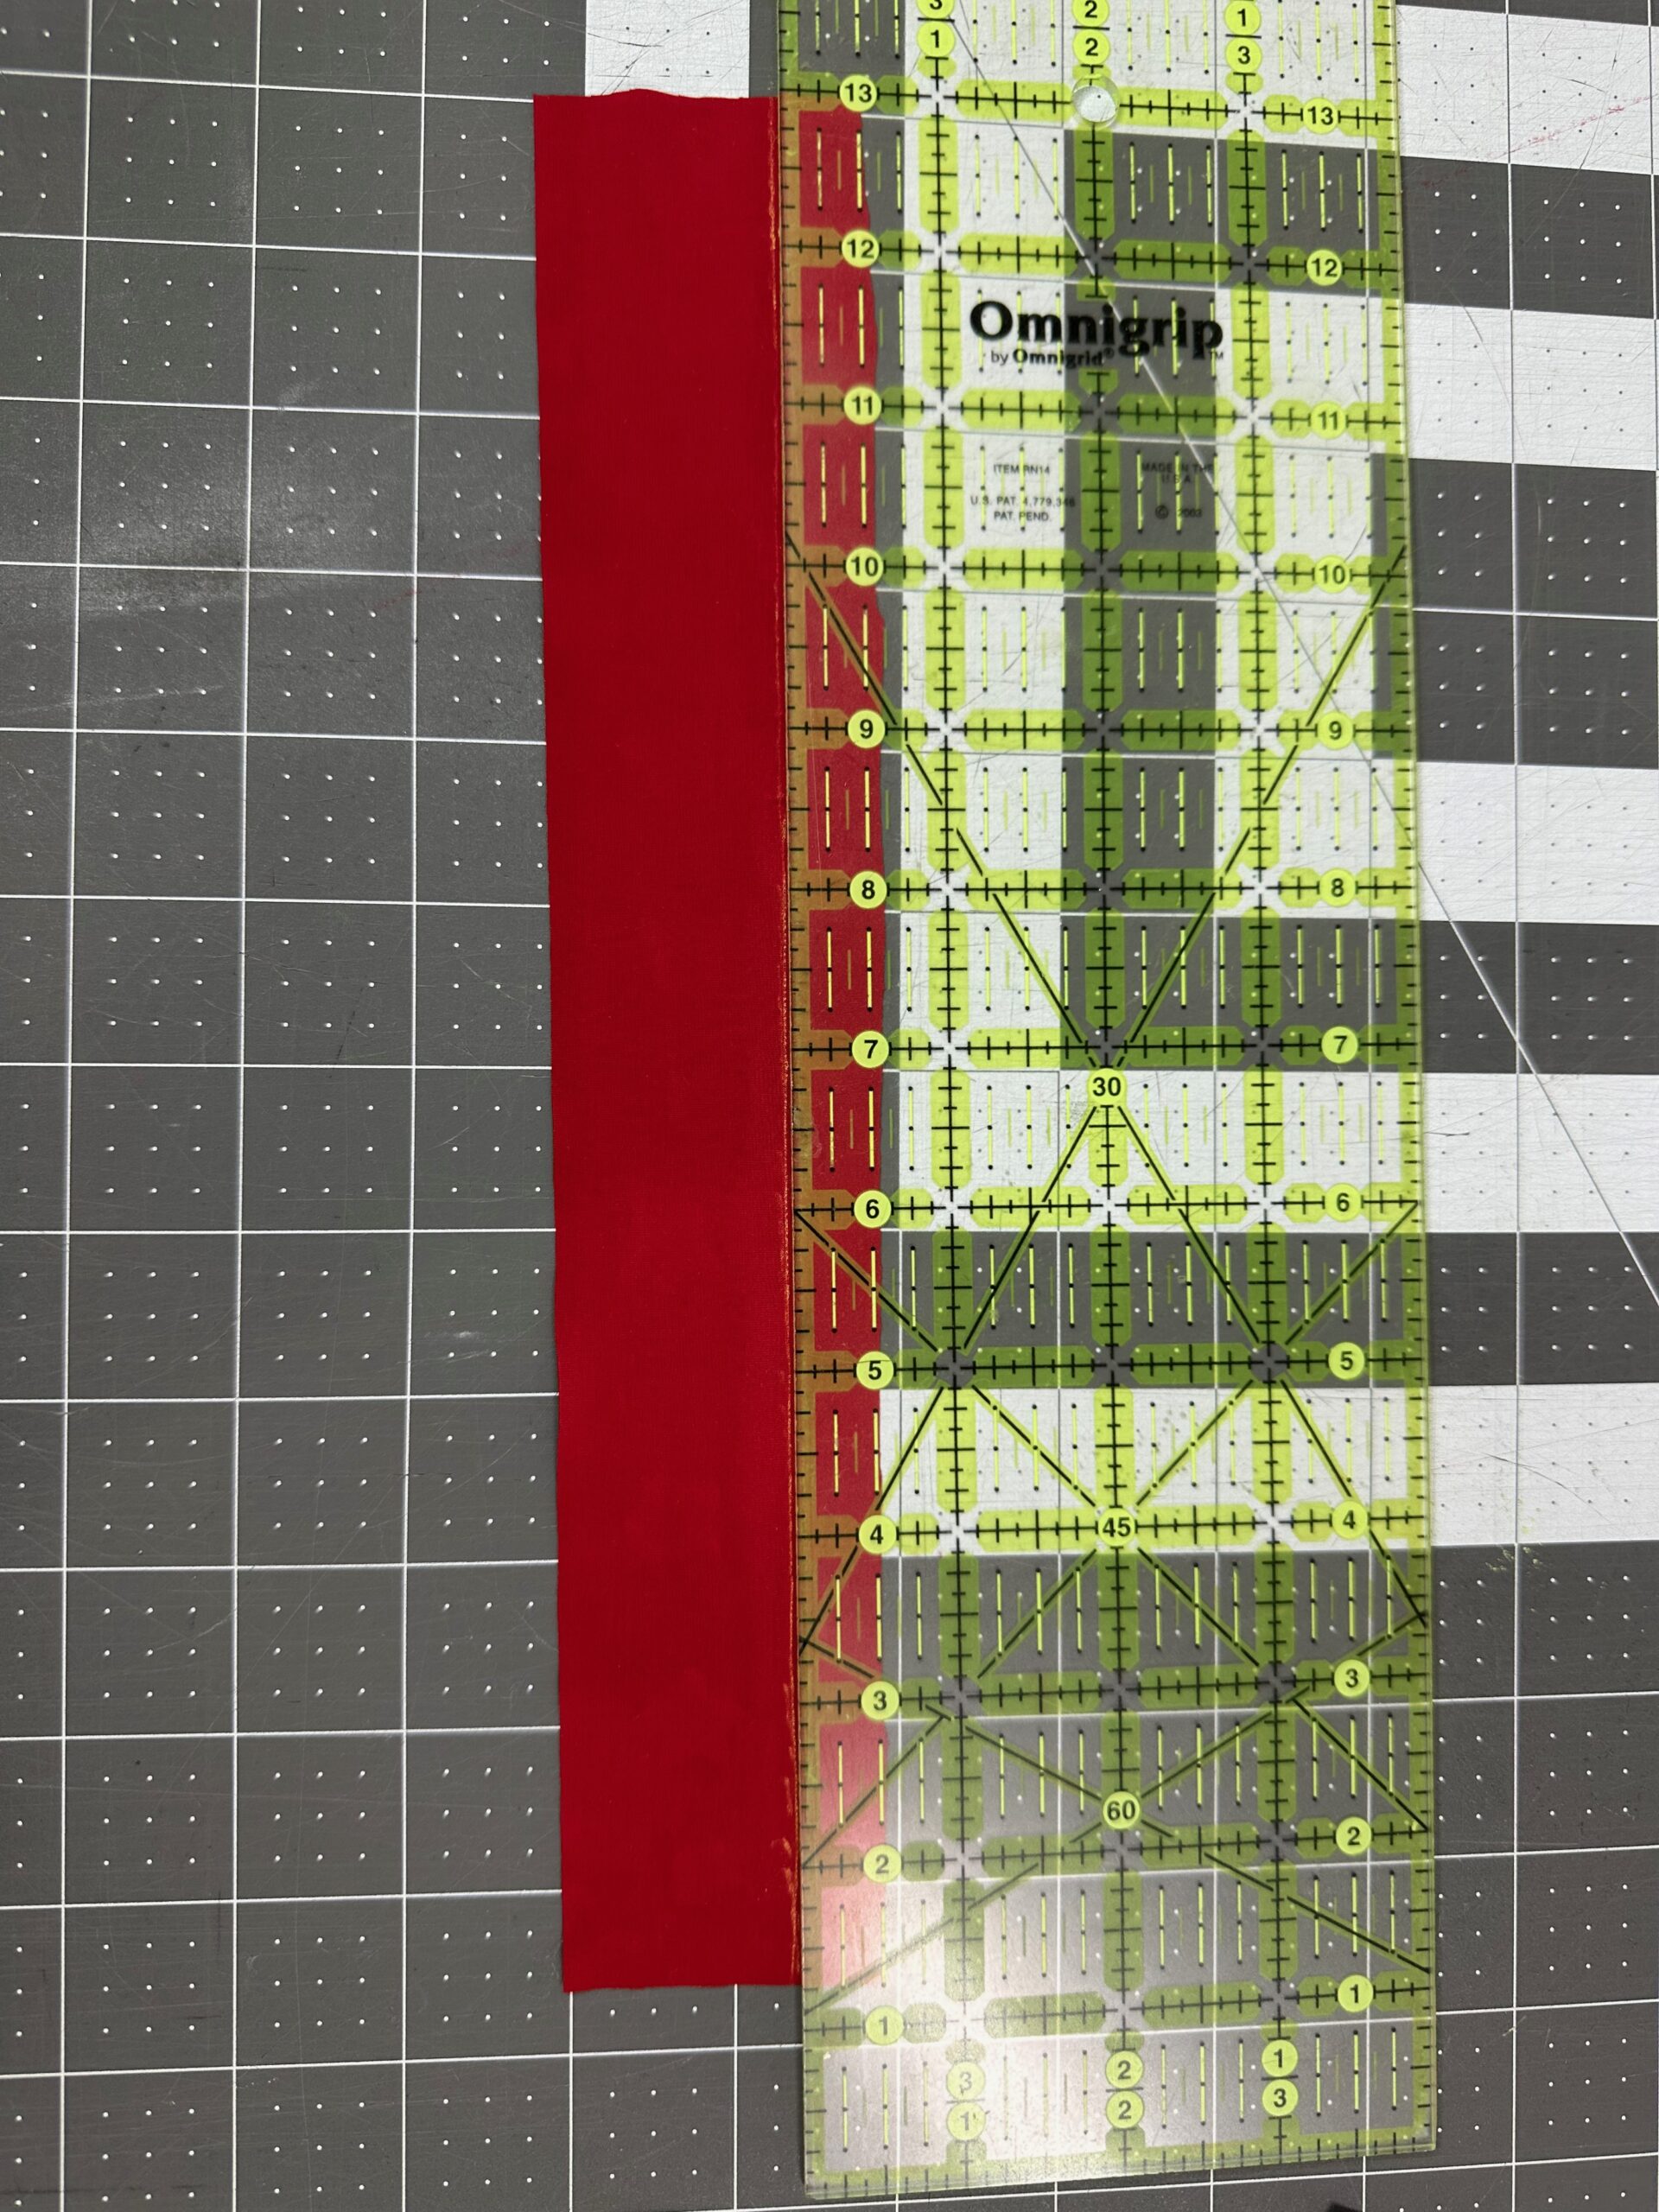
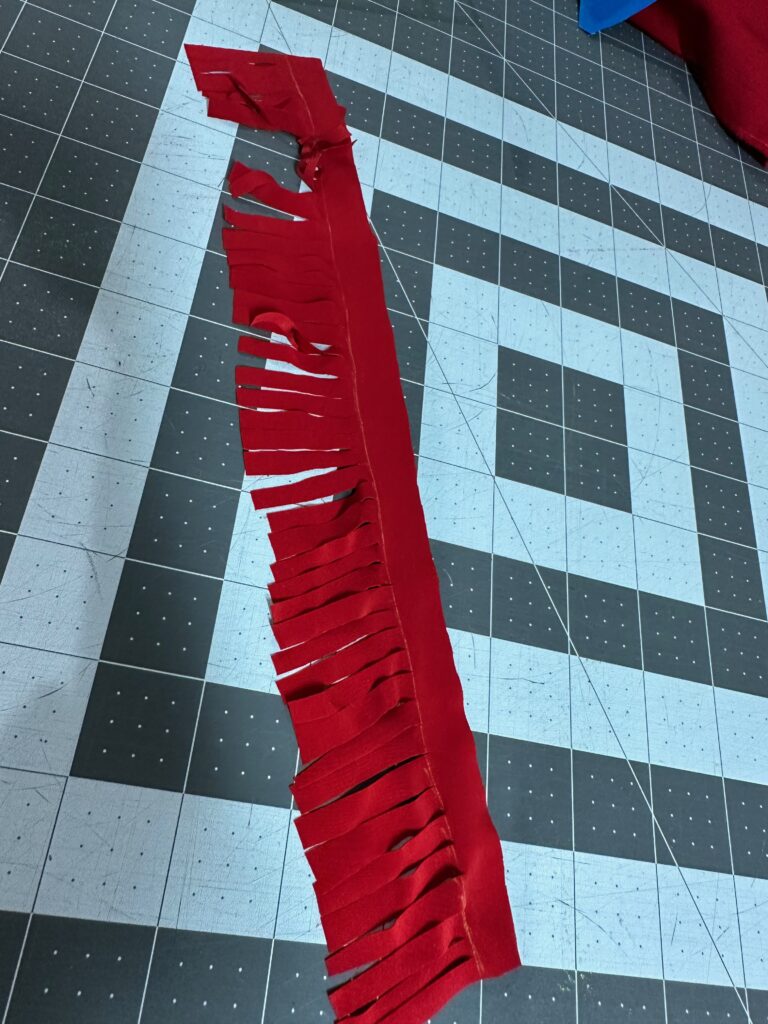
Cut 1/4″-wide fringe from the opposite long edge to the marked line.
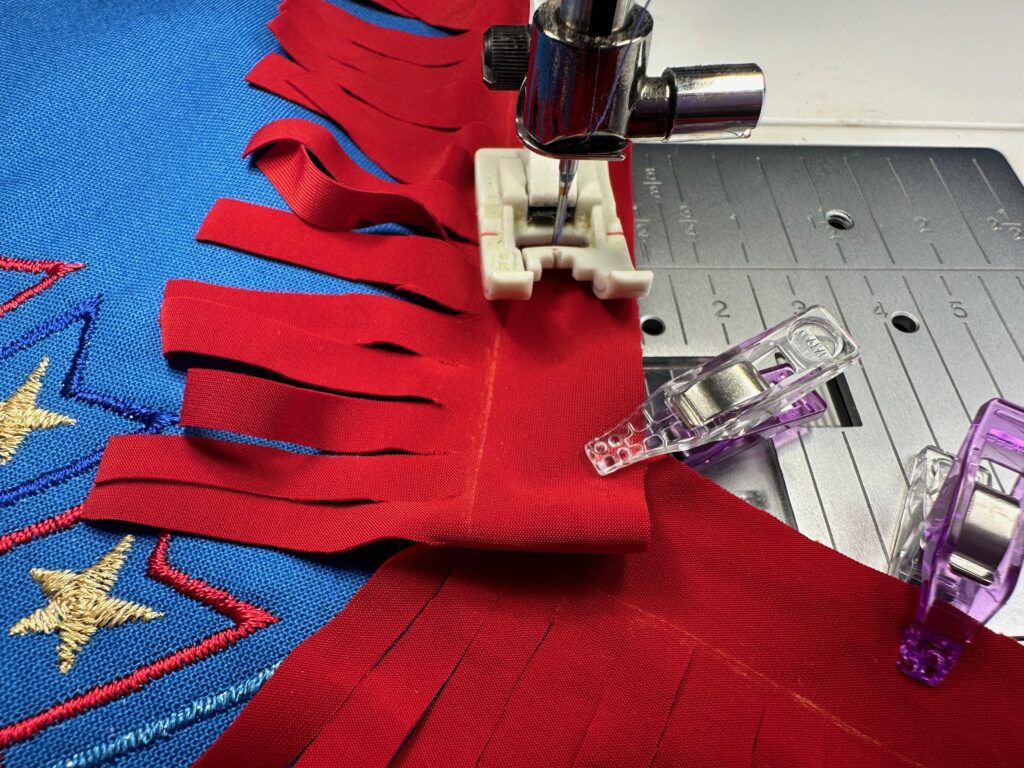
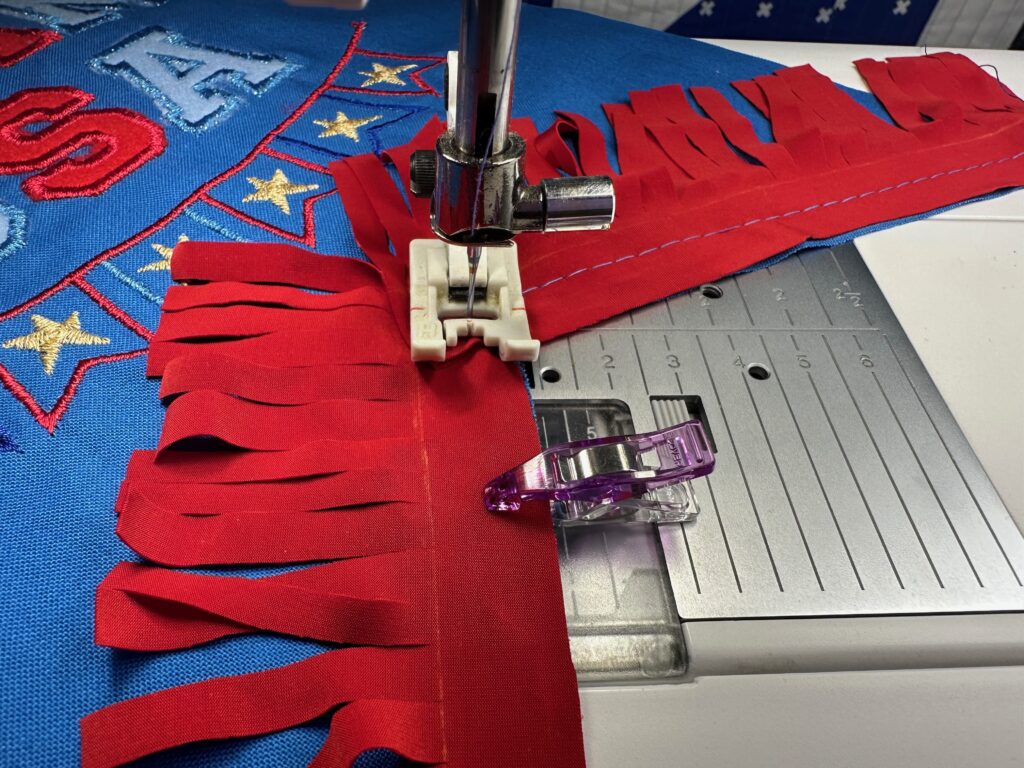
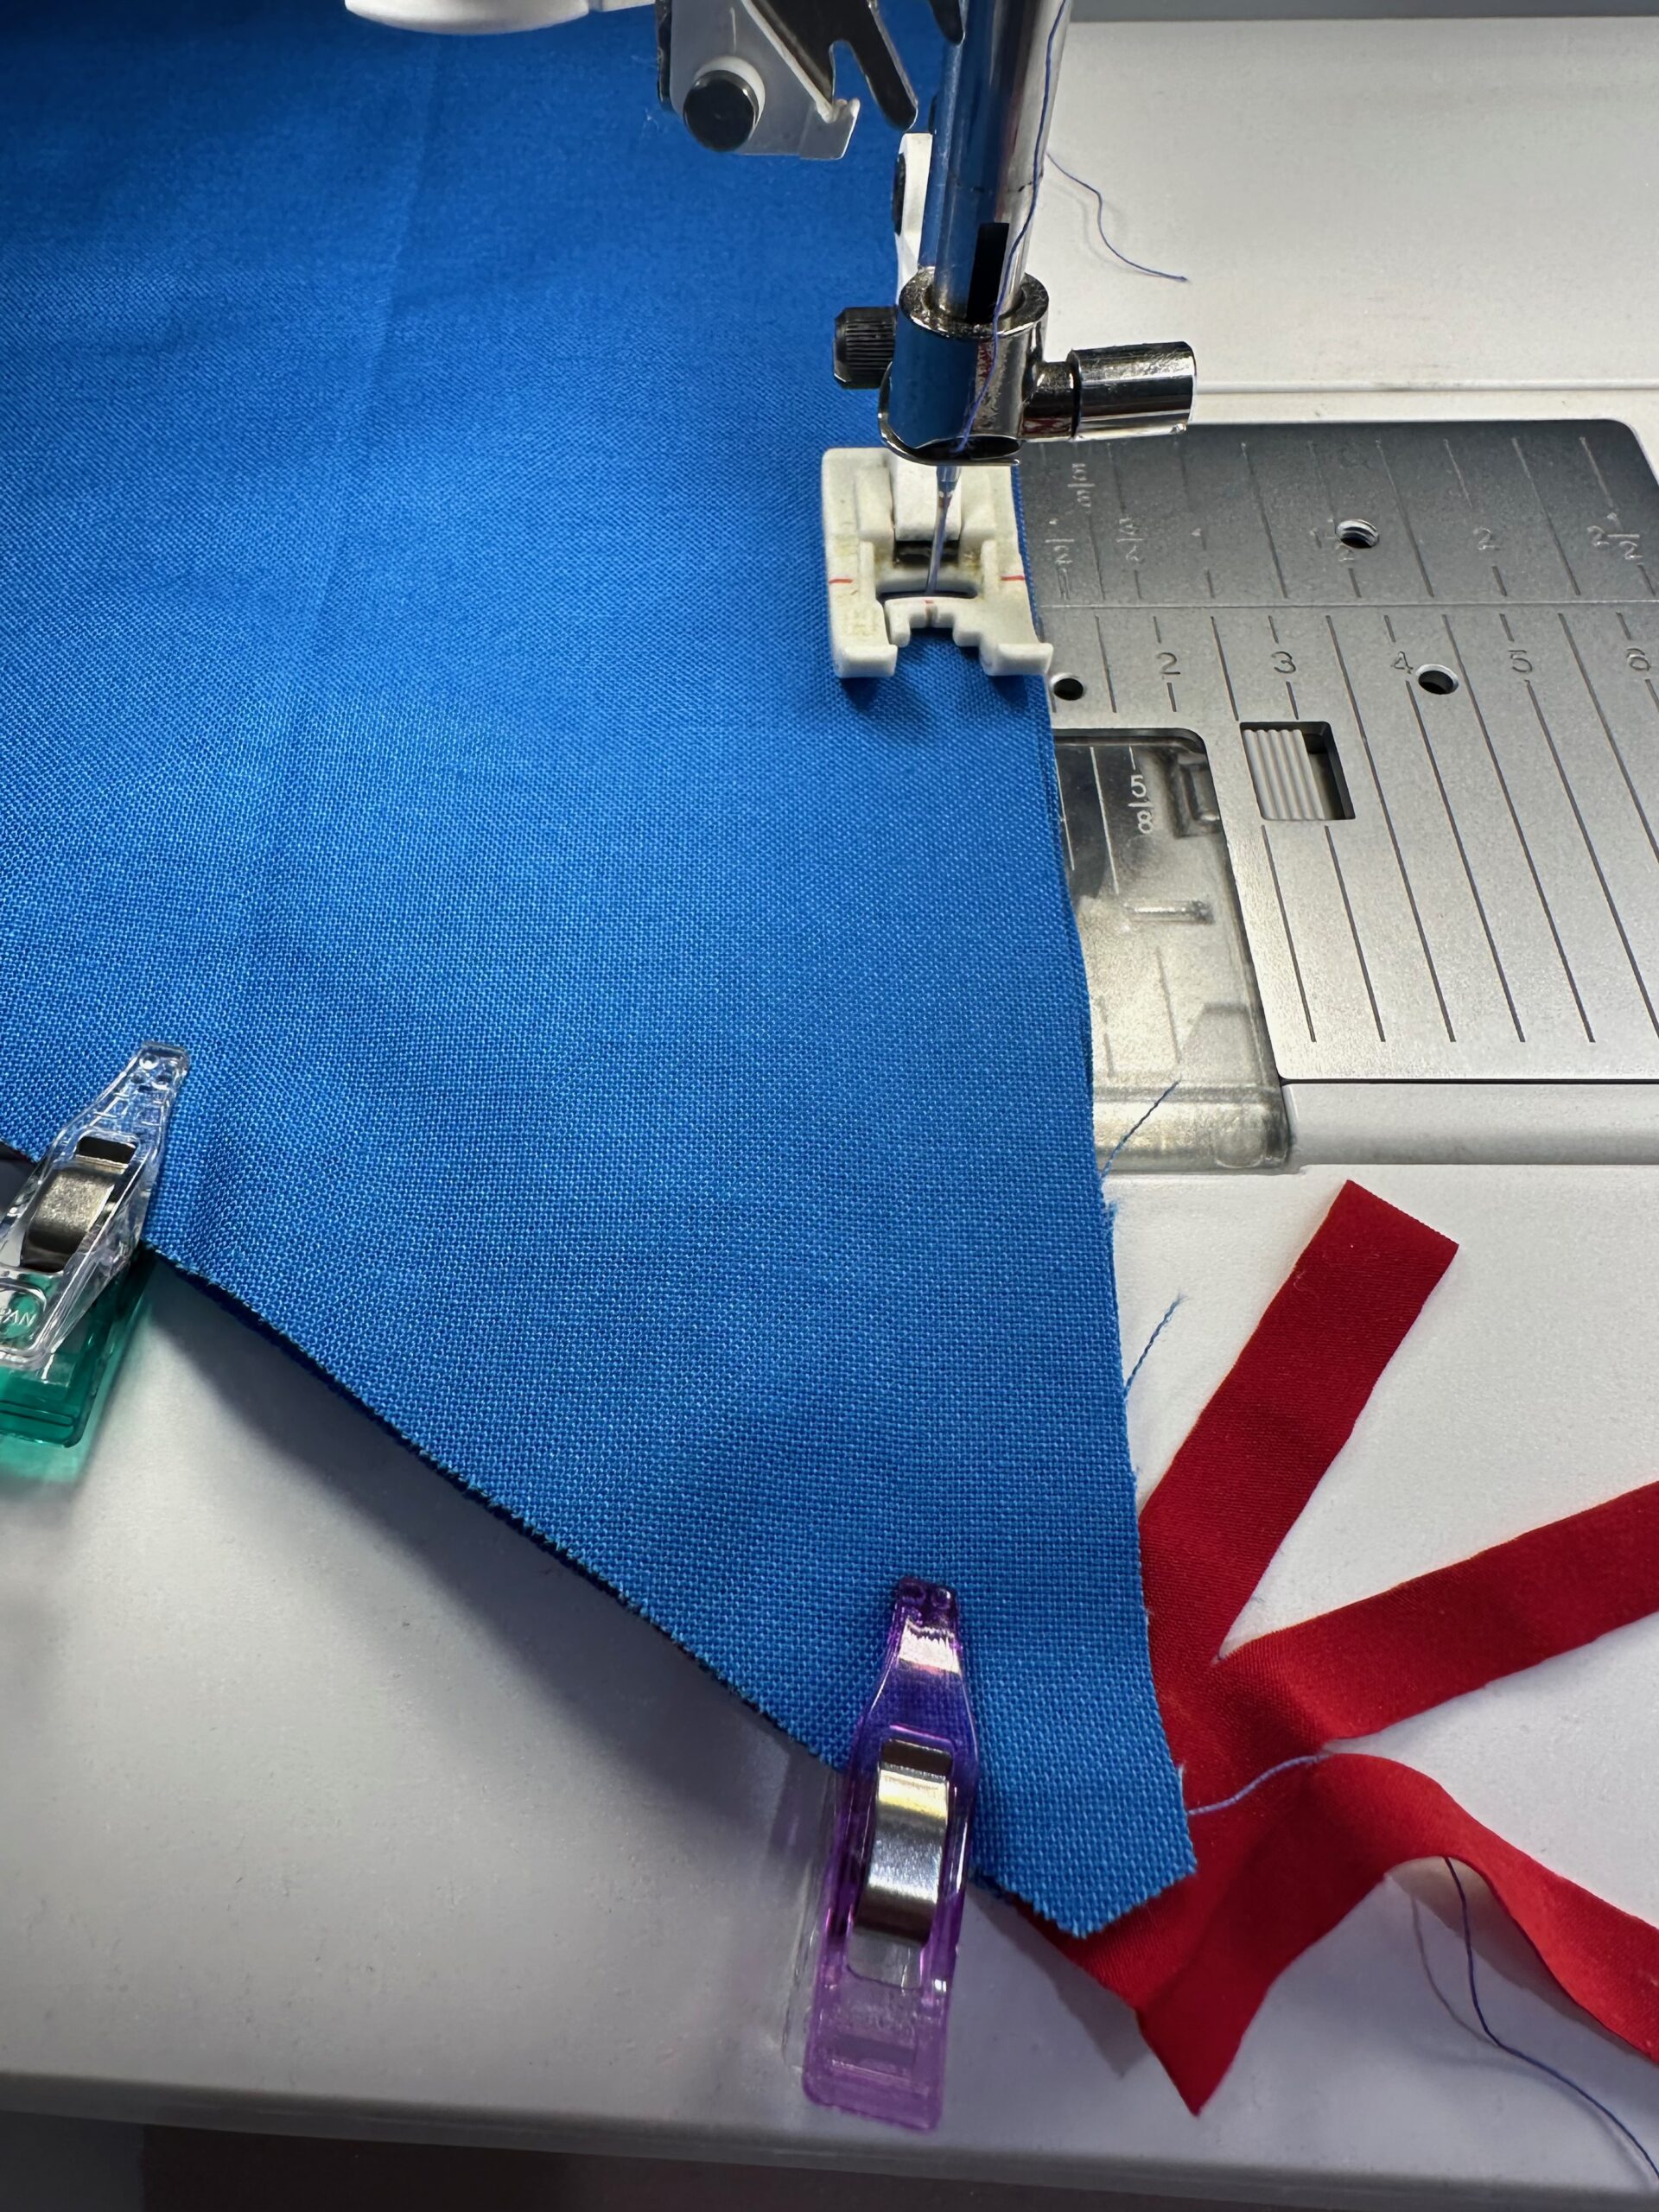
With the trim right side facing the embroidered flag piece, clip the trim long straight edge to the flag lower edge. Miter the inner triangle corner.
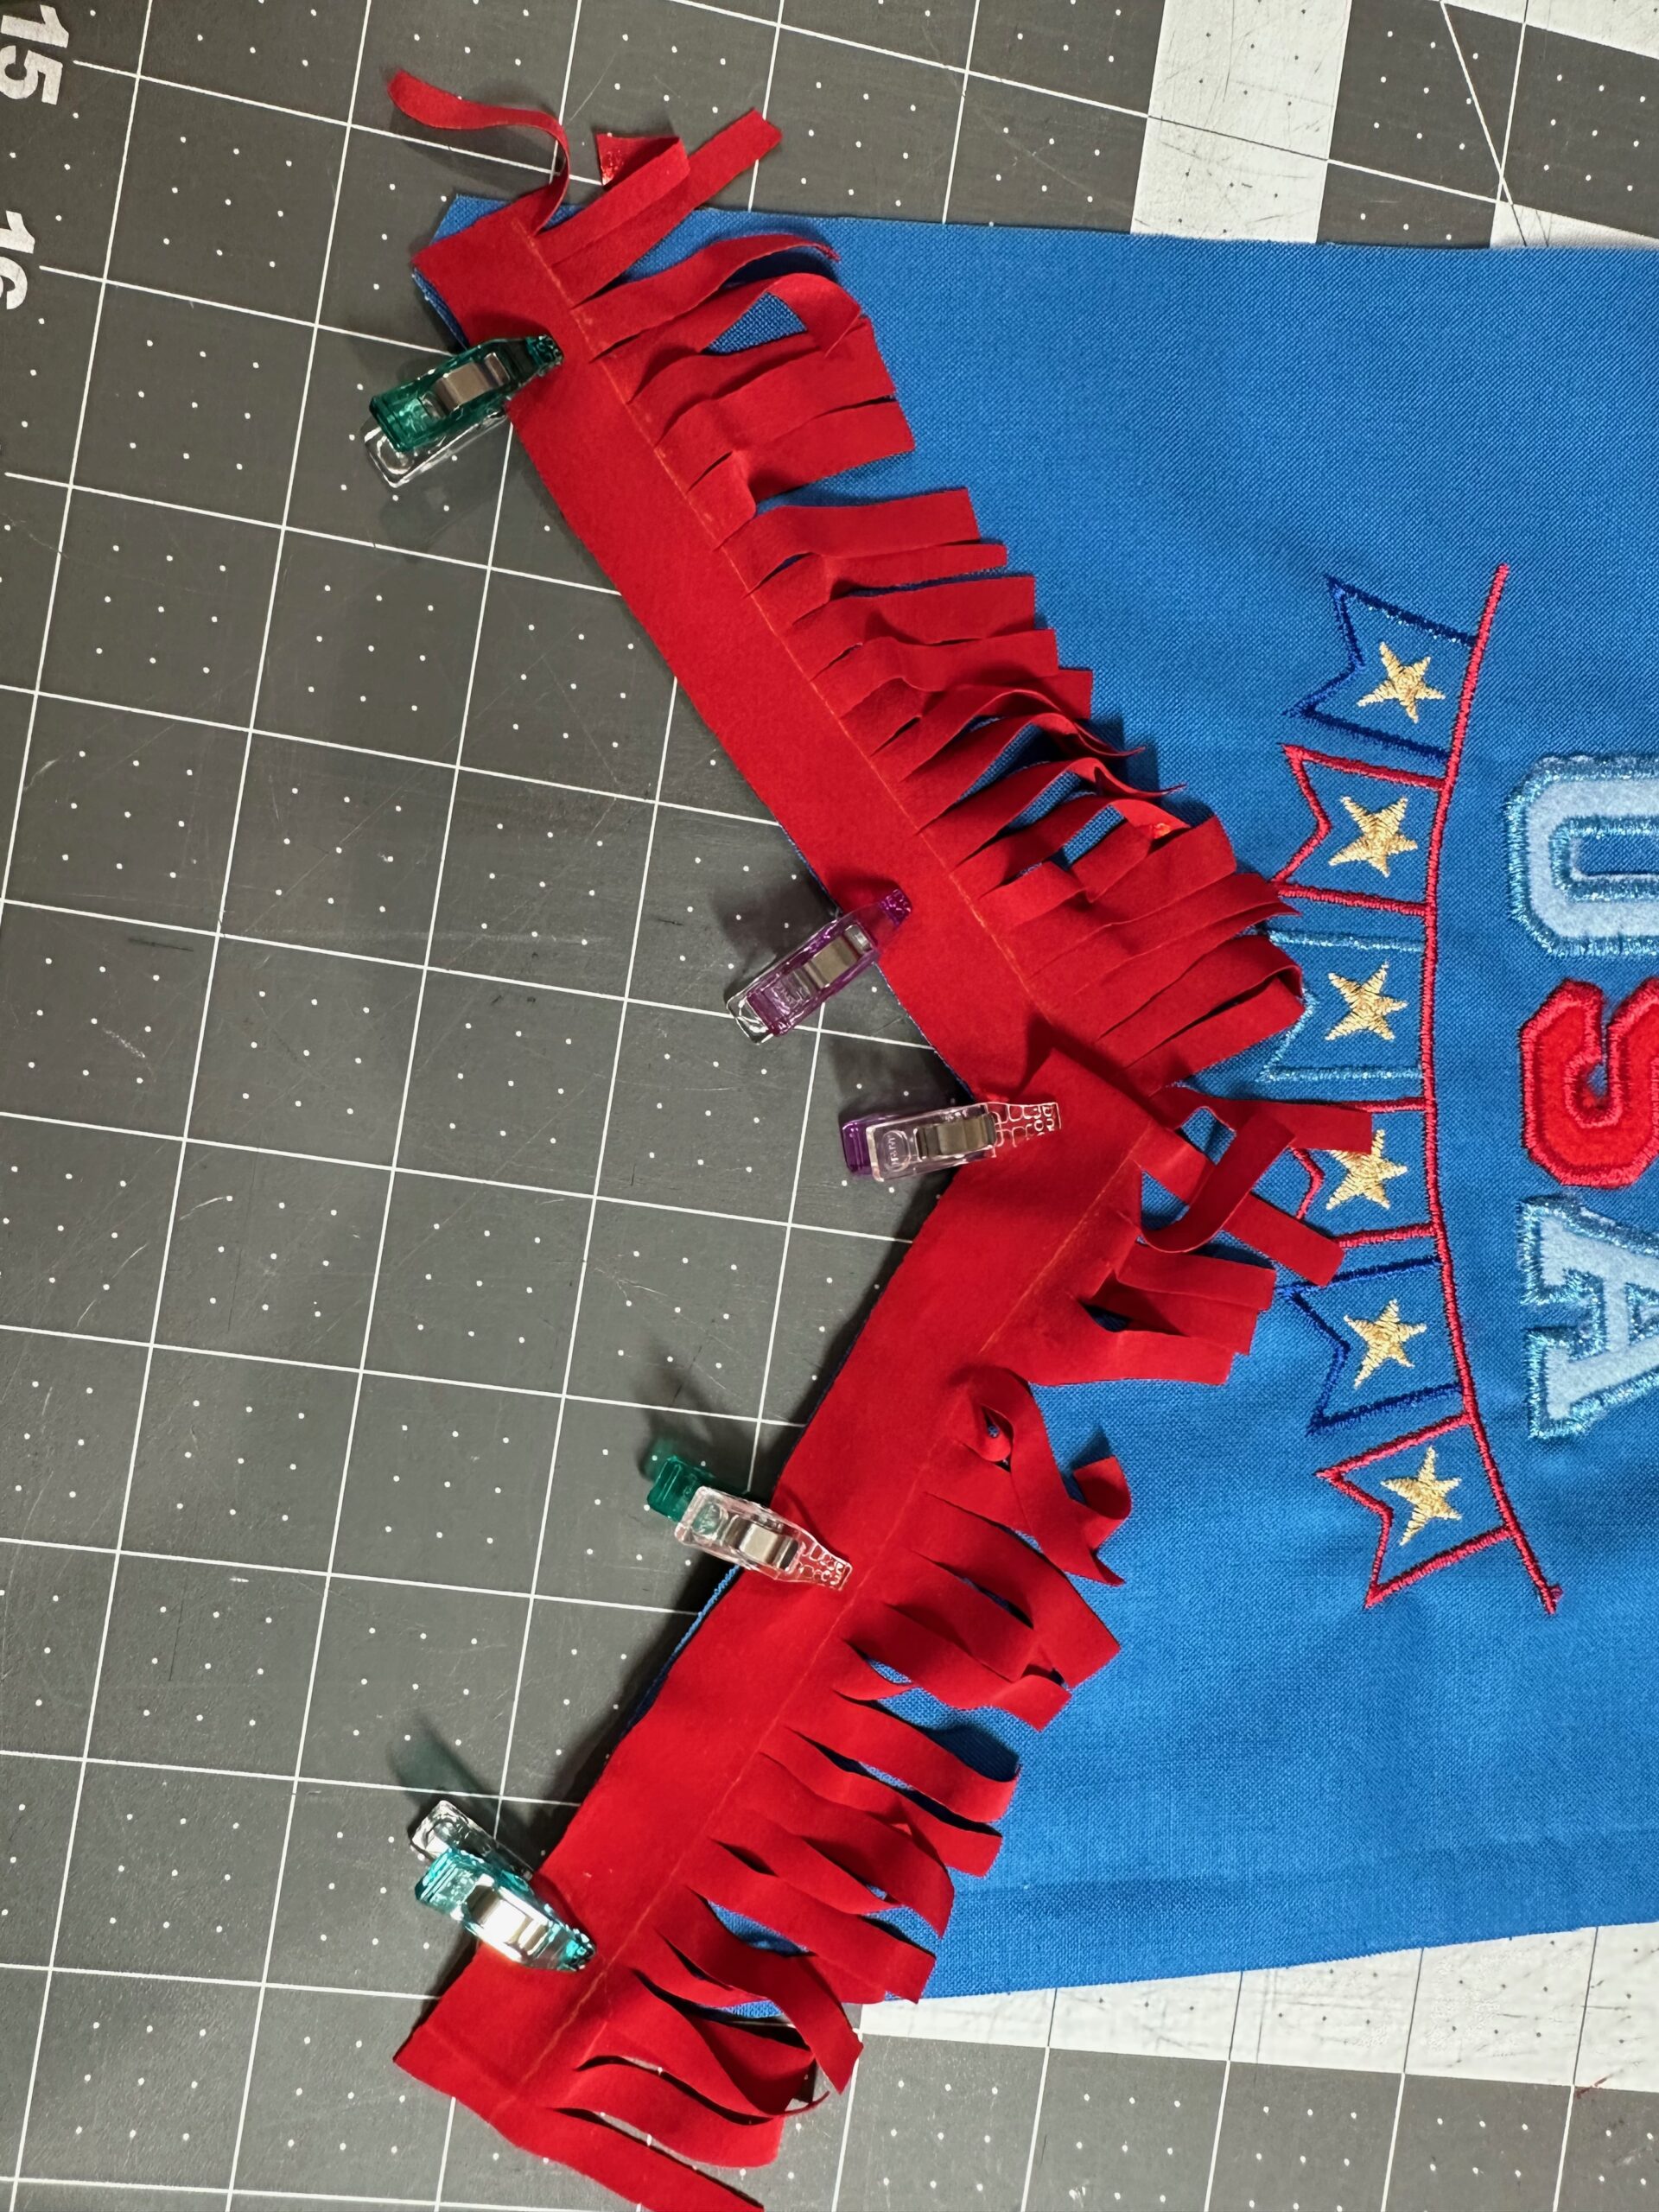
Baste the trim in place, using a 1/4″ seam allowance.

FLAG CONSTRUCTION
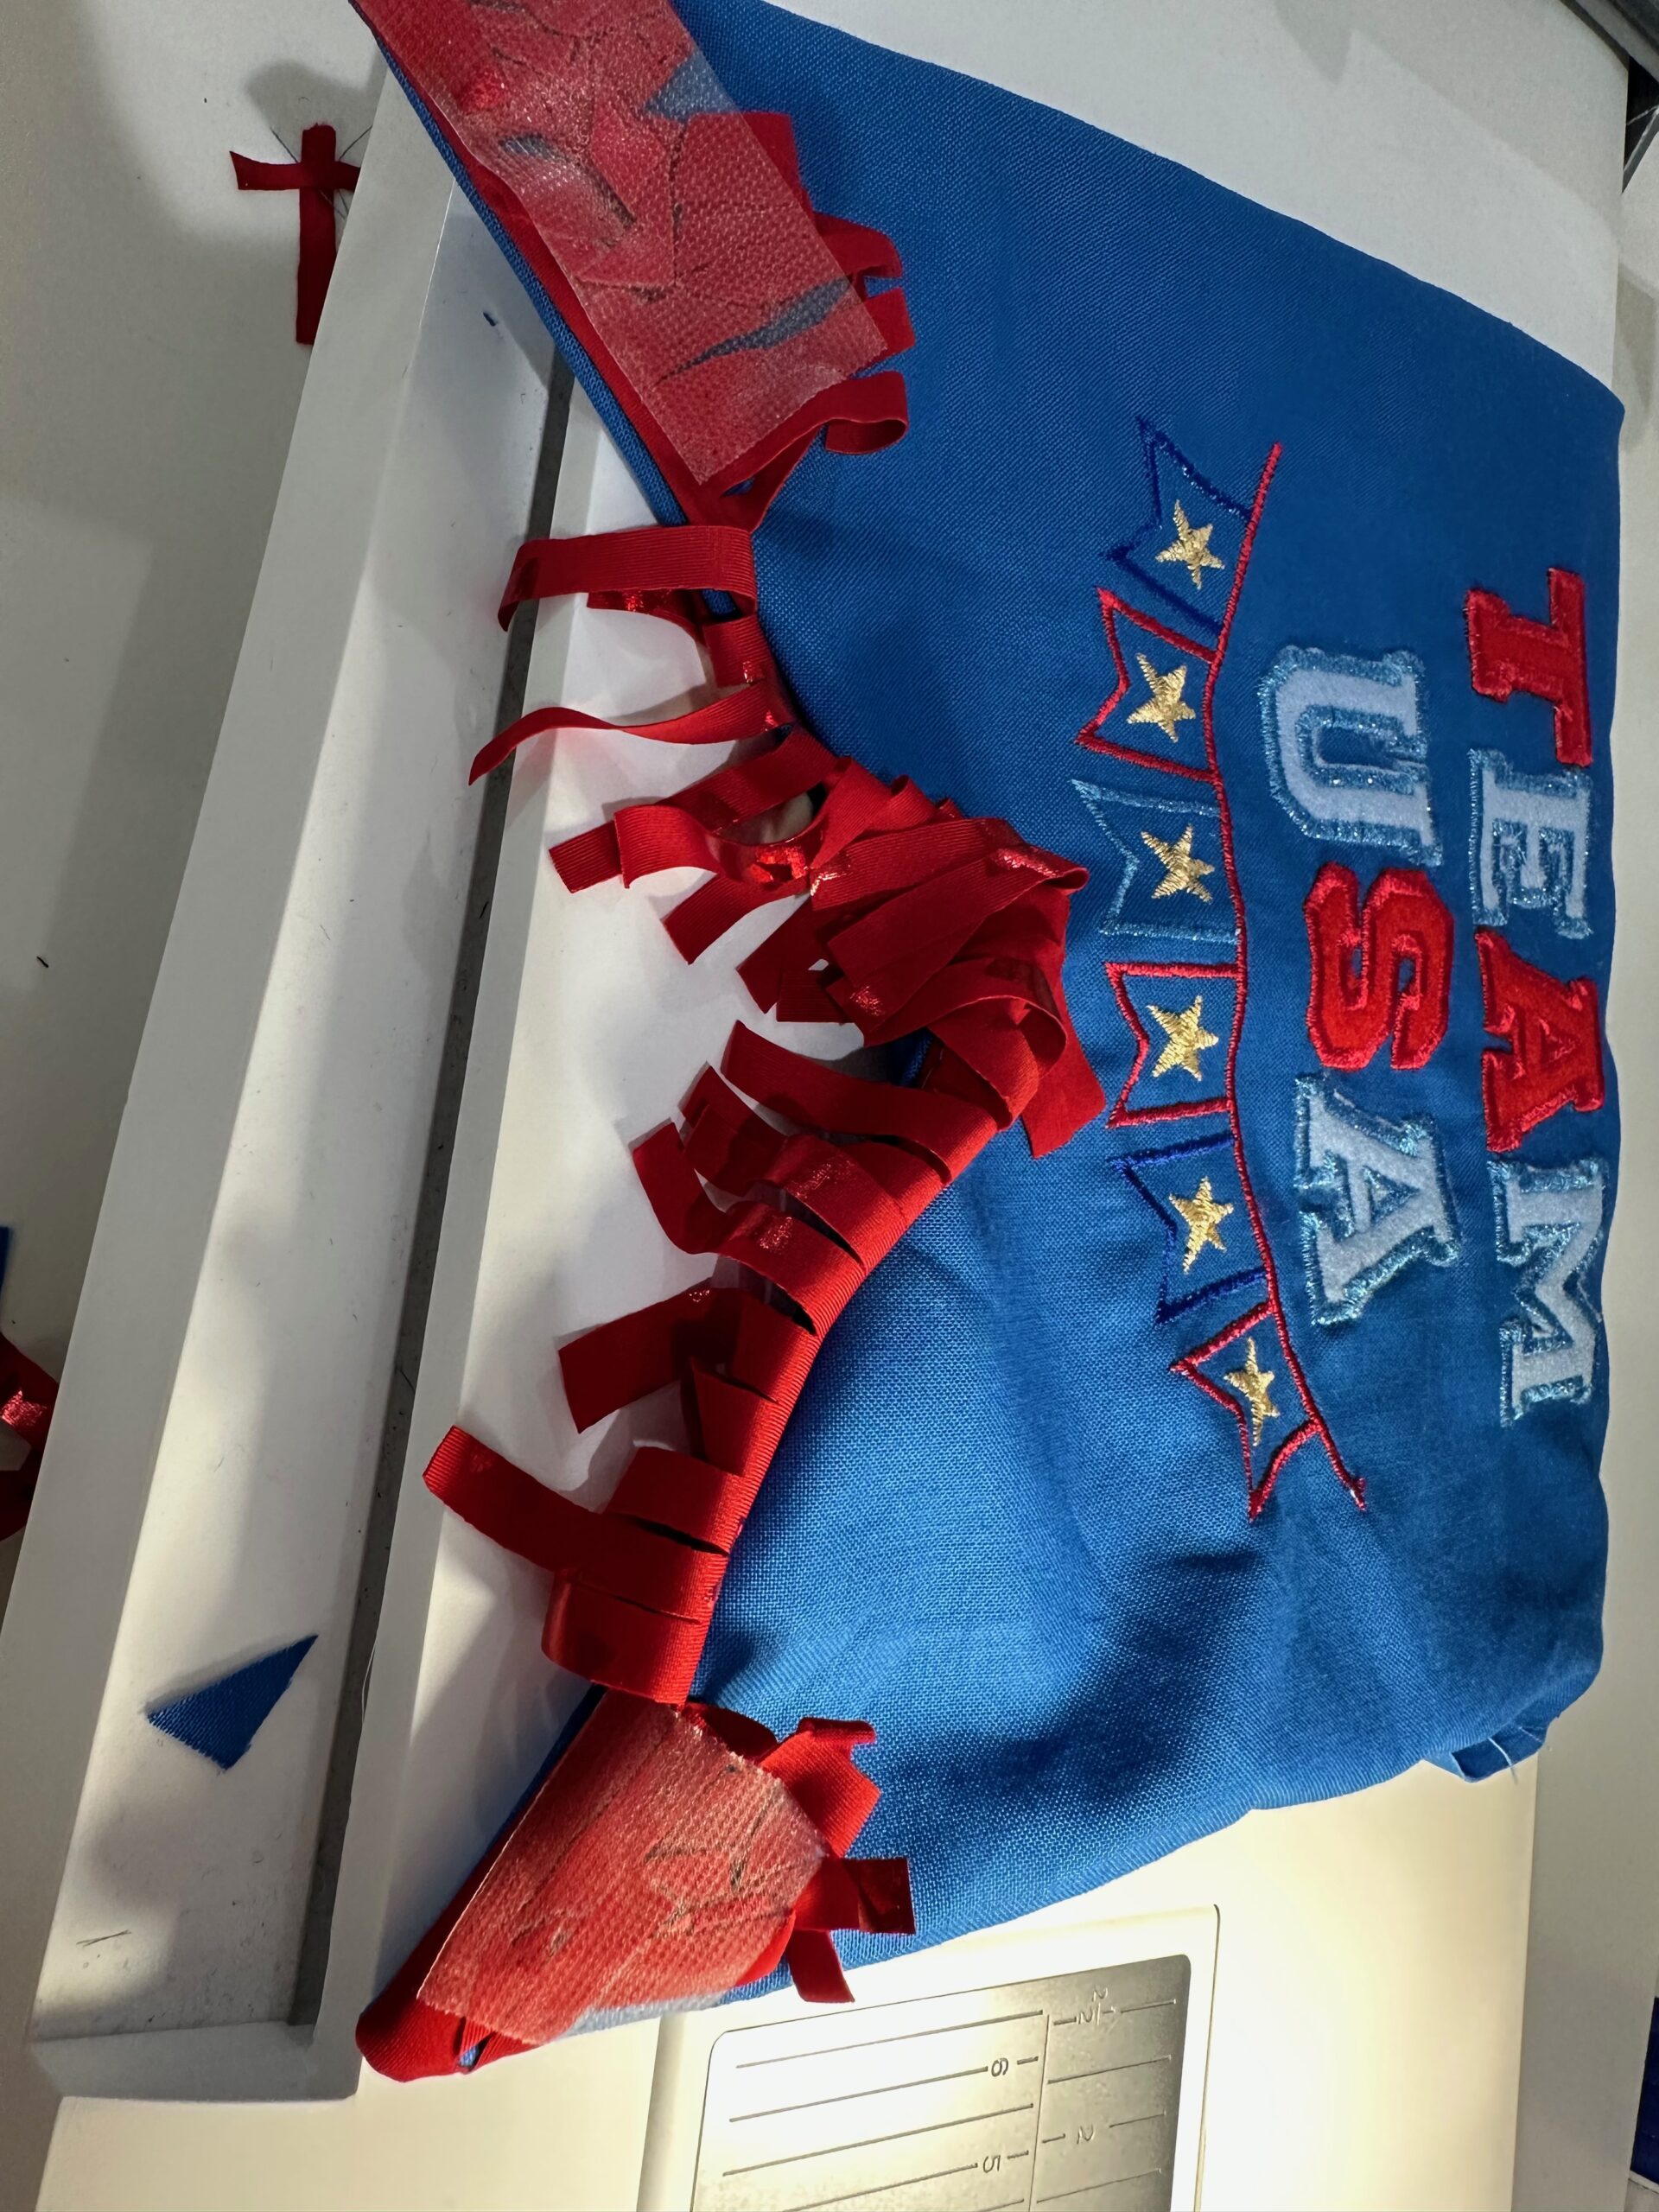
Using Sulky Clear Embroidery Tape, tape the fringe away from the outer stitching line to make sure it doesn’t get caught in the stitching.
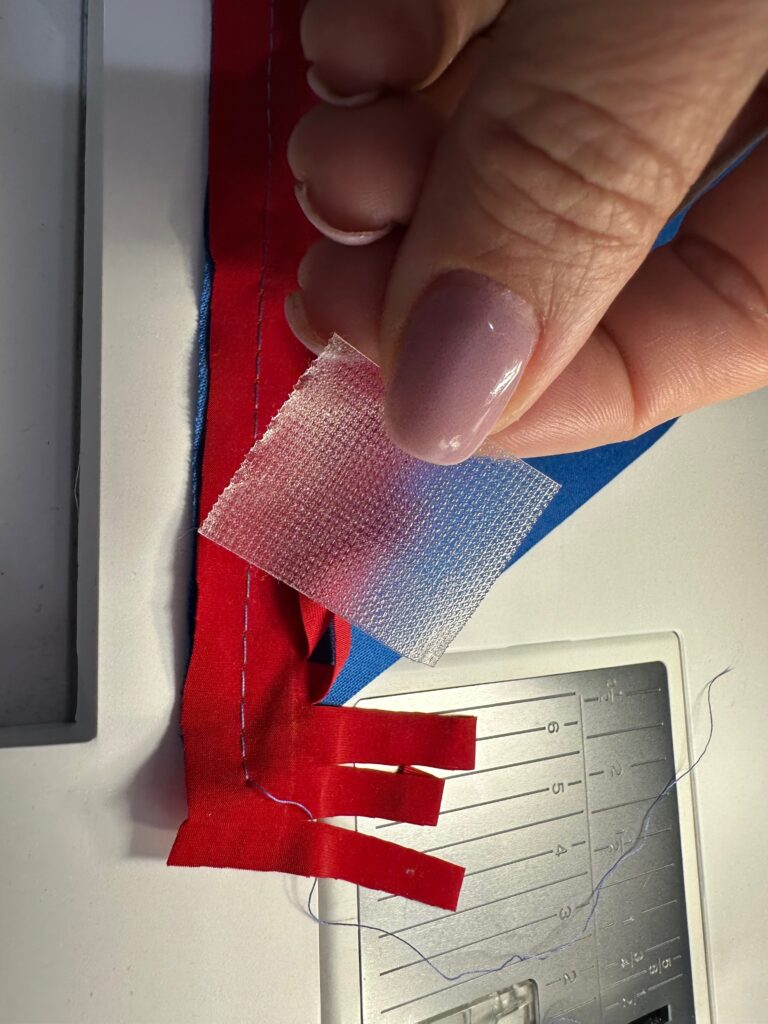
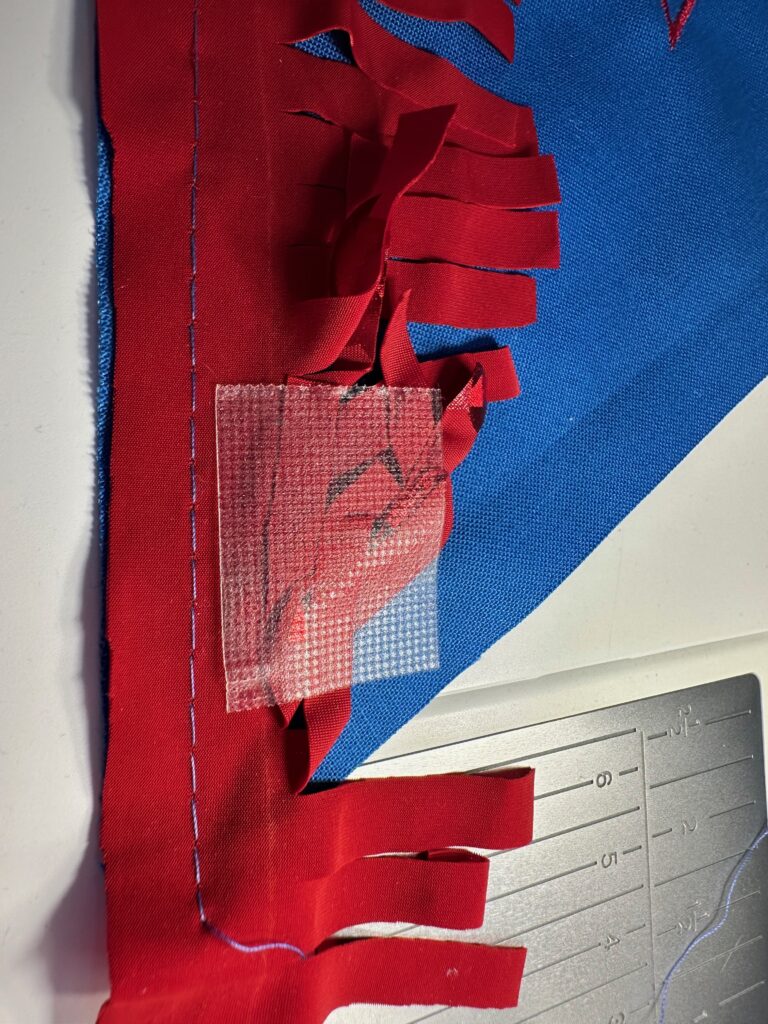
If any fringe is beyond the stitching line, leave it alone for now and plan to trim it off after stitching is complete.
Thread the machine with Sulky 50 wt. Cotton Thread that matches the flag fabric.
Place the back flag piece over the embroidered flag piece with right sides facing and all edges and corners aligned; clip or pin the perimeter.
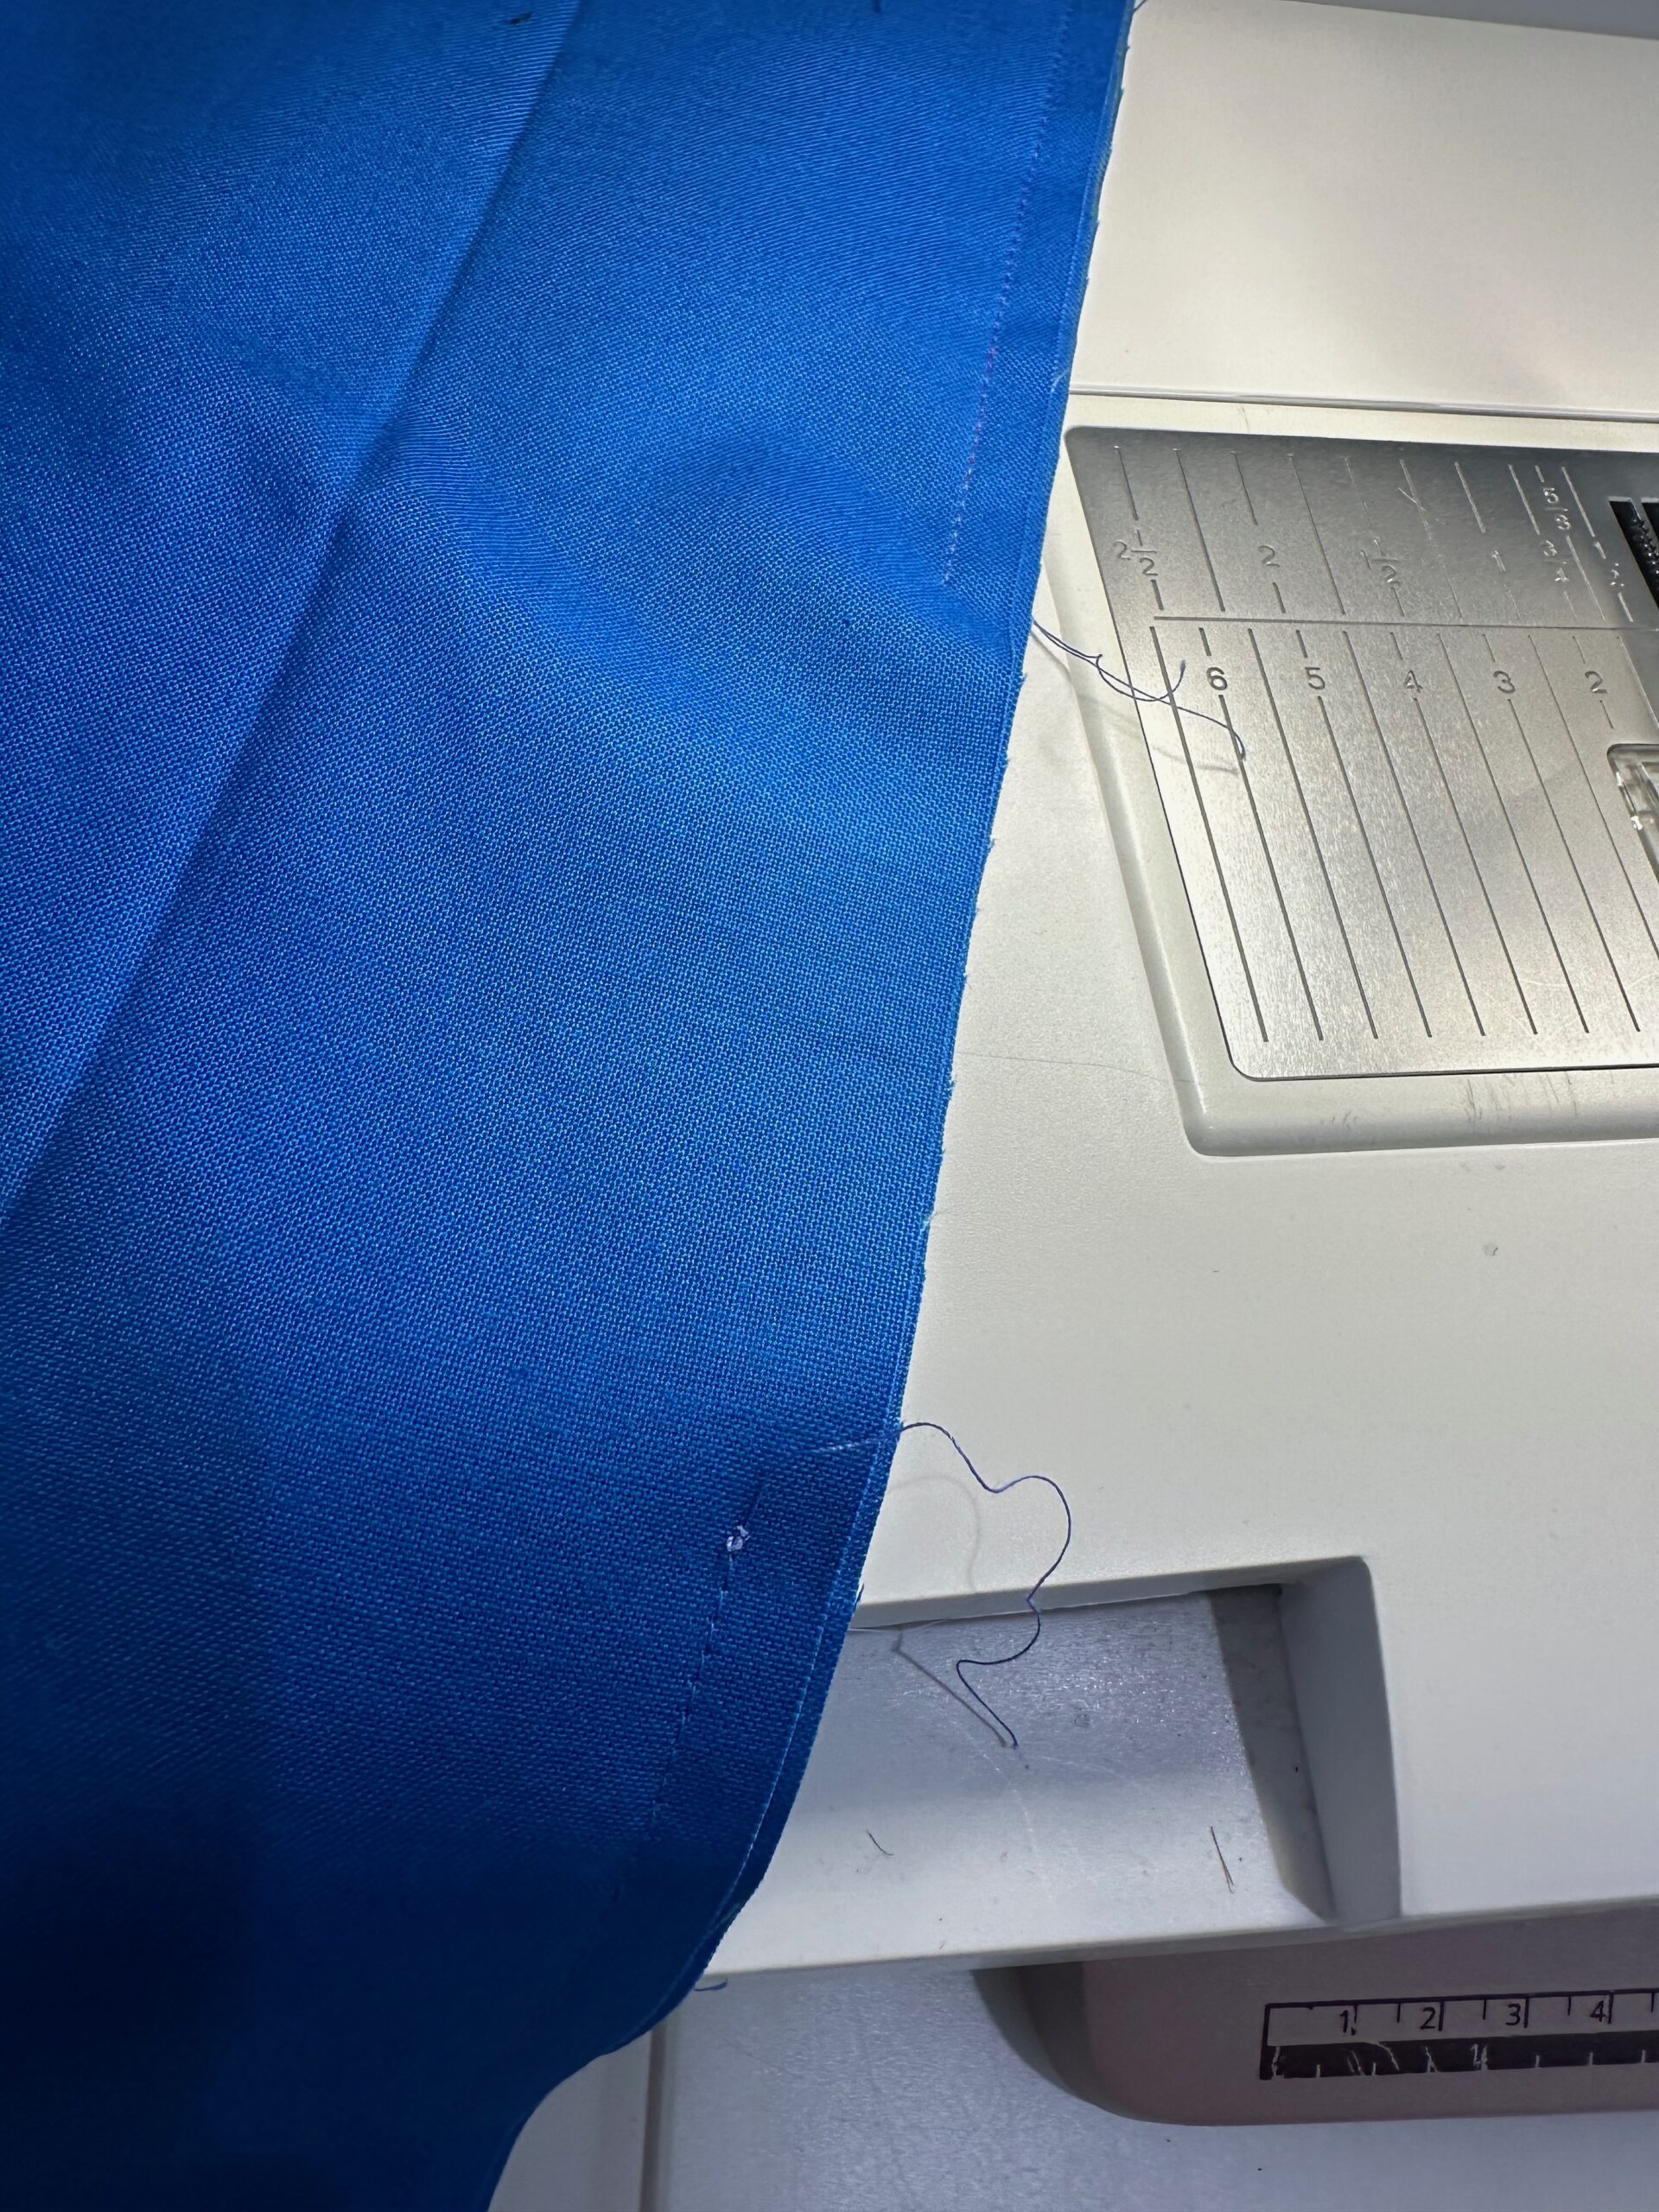
Stitch the perimeter with a 1/4″ seam allowance EXCEPT for the lower edge; use a 3/8″ seam allowance there.
Leave a 3″ opening along the upper or one side edge for turning.
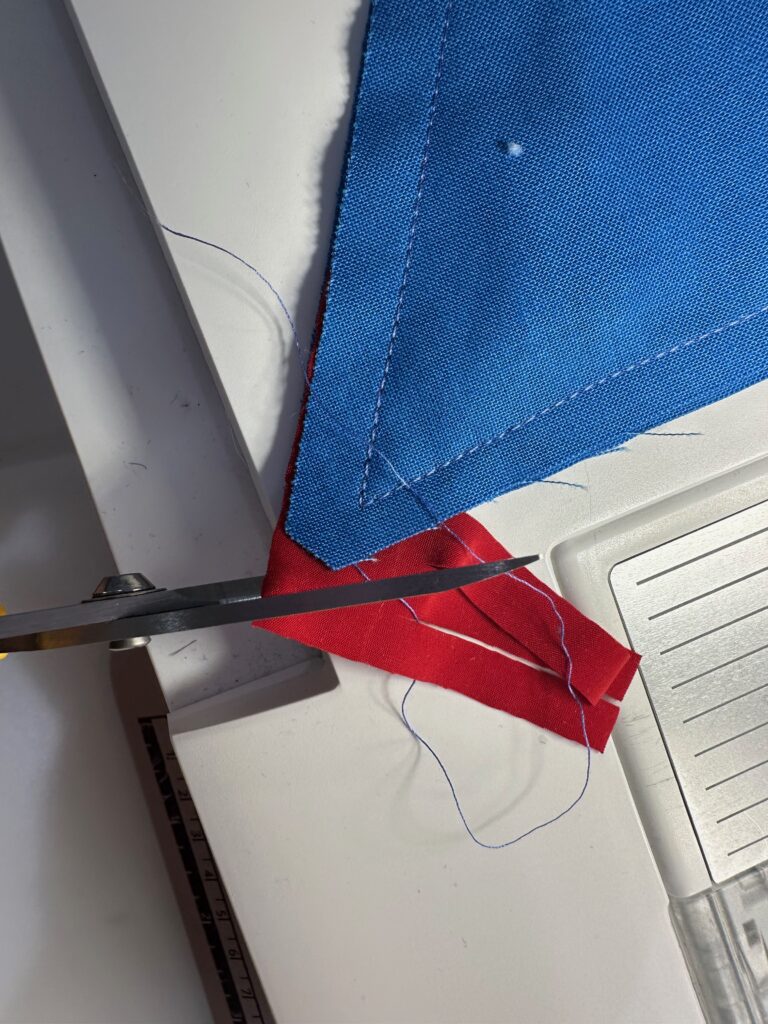
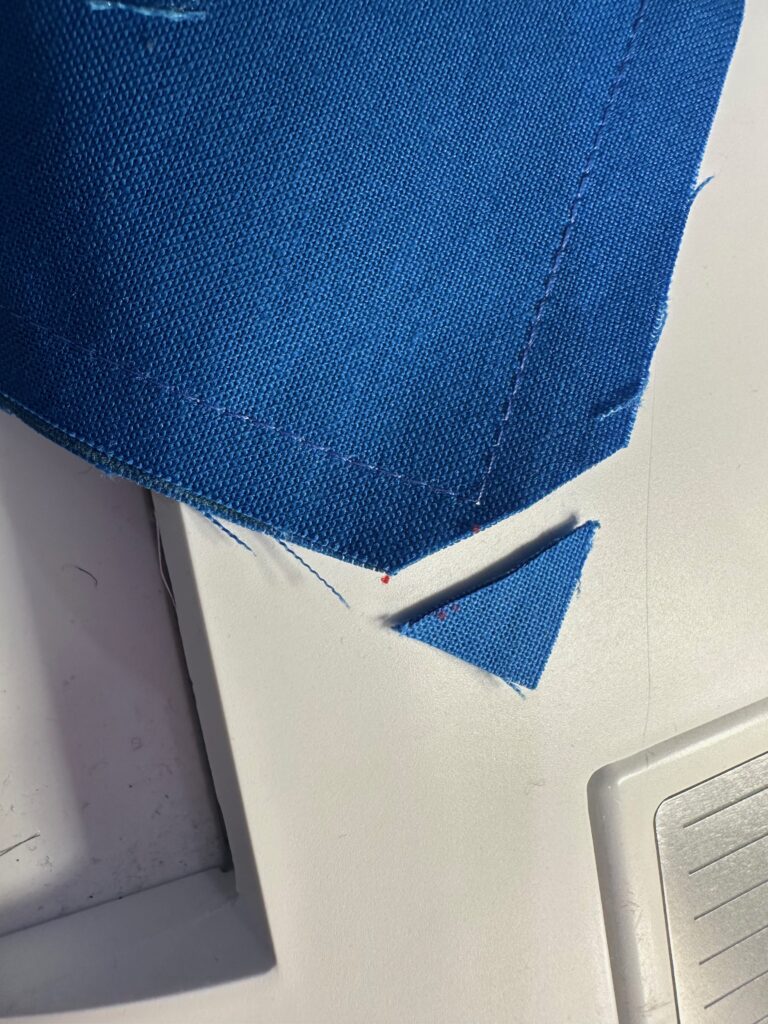
Clip the corners. Then, trim off any outlying fringe. Clip into the lower-edge center triangle point and trim that seam slightly to reduce bulk.
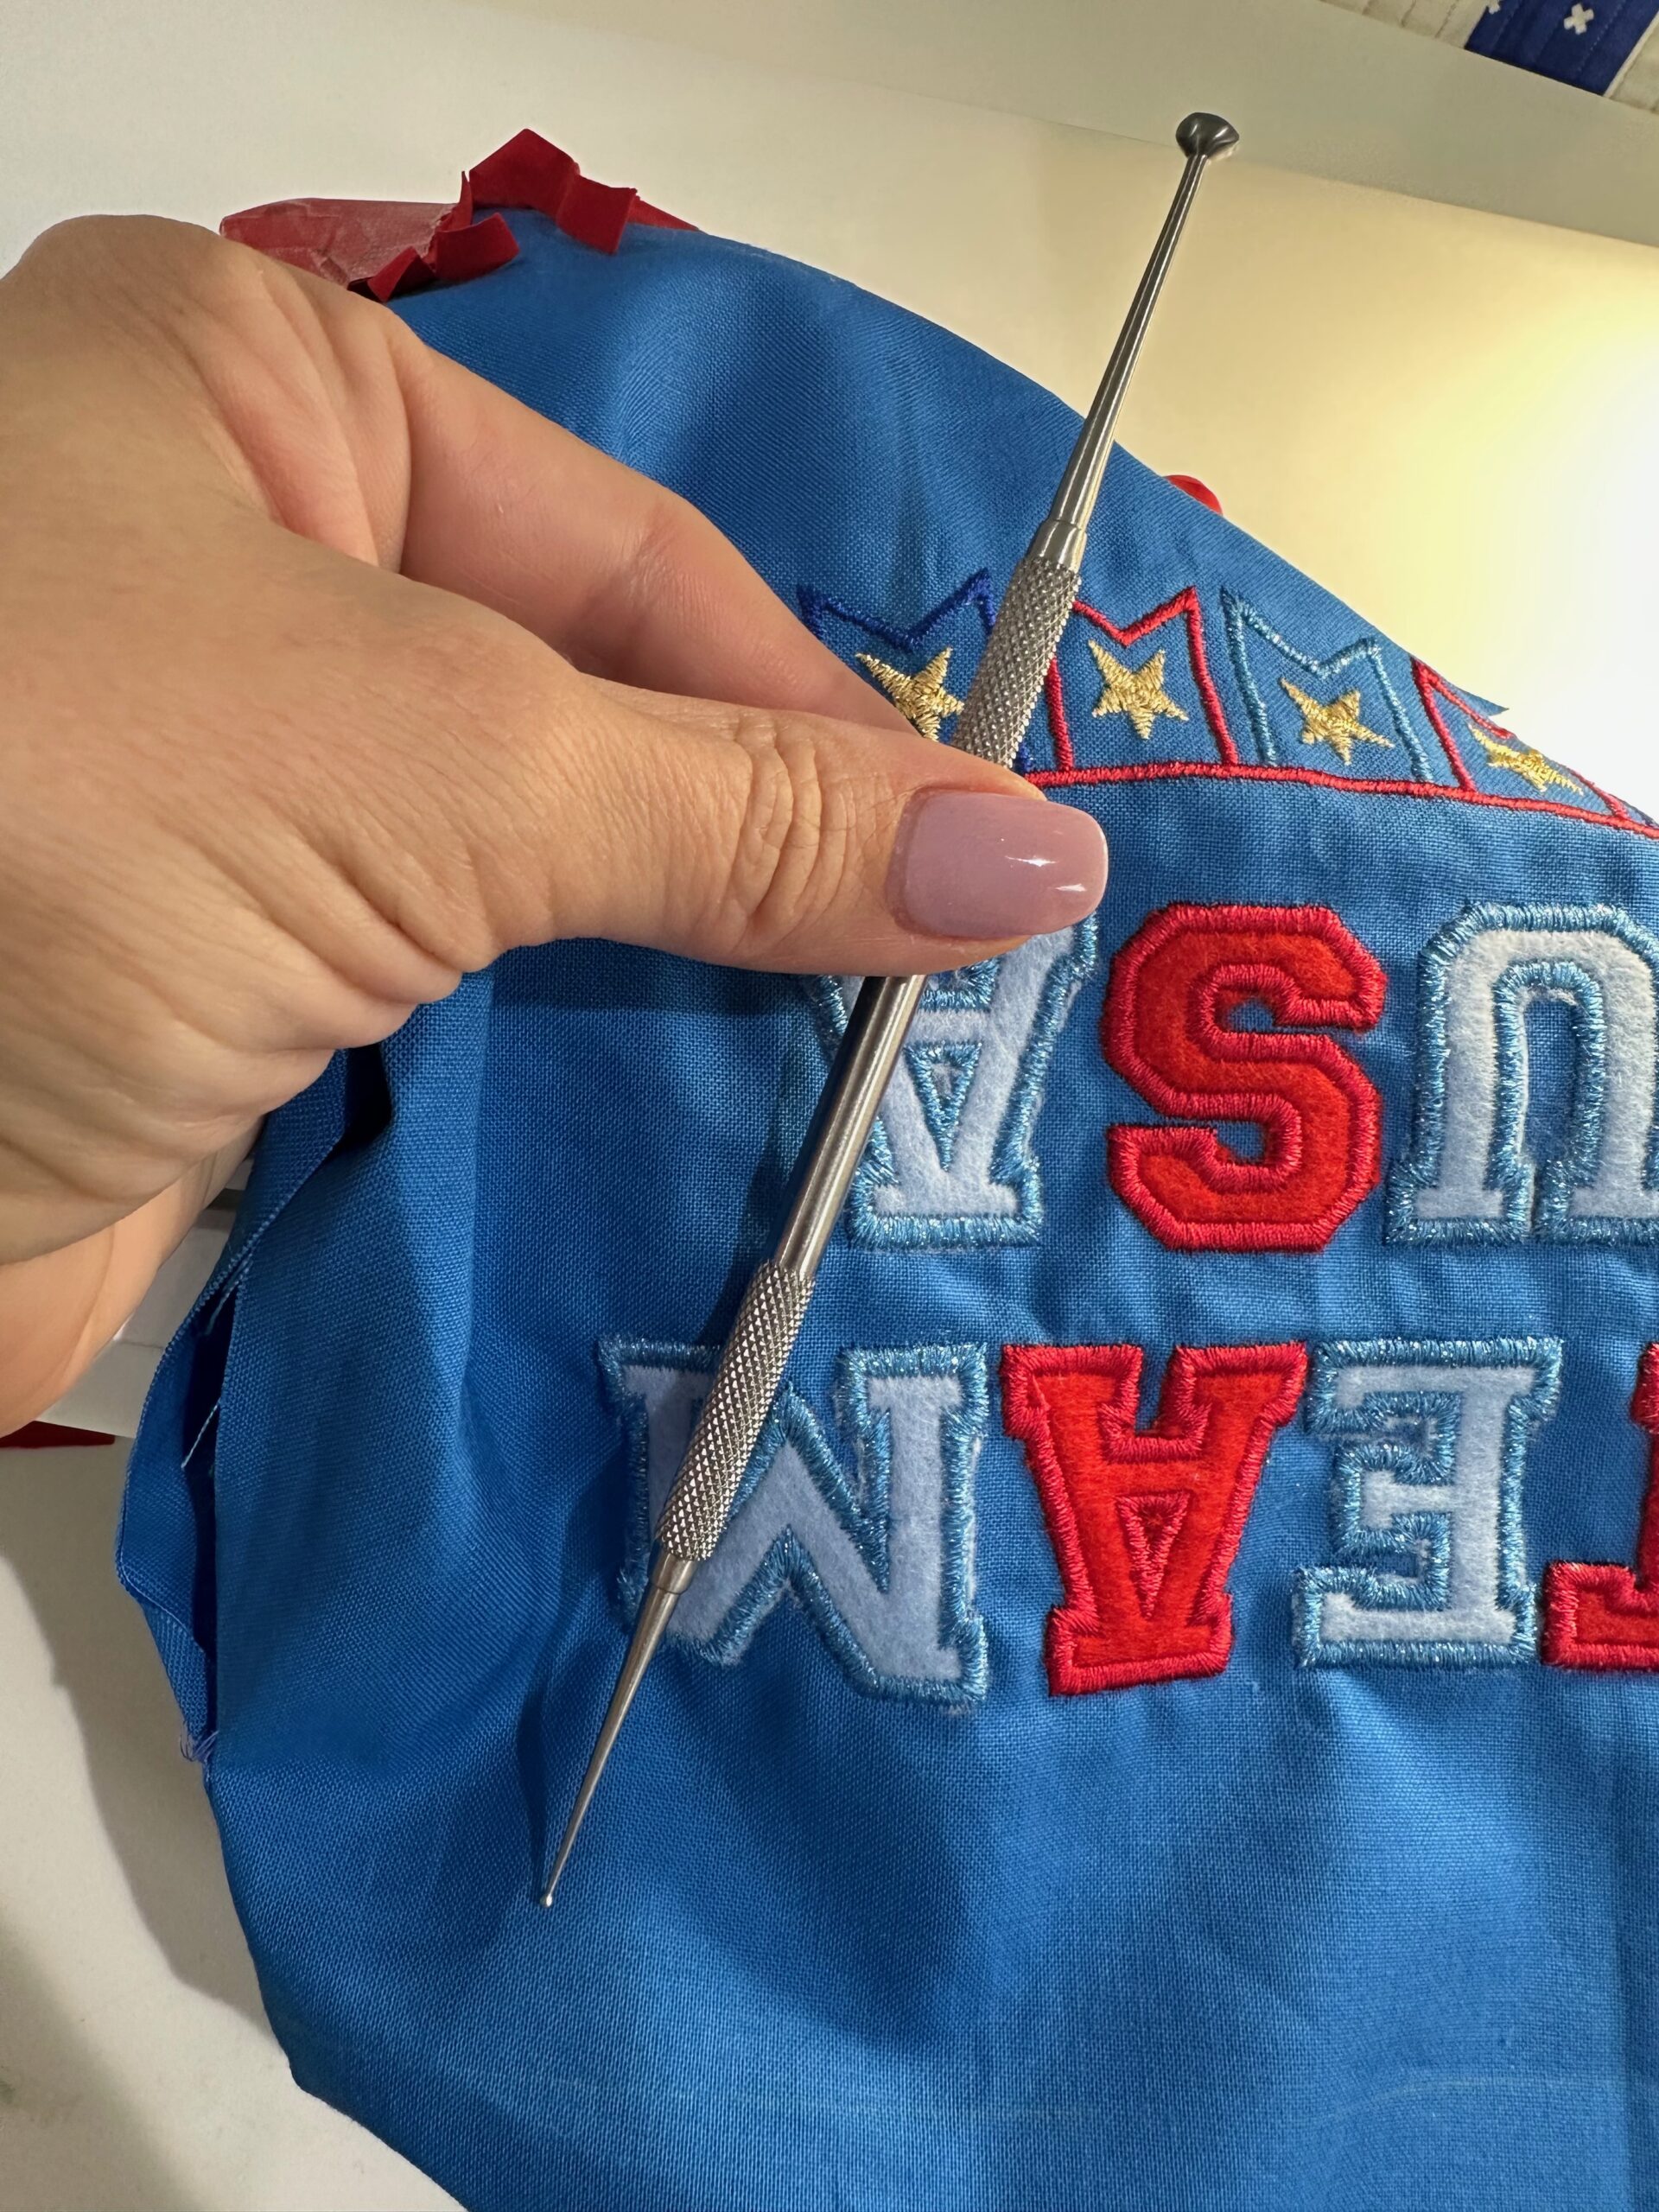
Turn the flag right side out through the opening. Then, use a point turner or Turning Tool to gently push out the corners.
Next, remove the tape along the flag lower edge. Note that the tape is reusable! Save it for another use (or two).
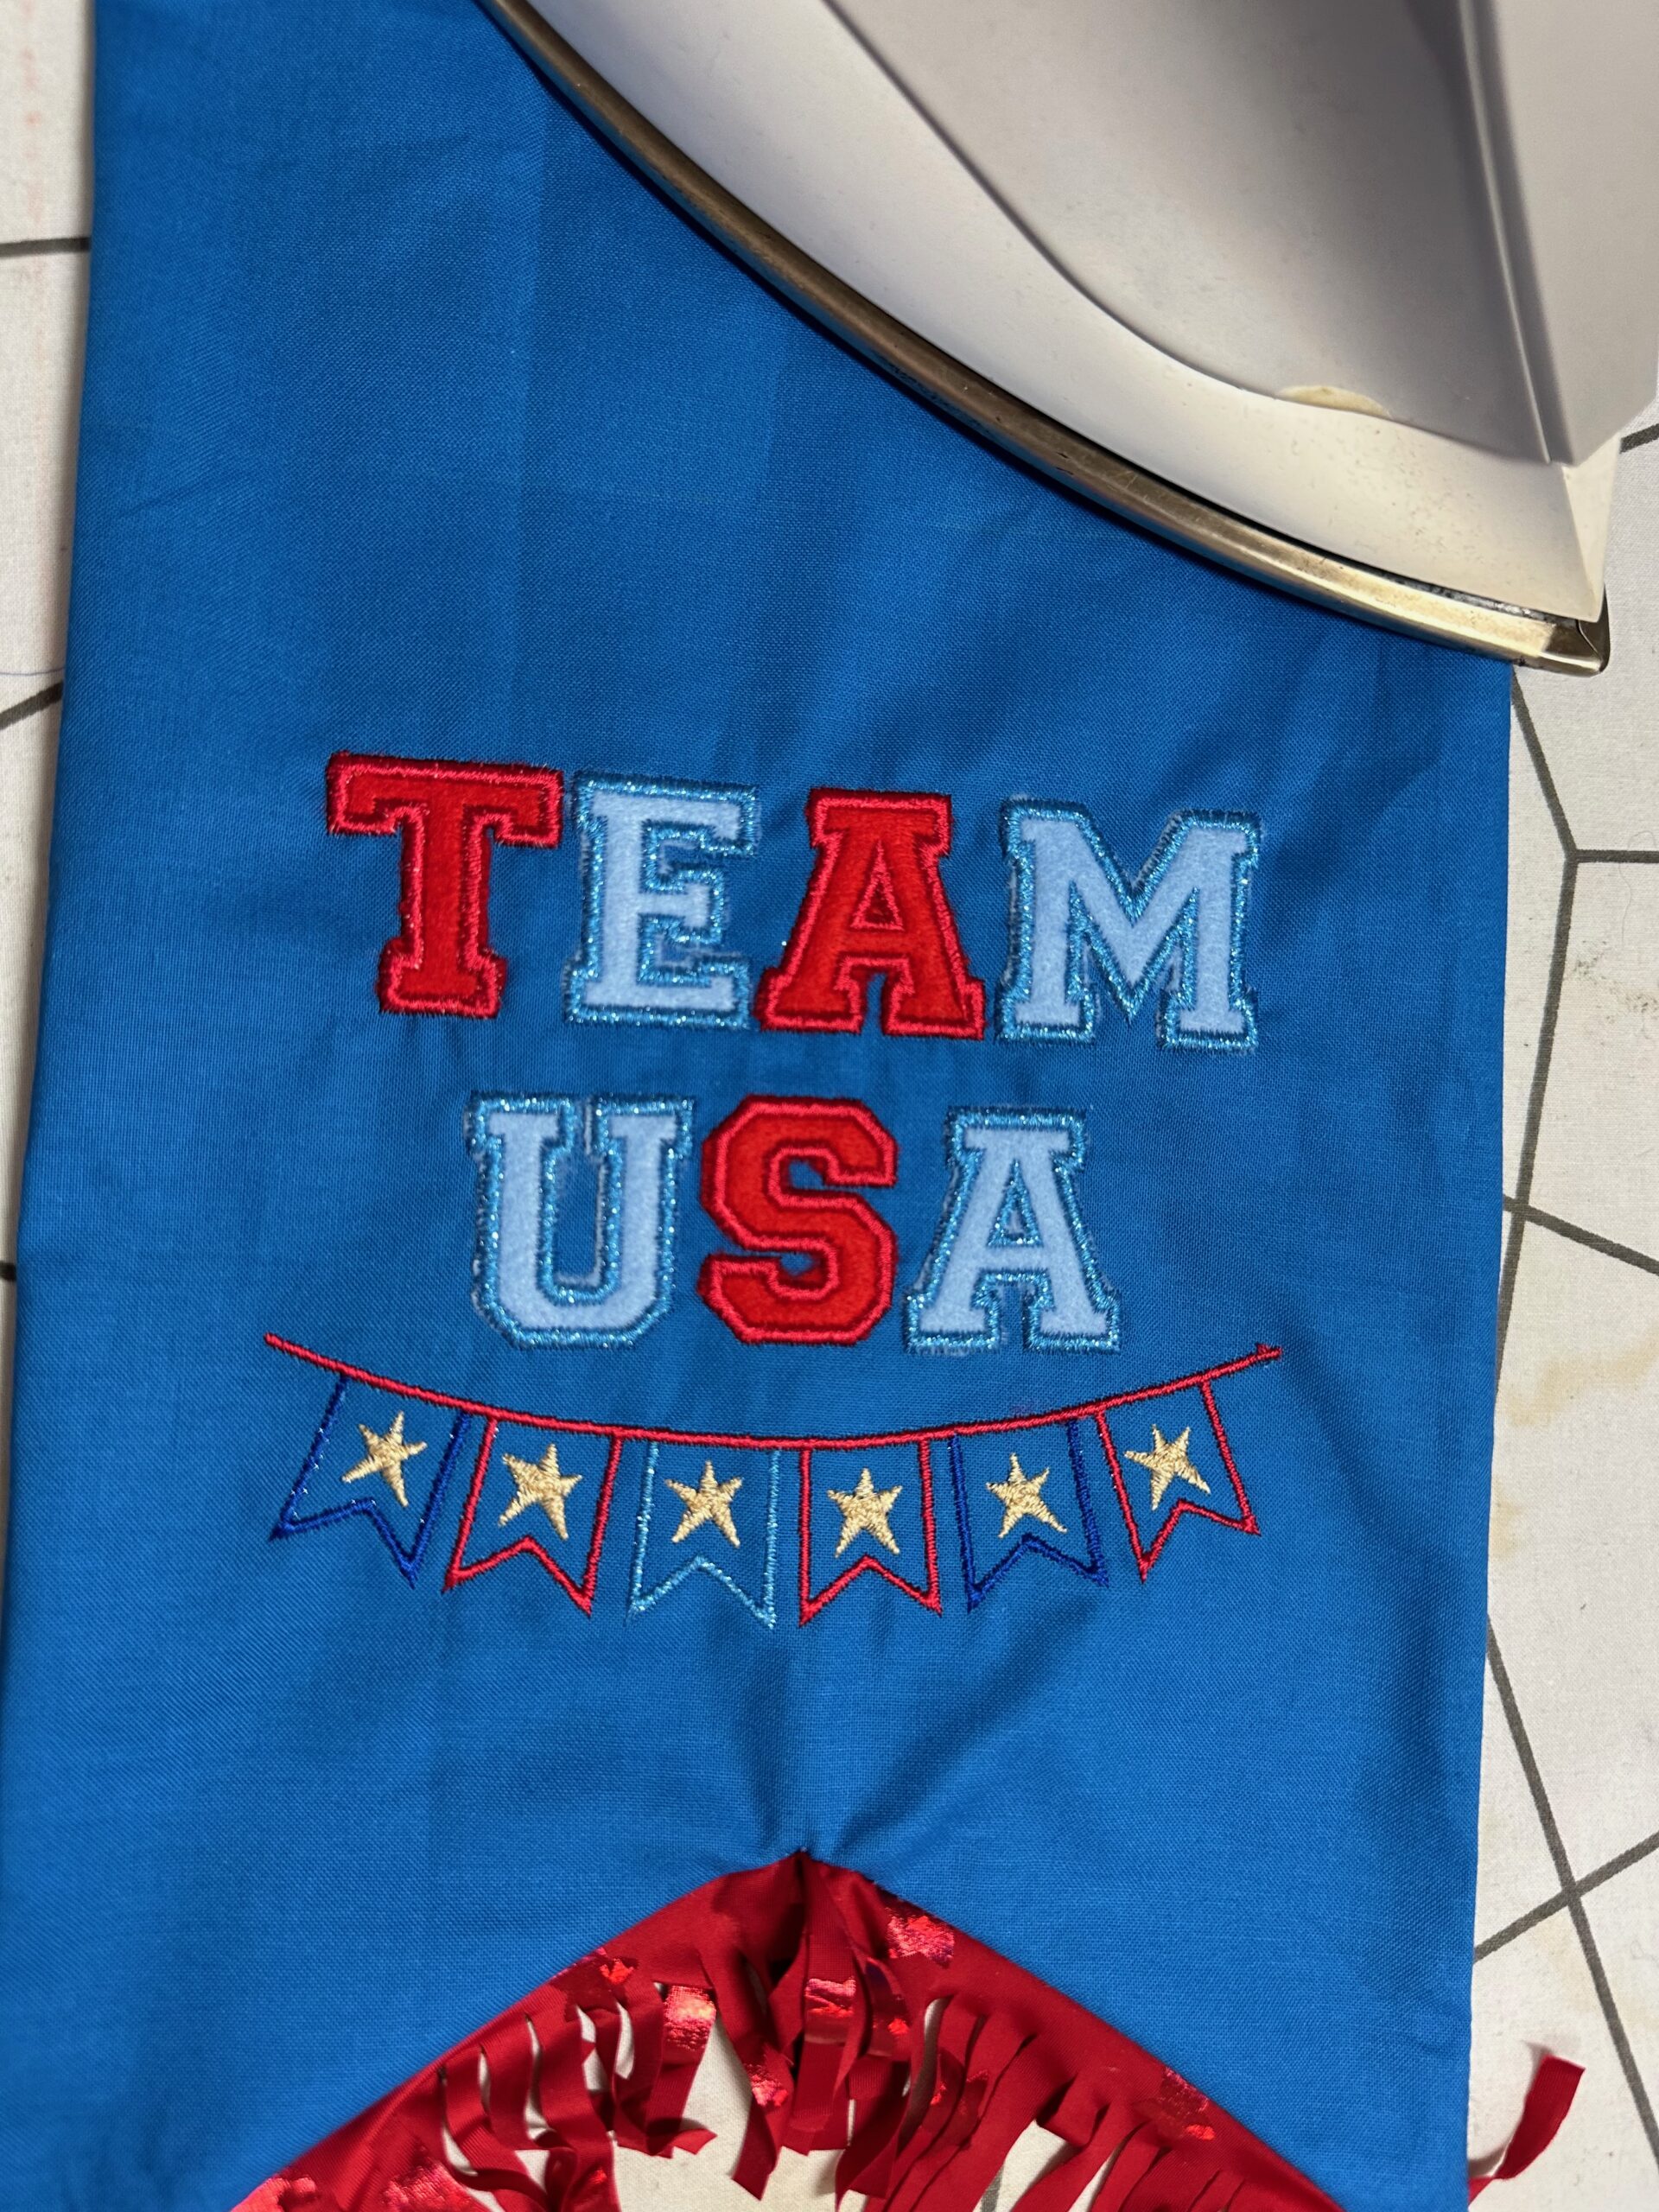
Press the flag from the right side, avoiding the embroidery if possible. Also avoid the fringe if that fabric cannot withstand heat.
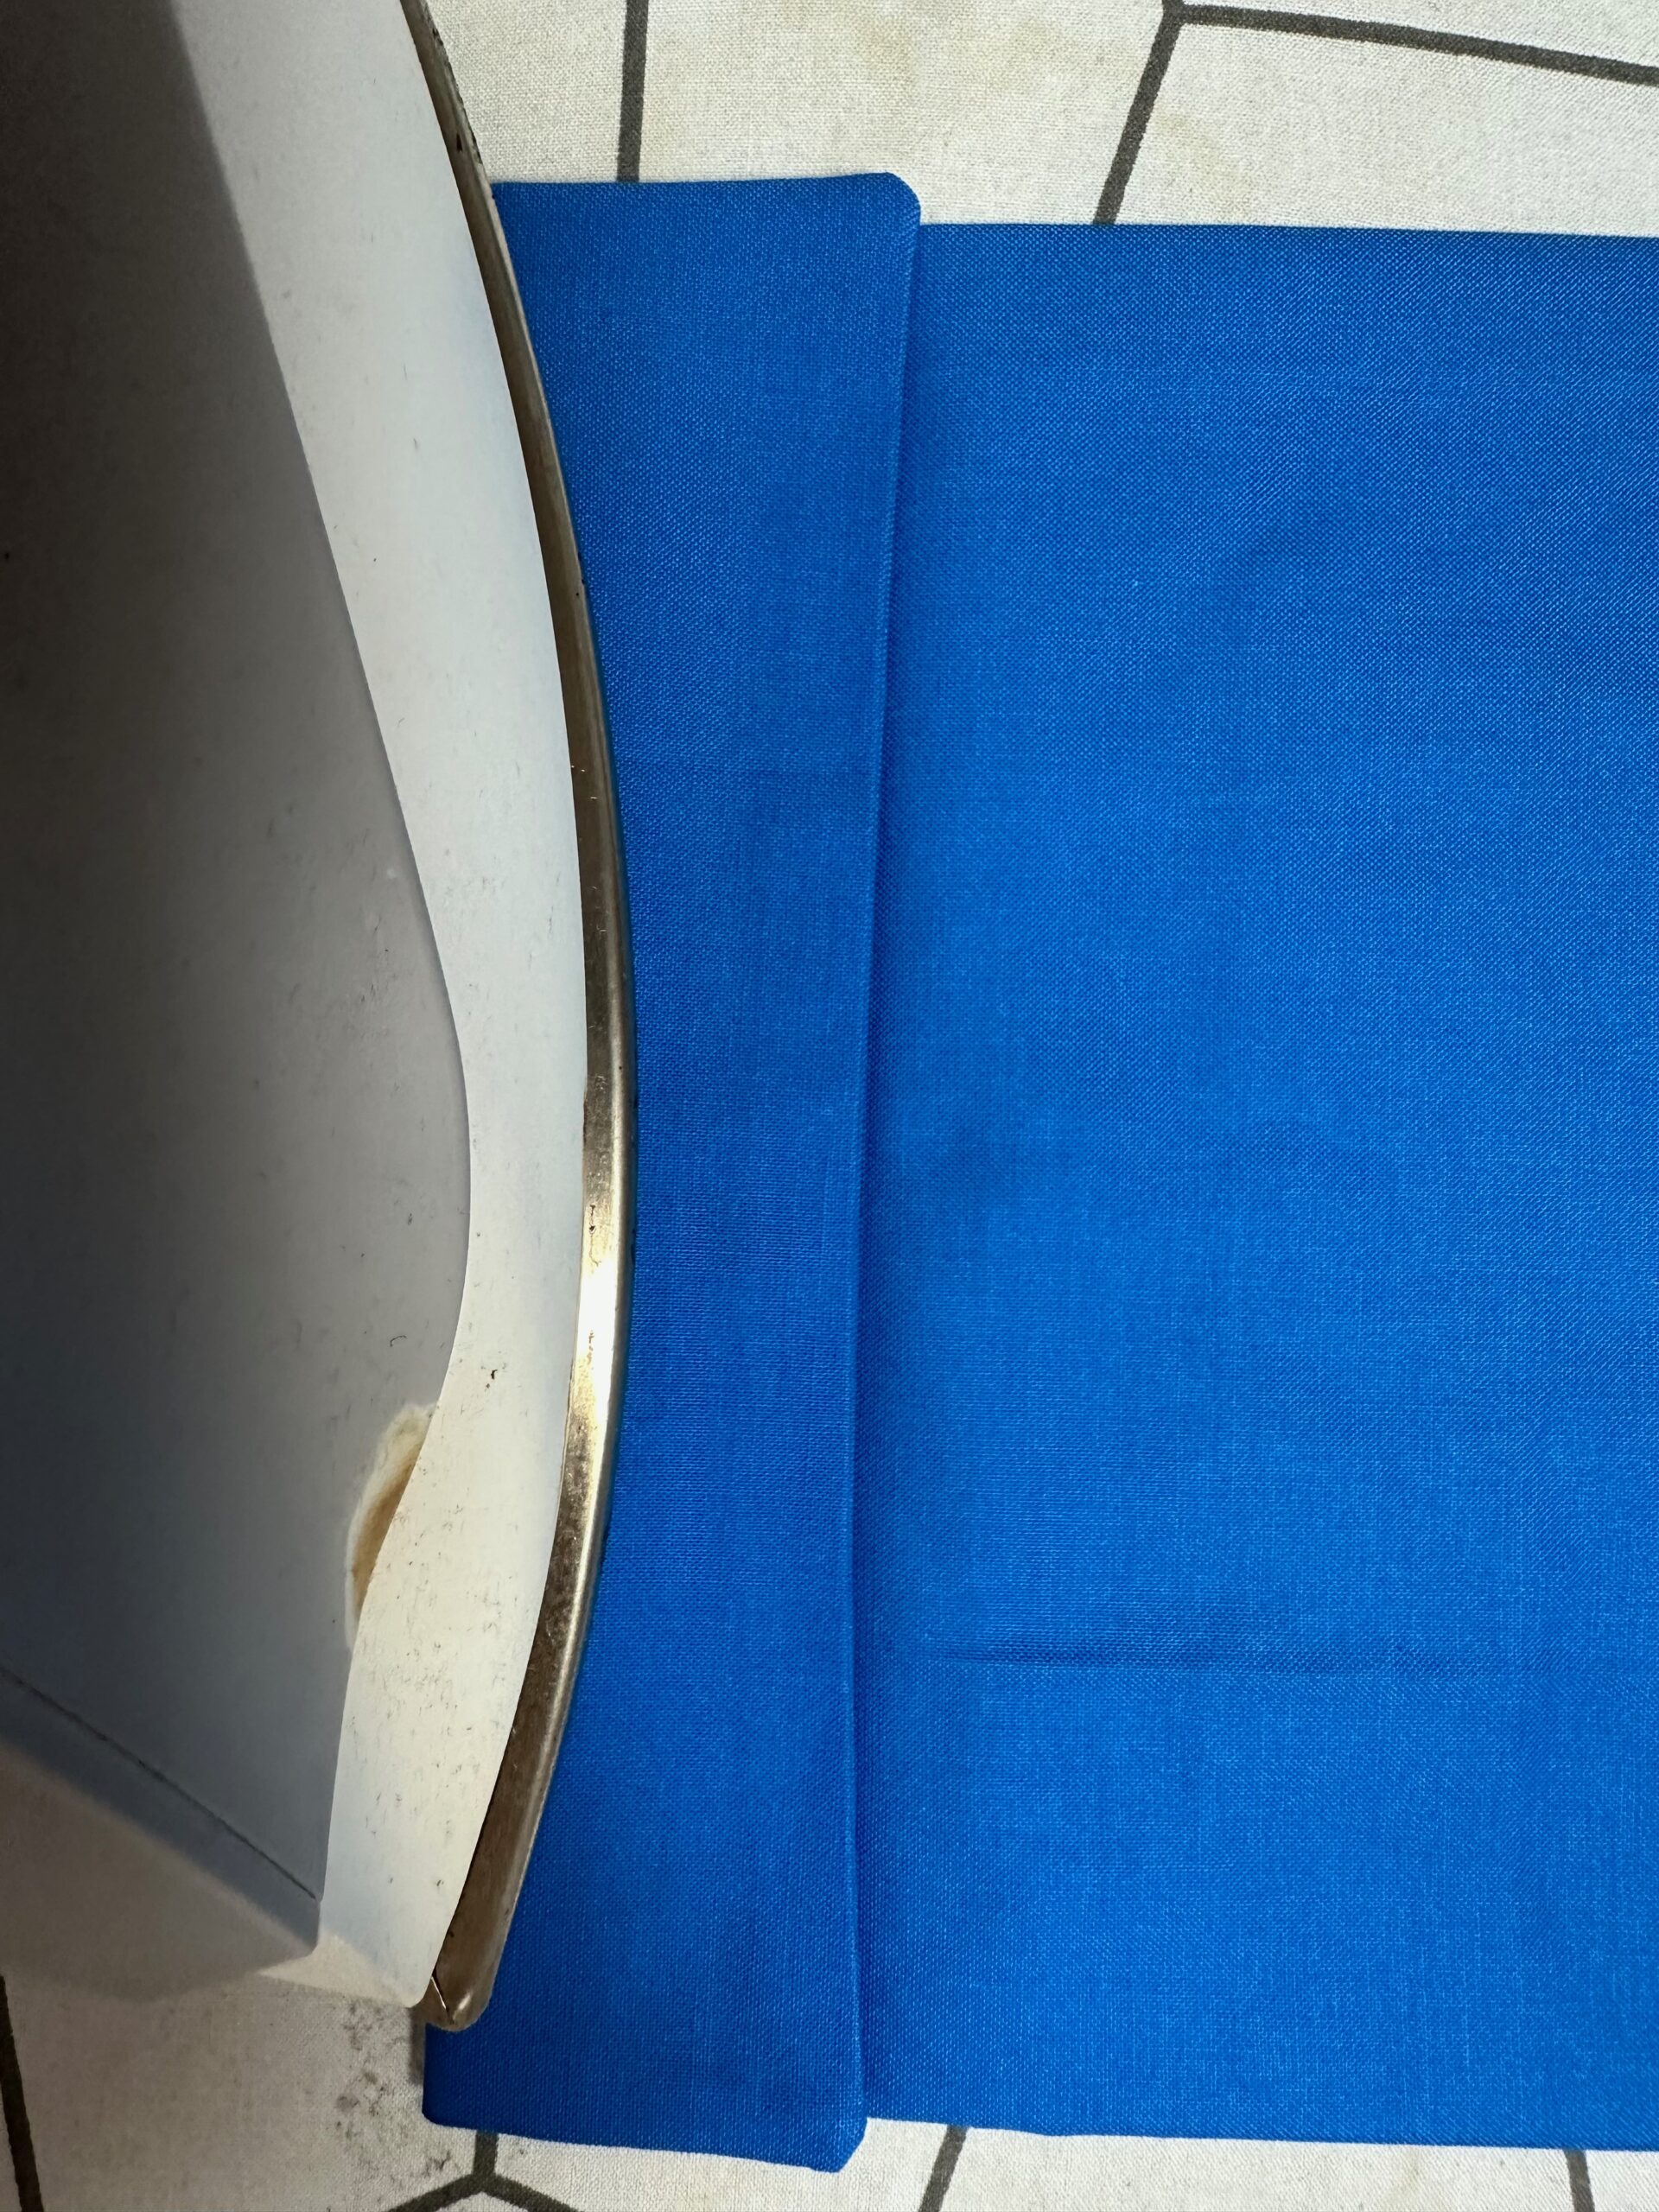
Fold the flag upper edge 2″ toward the wrong side. If using a Hot Ruler, first fold the edge 4″ to the wrong side to set a foldline. Then, unfold and fold the upper edge to meet the foldline along the flag back.
Pin or clip to secure the casing lower edge to the flag at either end.
Topstitch the flag, beginning at the casing lower edge, and the along the side, lower edge and opposite side. Do not sew beyond the casing lower edge or you will stitch it shut!
Be careful topstitching along the fringe edge, making sure the fringe is away from the stitching.
Lastly, hang the USA Garden Flag on a garden flag stake or hanger of your choice.
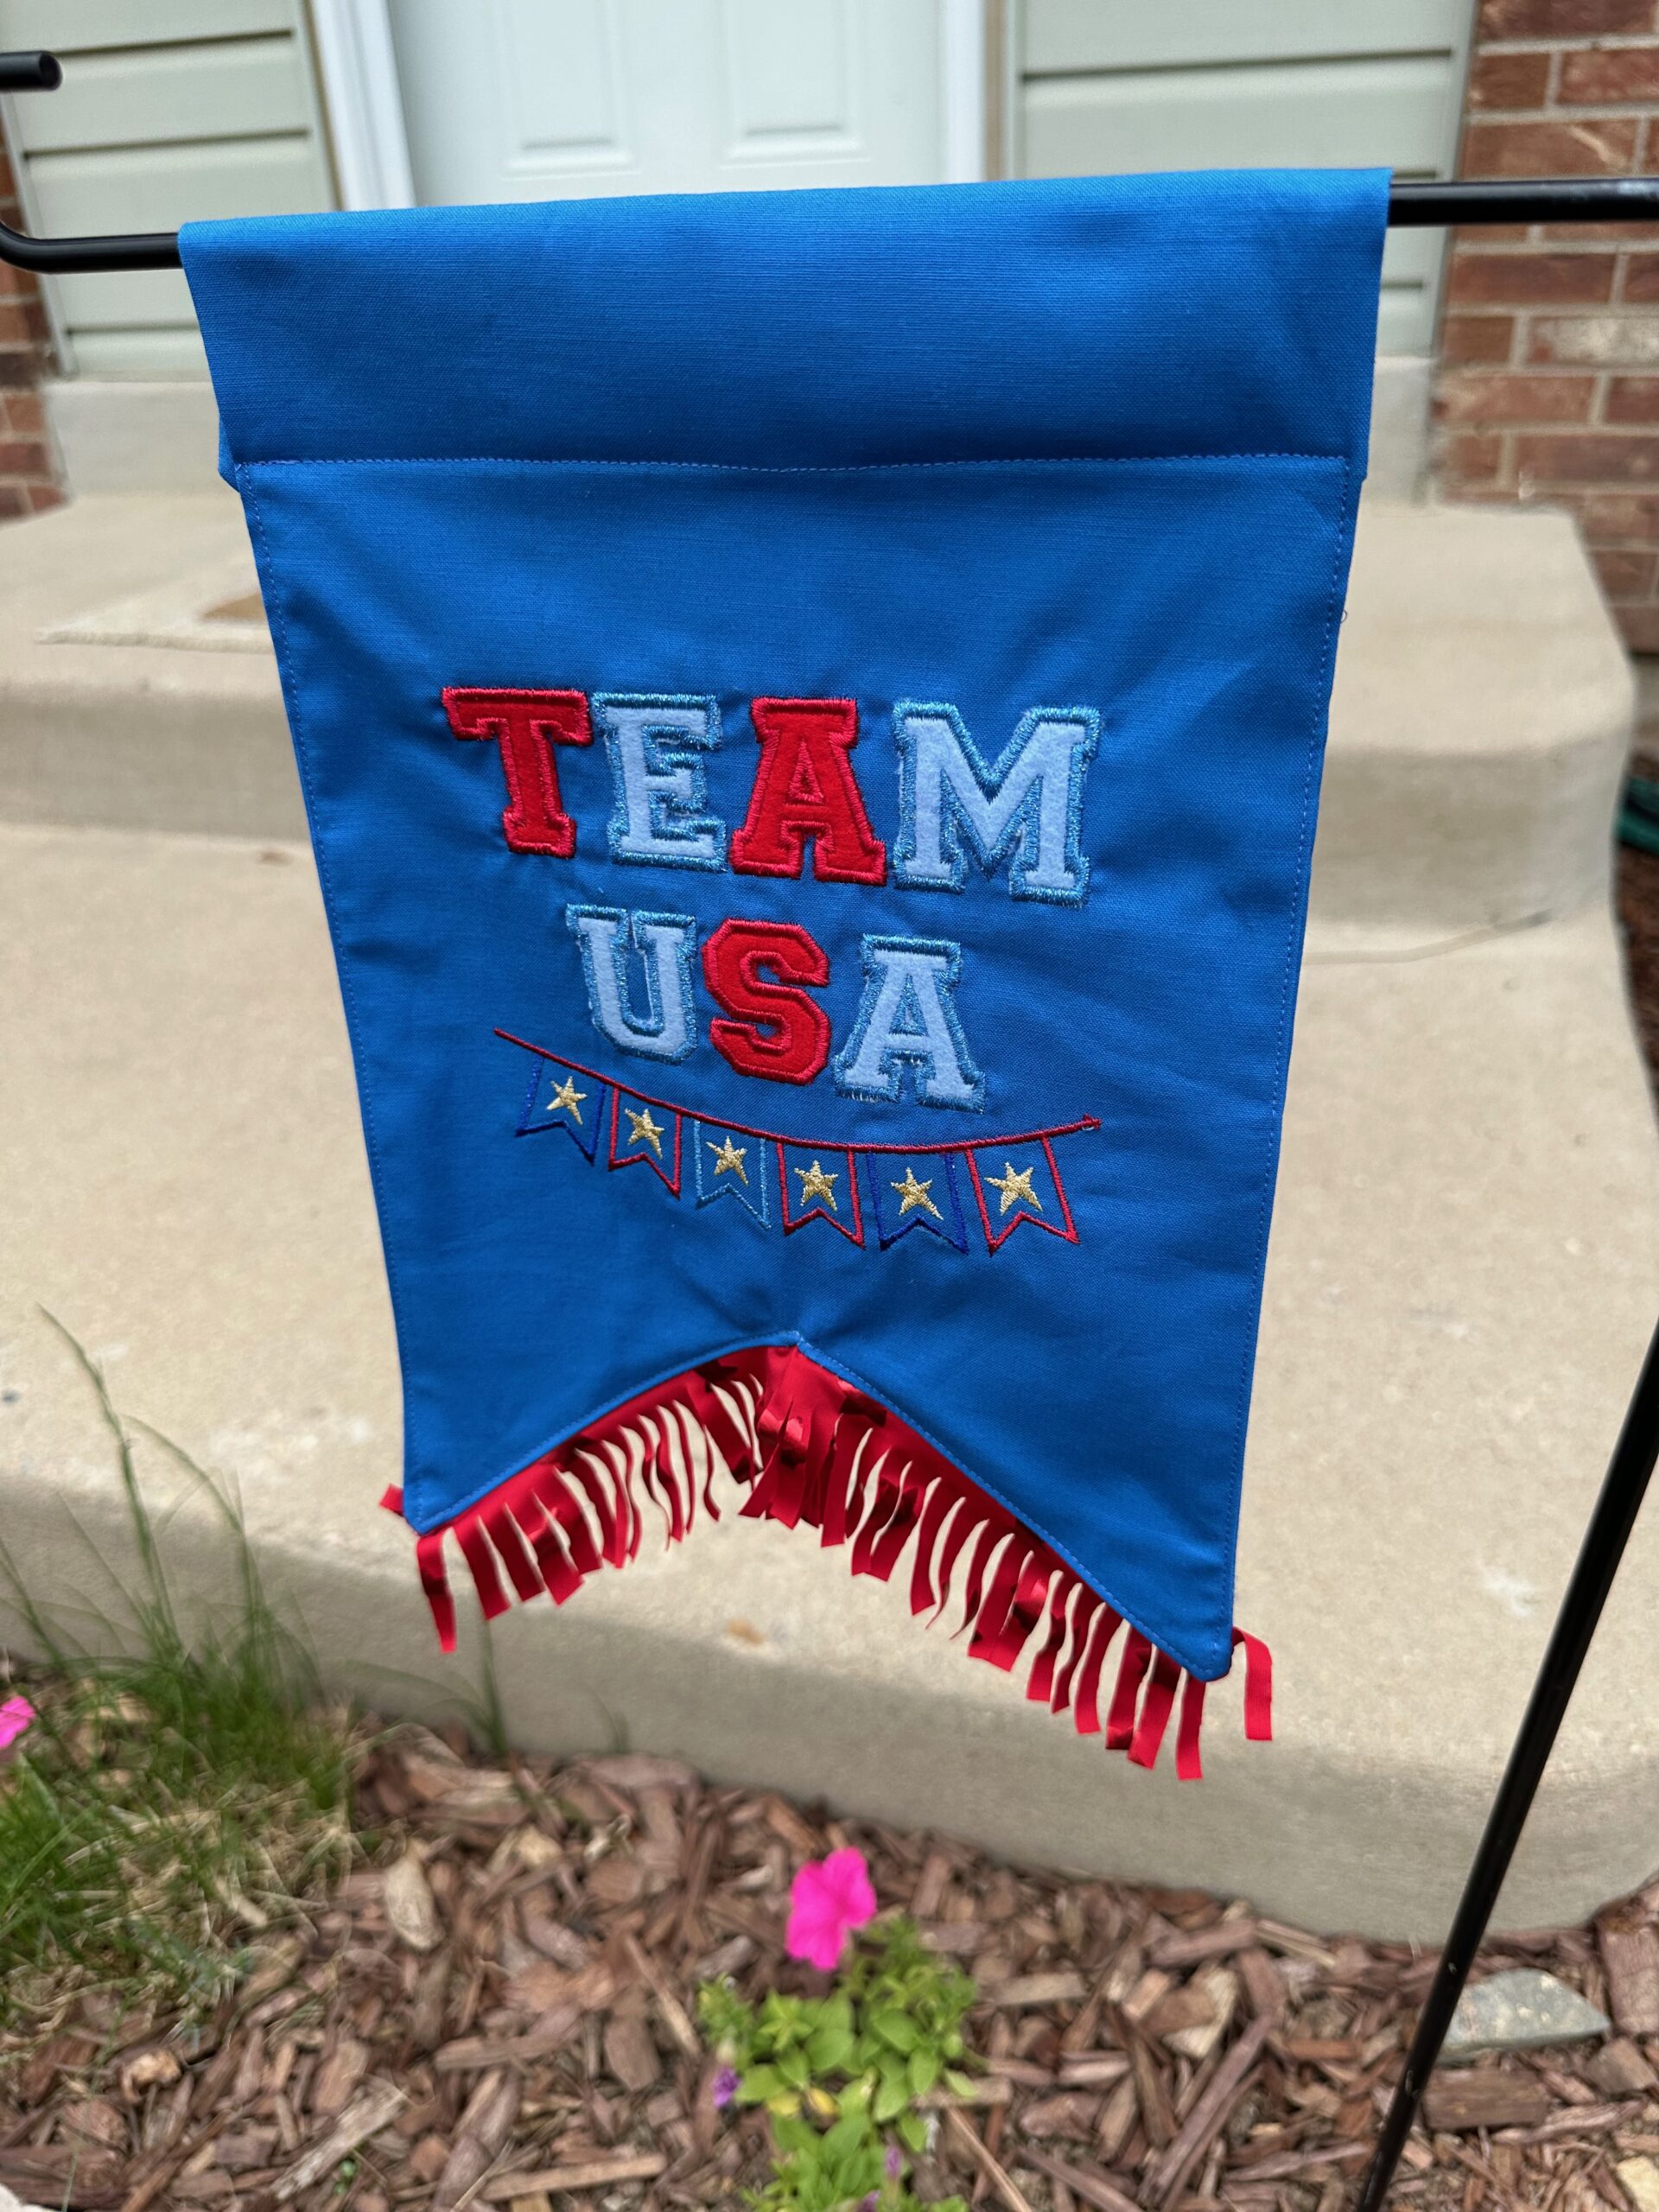
Or, hang it on a wall or door to add to your patriotic décor!

Ellen, Thank you! Love anything patriotic!