How to Sew Faux Leather
+ Machine Embroidery Bag Tag
–Sallie Tomato Faux Leather Tour-
If you’ve ever wondered how to sew faux leather without sticking and puckering, this post is for you! It helps to use a great quality faux leather, such as Sallie Tomato faux leather. It’s soft, pliable and comes in three textures. This vegan leather looks just like the real thing but is much easier to sew and care for, plus it’s way more affordable! This is the best faux leather I’ve ever sewn. It feels like butter and is very easily manipulated.
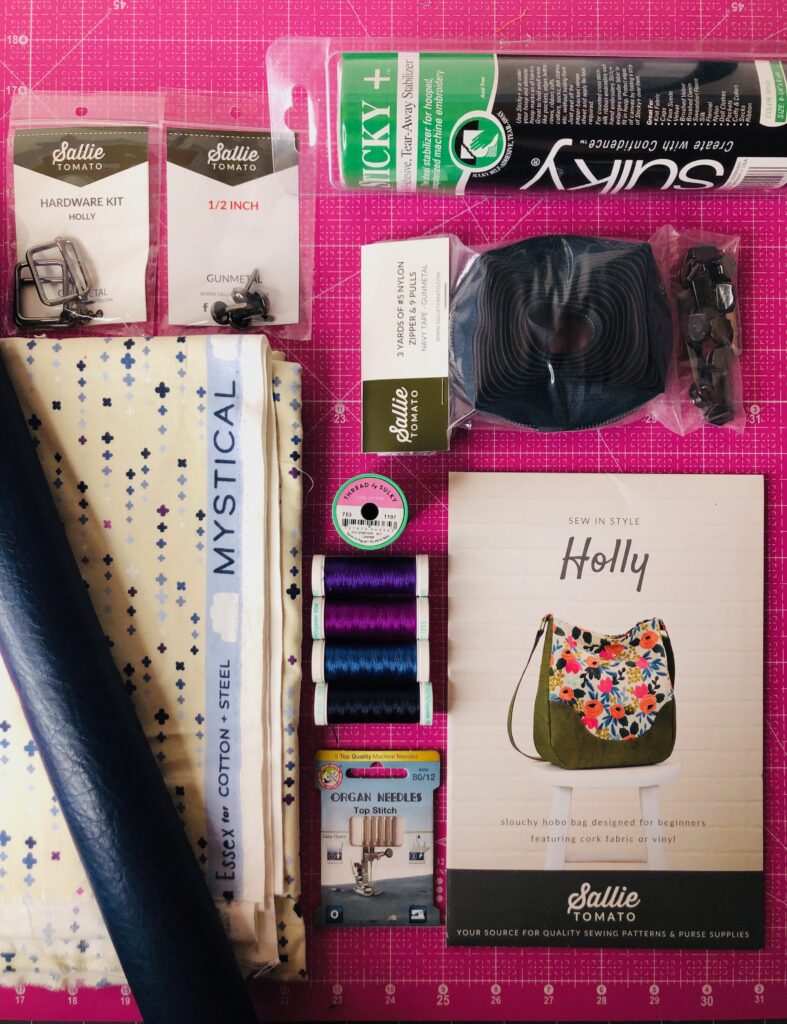
Sallie Tomato also makes GREAT bag patterns. You may have made our exclusive Sulky/Sallie Tomato Scarlet bag, which was part of our Hobo Cork Bag webinar, starring Jessica Barrera, the founder of Sallie Tomato. To test out this faux leather, I decided to make the Holly bag, which is another type of hobo bag that’s a bit roomier and has a fully adjustable strap.
FEATURED SUPPLIES
- Holly bag pattern
- Sulky Sticky+ stabilizer (embroidered tag)
- Navy Legacy Faux Leather by Sallie Tomato
- Mystical – Think Positive print fabric in light khaki by Cotton+Steel
- Sulky Poly Deco™ thread: 962-1043 (construction, topstitching & embroidery), 962-1255 & 962-1122
- Sallie Tomato Holly Hardware Kit in Gunmetal, 4 bag feet (dome, gunmetal), 8” single slide zipper (Navy #5 gunmetal)
- Organ top stitch needles (80/12)
- Sulky Invisible thread
HOW TO SEW FAUX LEATHER – TIPS FOR SETUP
When sewing faux leather, it’s natural to assume you should use a leather needle. It’s perfectly fine to do so! I used a topstitch needle because I could use the same needle for the bag construction as for the embroidery. No swapping needed.
If you have a Teflon™ foot, it’s super helpful to glide over the faux leather without sticking. If you don’t, place strips of clear tape on the underside of the machine foot. Make sure the tape strips fit exactly so there’s no overhang that the fabric can stick to. The tape provides a barrier between the metal foot and the surface of the leather and helps it glide during sewing.
Additionally, if you have a walking foot or even-feed foot (or similar technology) for your machine, now’s the time to put it in action. A walking foot helps feed the fabric from the top while working with the feed dogs to make sure the lower layer is fed at the same rate. This helps prevent the faux leather from slipping away from the lining fabric during construction.
Slow the machine speed to ensure accurate seam allowances and stitching. The machine needle makes permanent holes in faux leather, so any mistakes are permanent. For this reason as well, don’t use pins to secure layers. Use quilt clips or binder clips to secure seams, zippers and the like.
Use pattern weights when cutting pieces for the featured bag. A pattern weight that is made similar to a mini bean bag is great, as there are no holes or sharp points that could mar the fabric.
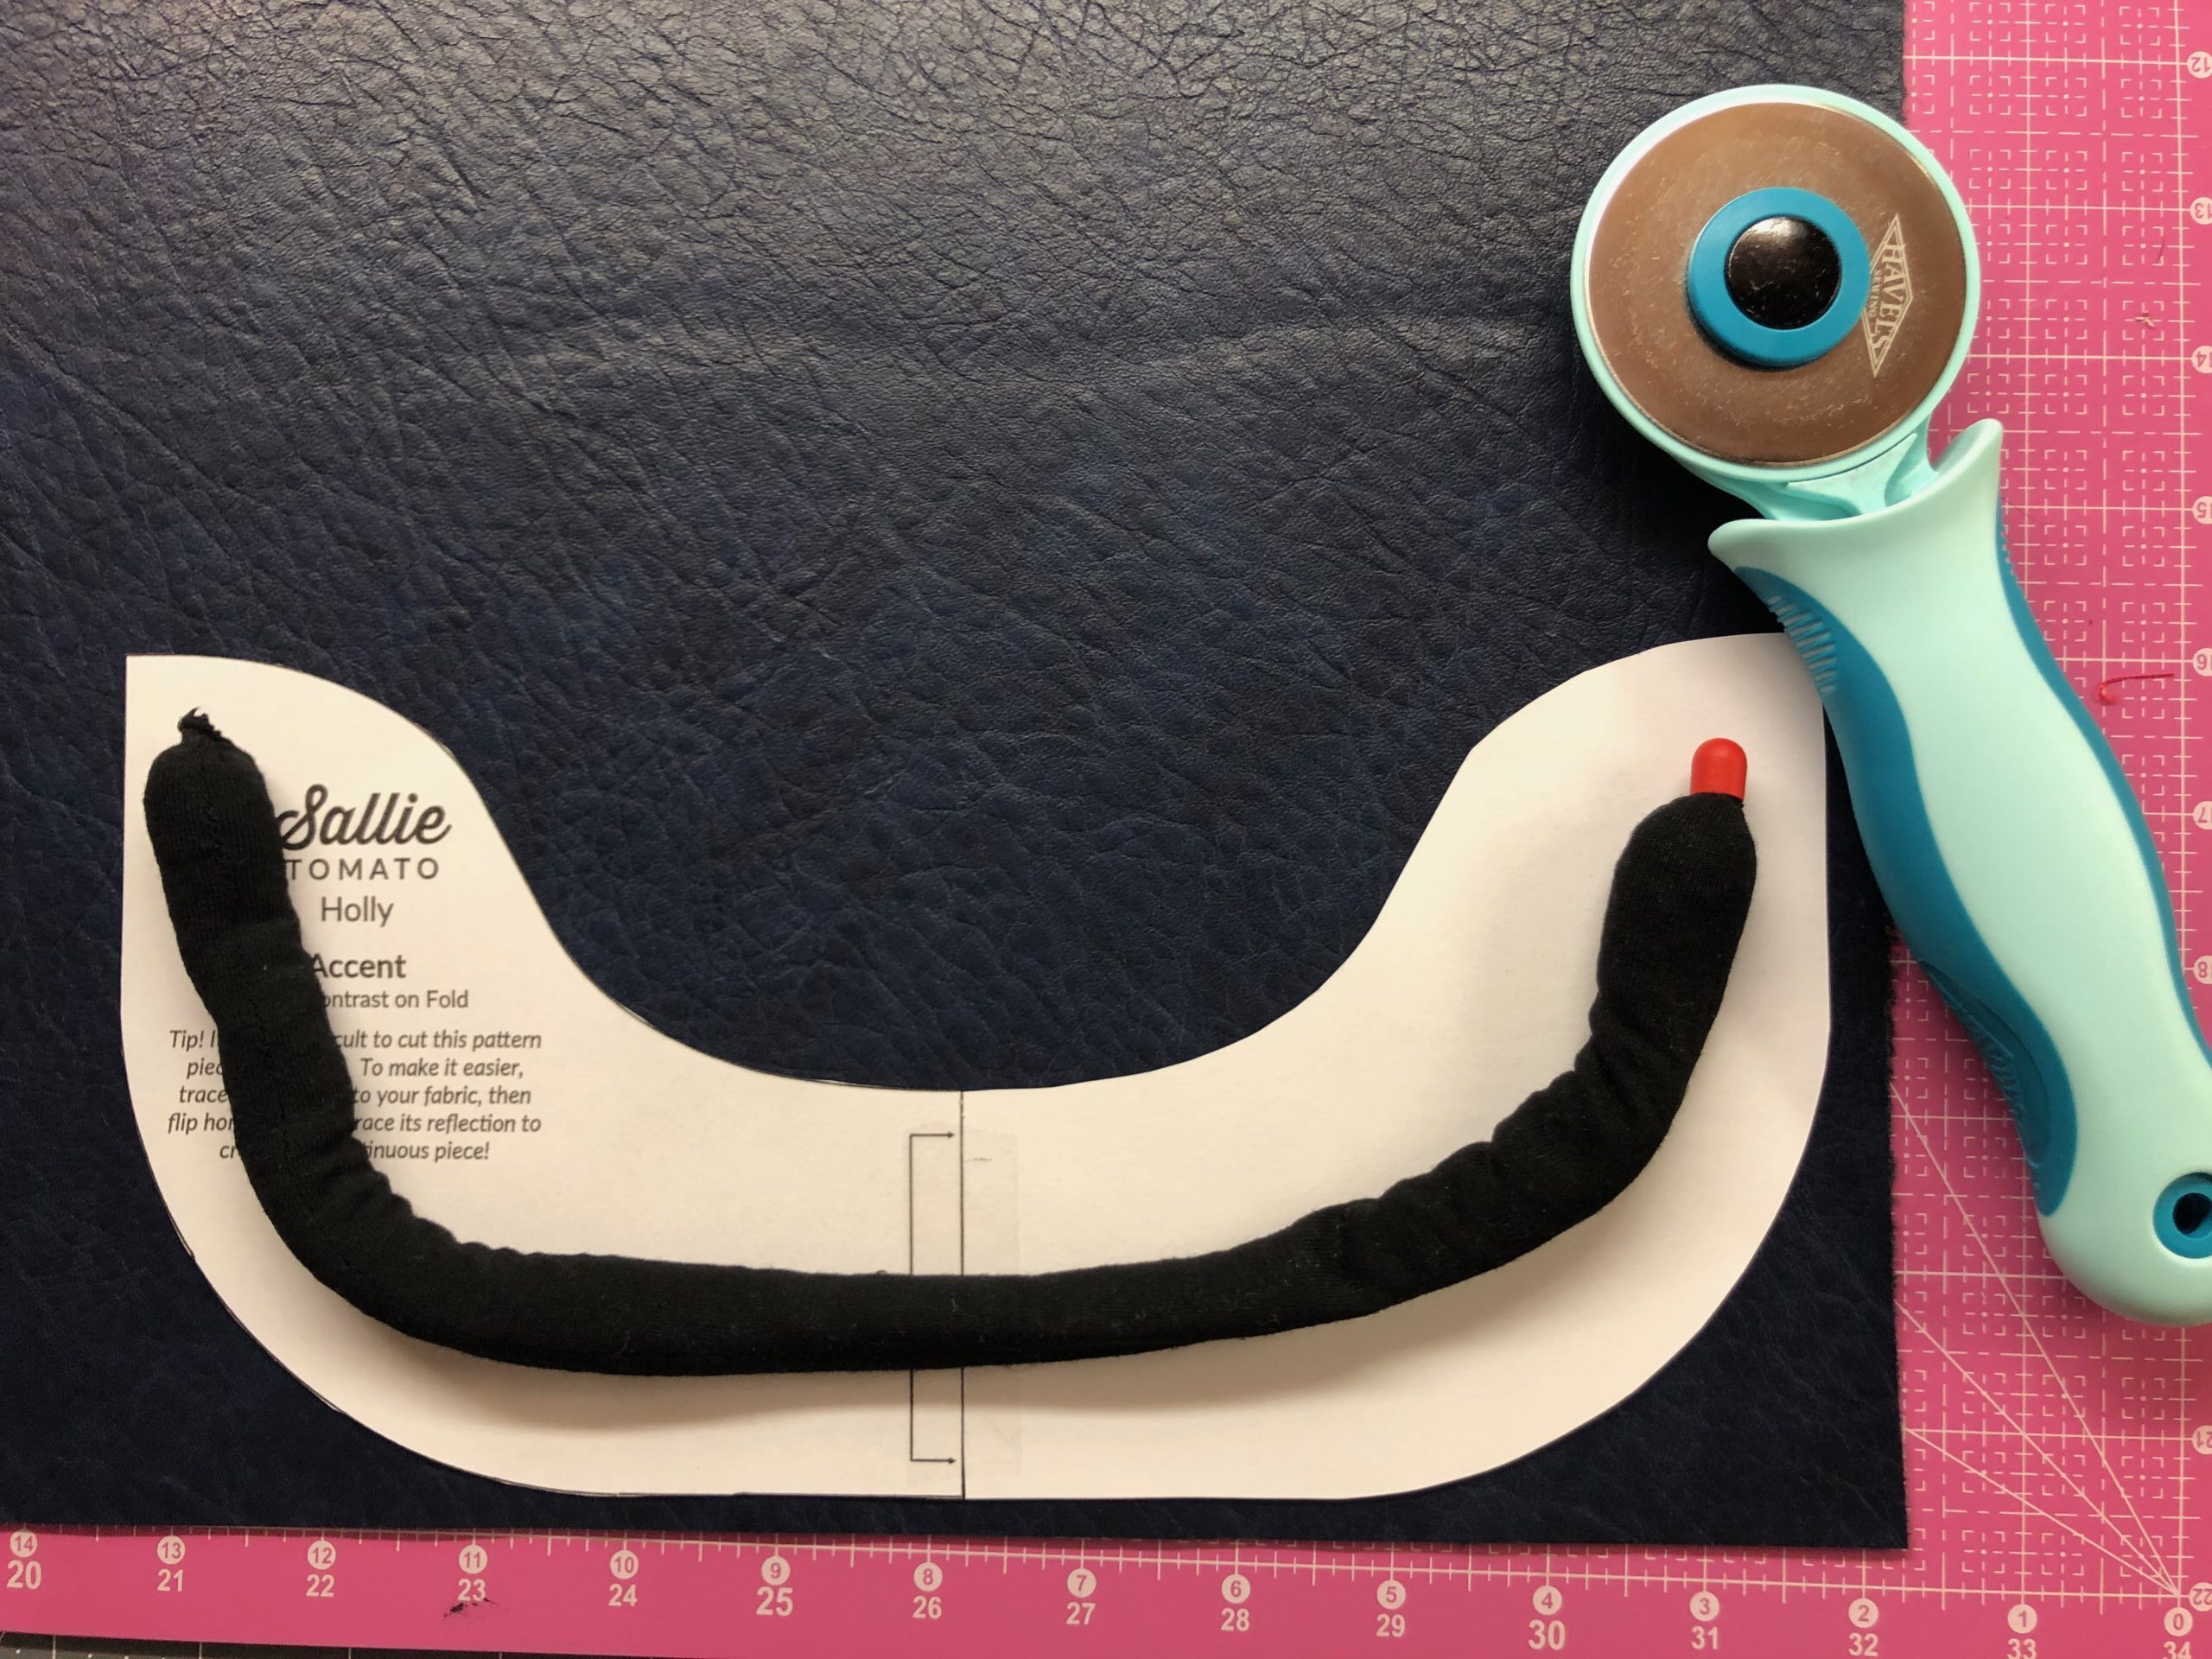
Another tip for how to sew faux leather is to use a rotary cutter to cut out pattern pieces. Make sure the blade is sharp and not angled during cutting to be sure the leather has a clean cut. BE SURE to consult the cutting layout on the pattern to ensure you have enough fabric for the pattern. You will have very few scraps leftover, but enough to make a little bag tag.
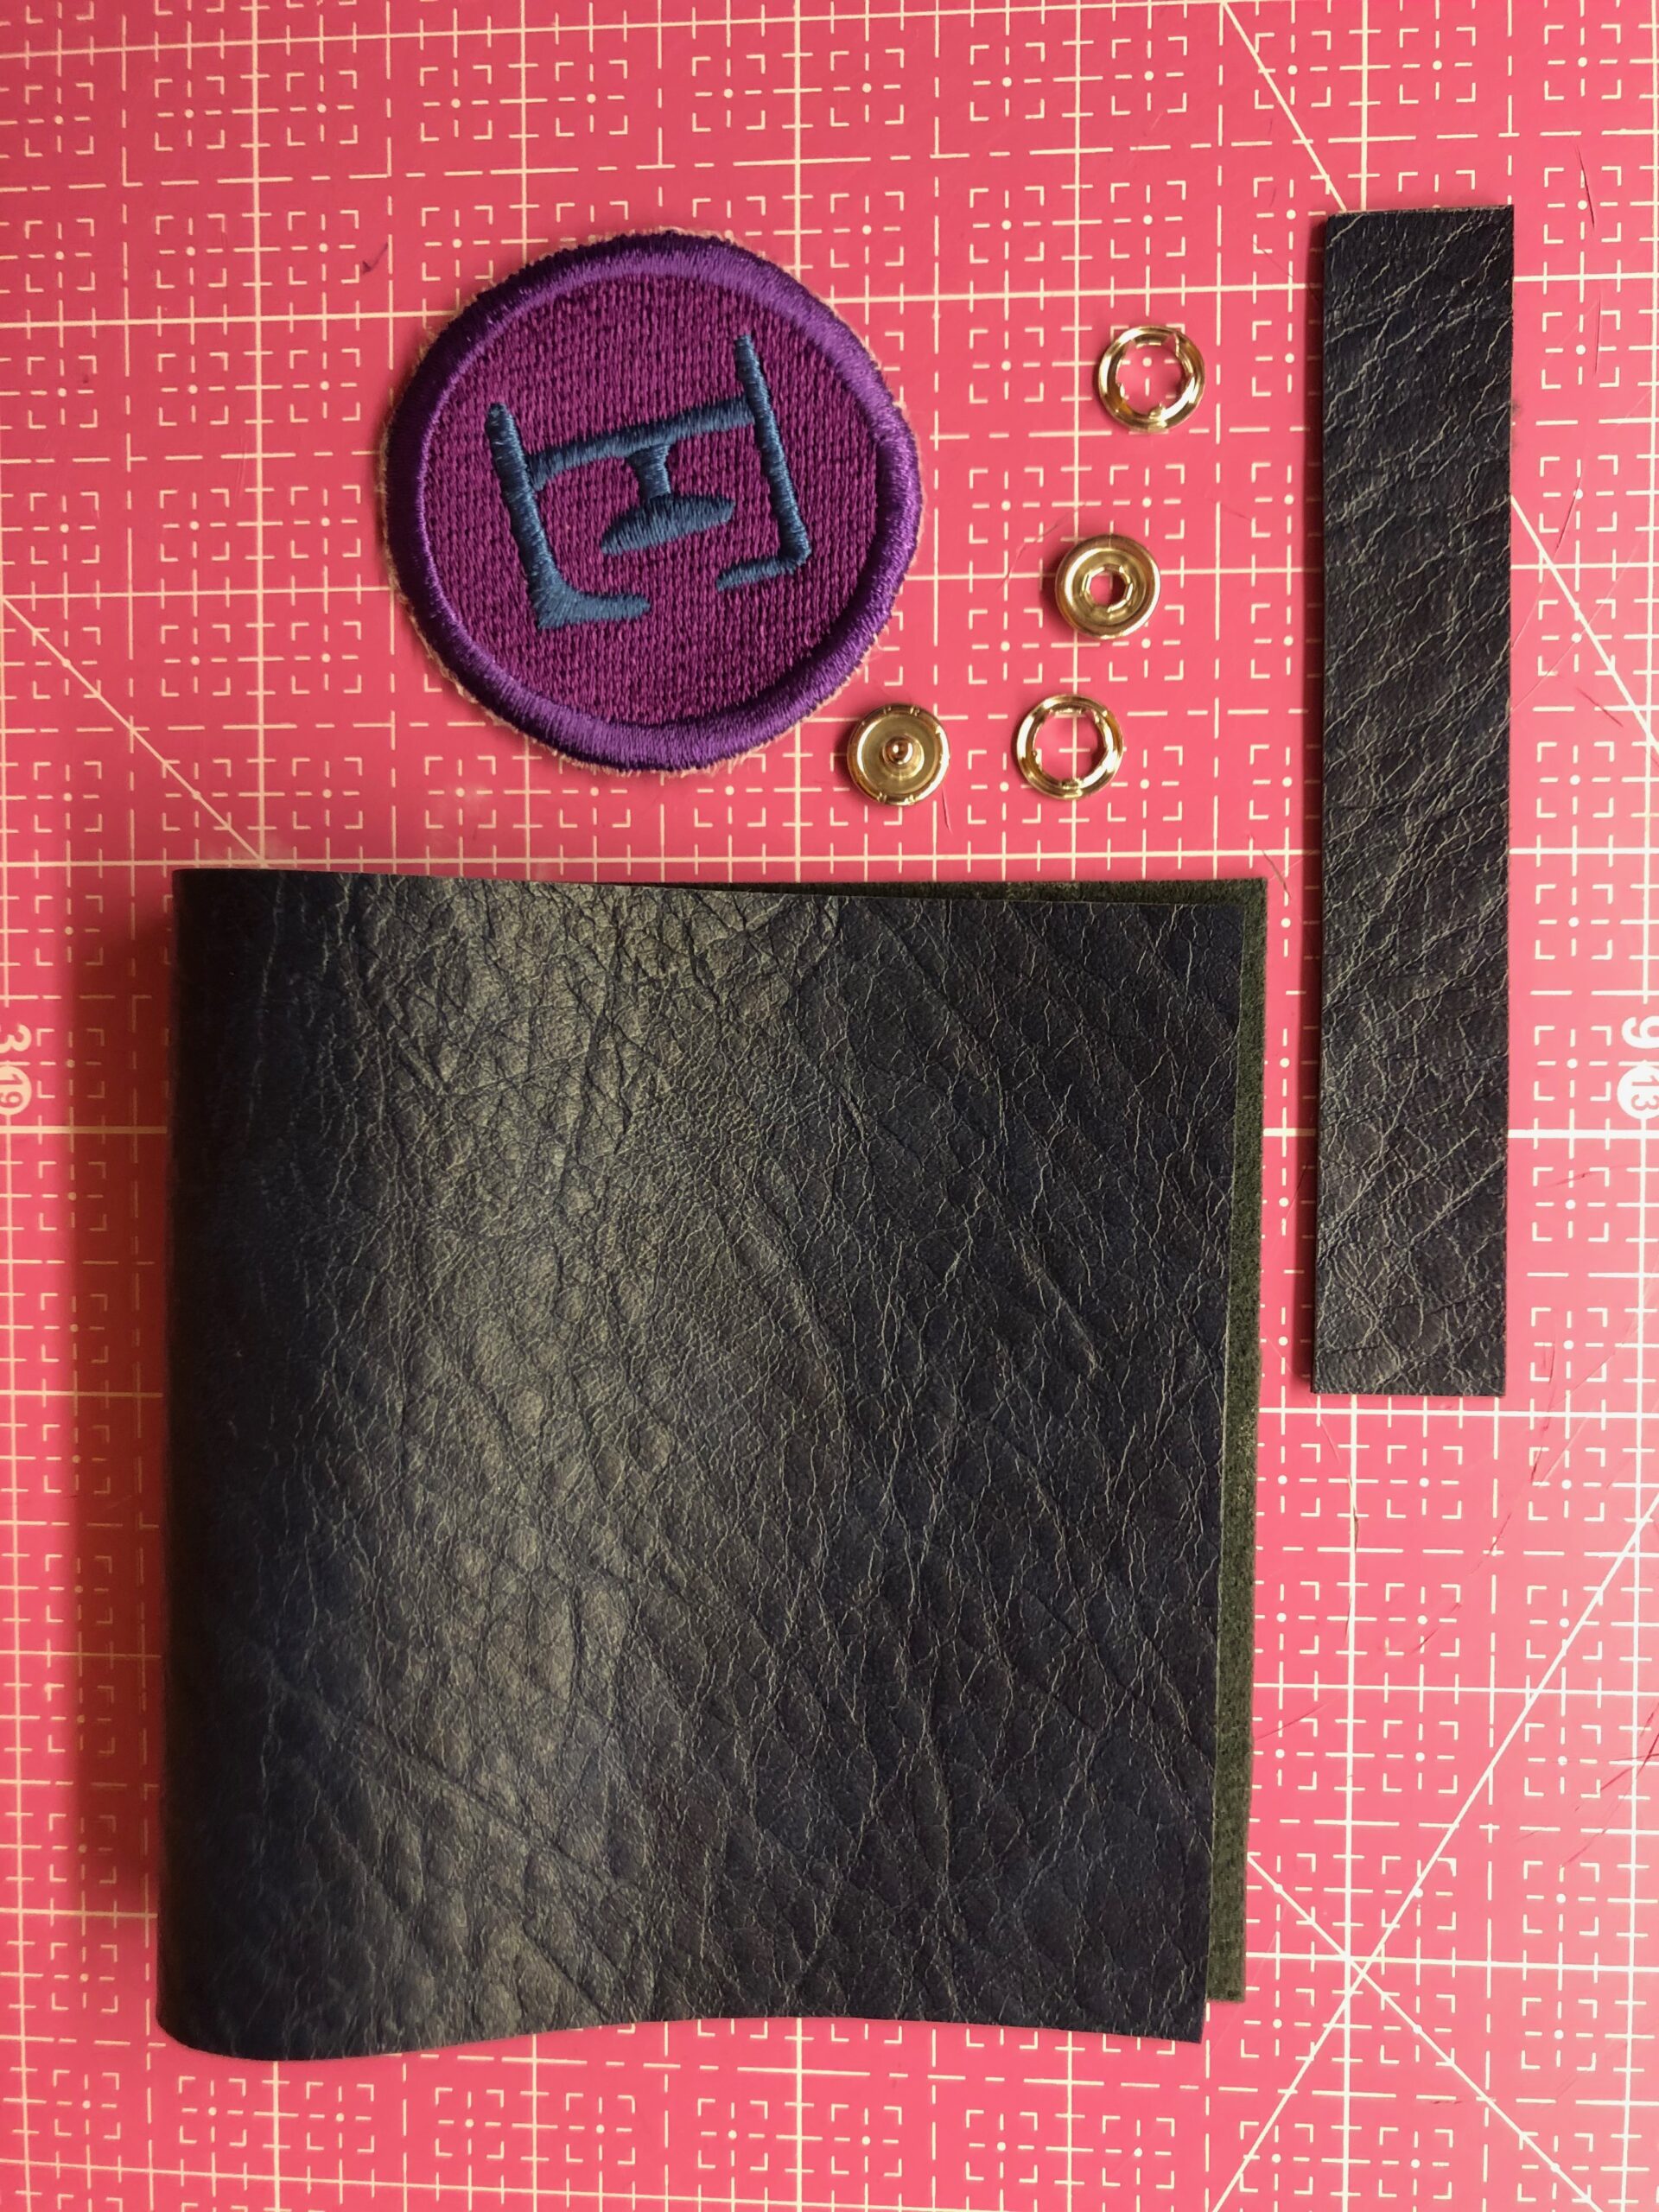
ADDITIONAL BAG TAG SUPPLIES
- Sulky Sticky+ stabilizer
- (2) 4″ squares of faux leather (as small as 3″ will also work for the featured design)
- Scrap of faux leather (approximately 3″ square if using the featured design)
- 3/4″ x 5″ strip of faux leather
- Small snap (male & female) & snap setter tool
- Approximately 3″ diameter machine embroidery design (such as Typewriter Alphabet by Urban Threads) or 3″ diameter pre-made patch
DESIGN CHOICE
For the featured bag tag, I chose a design that I could make into a patch. However, you could certainly choose a patch design. There are tons out there in the world!
To embroider a traditional patch design, use Sulky Fabri-Solvy™. Hoop the stabilizer ONLY, and then embroider the design. Remove the stabilizer from the hoop, trim the design away and rinse it under running water to remove the remaining stabilizer. Let dry and follow the remaining steps to make the bag tag.
If using a design that’s not digitized as a patch, make sure to choose a design that has a satin stitch border so you can make it into a patch. Or, eliminate the additional faux leather scrap (used for the patch design), and embroider your chosen design directly onto one of the 4″ squares.
Hoop the Sticky+™ with the paper side up. Score the paper within the inner hoop ring using a pin. Tear away the paper backing within the inner hoop ring to to reveal the adhesive. Center either the 3″ or 4″ faux leather square in the hoop (size depends on the chosen design and method).
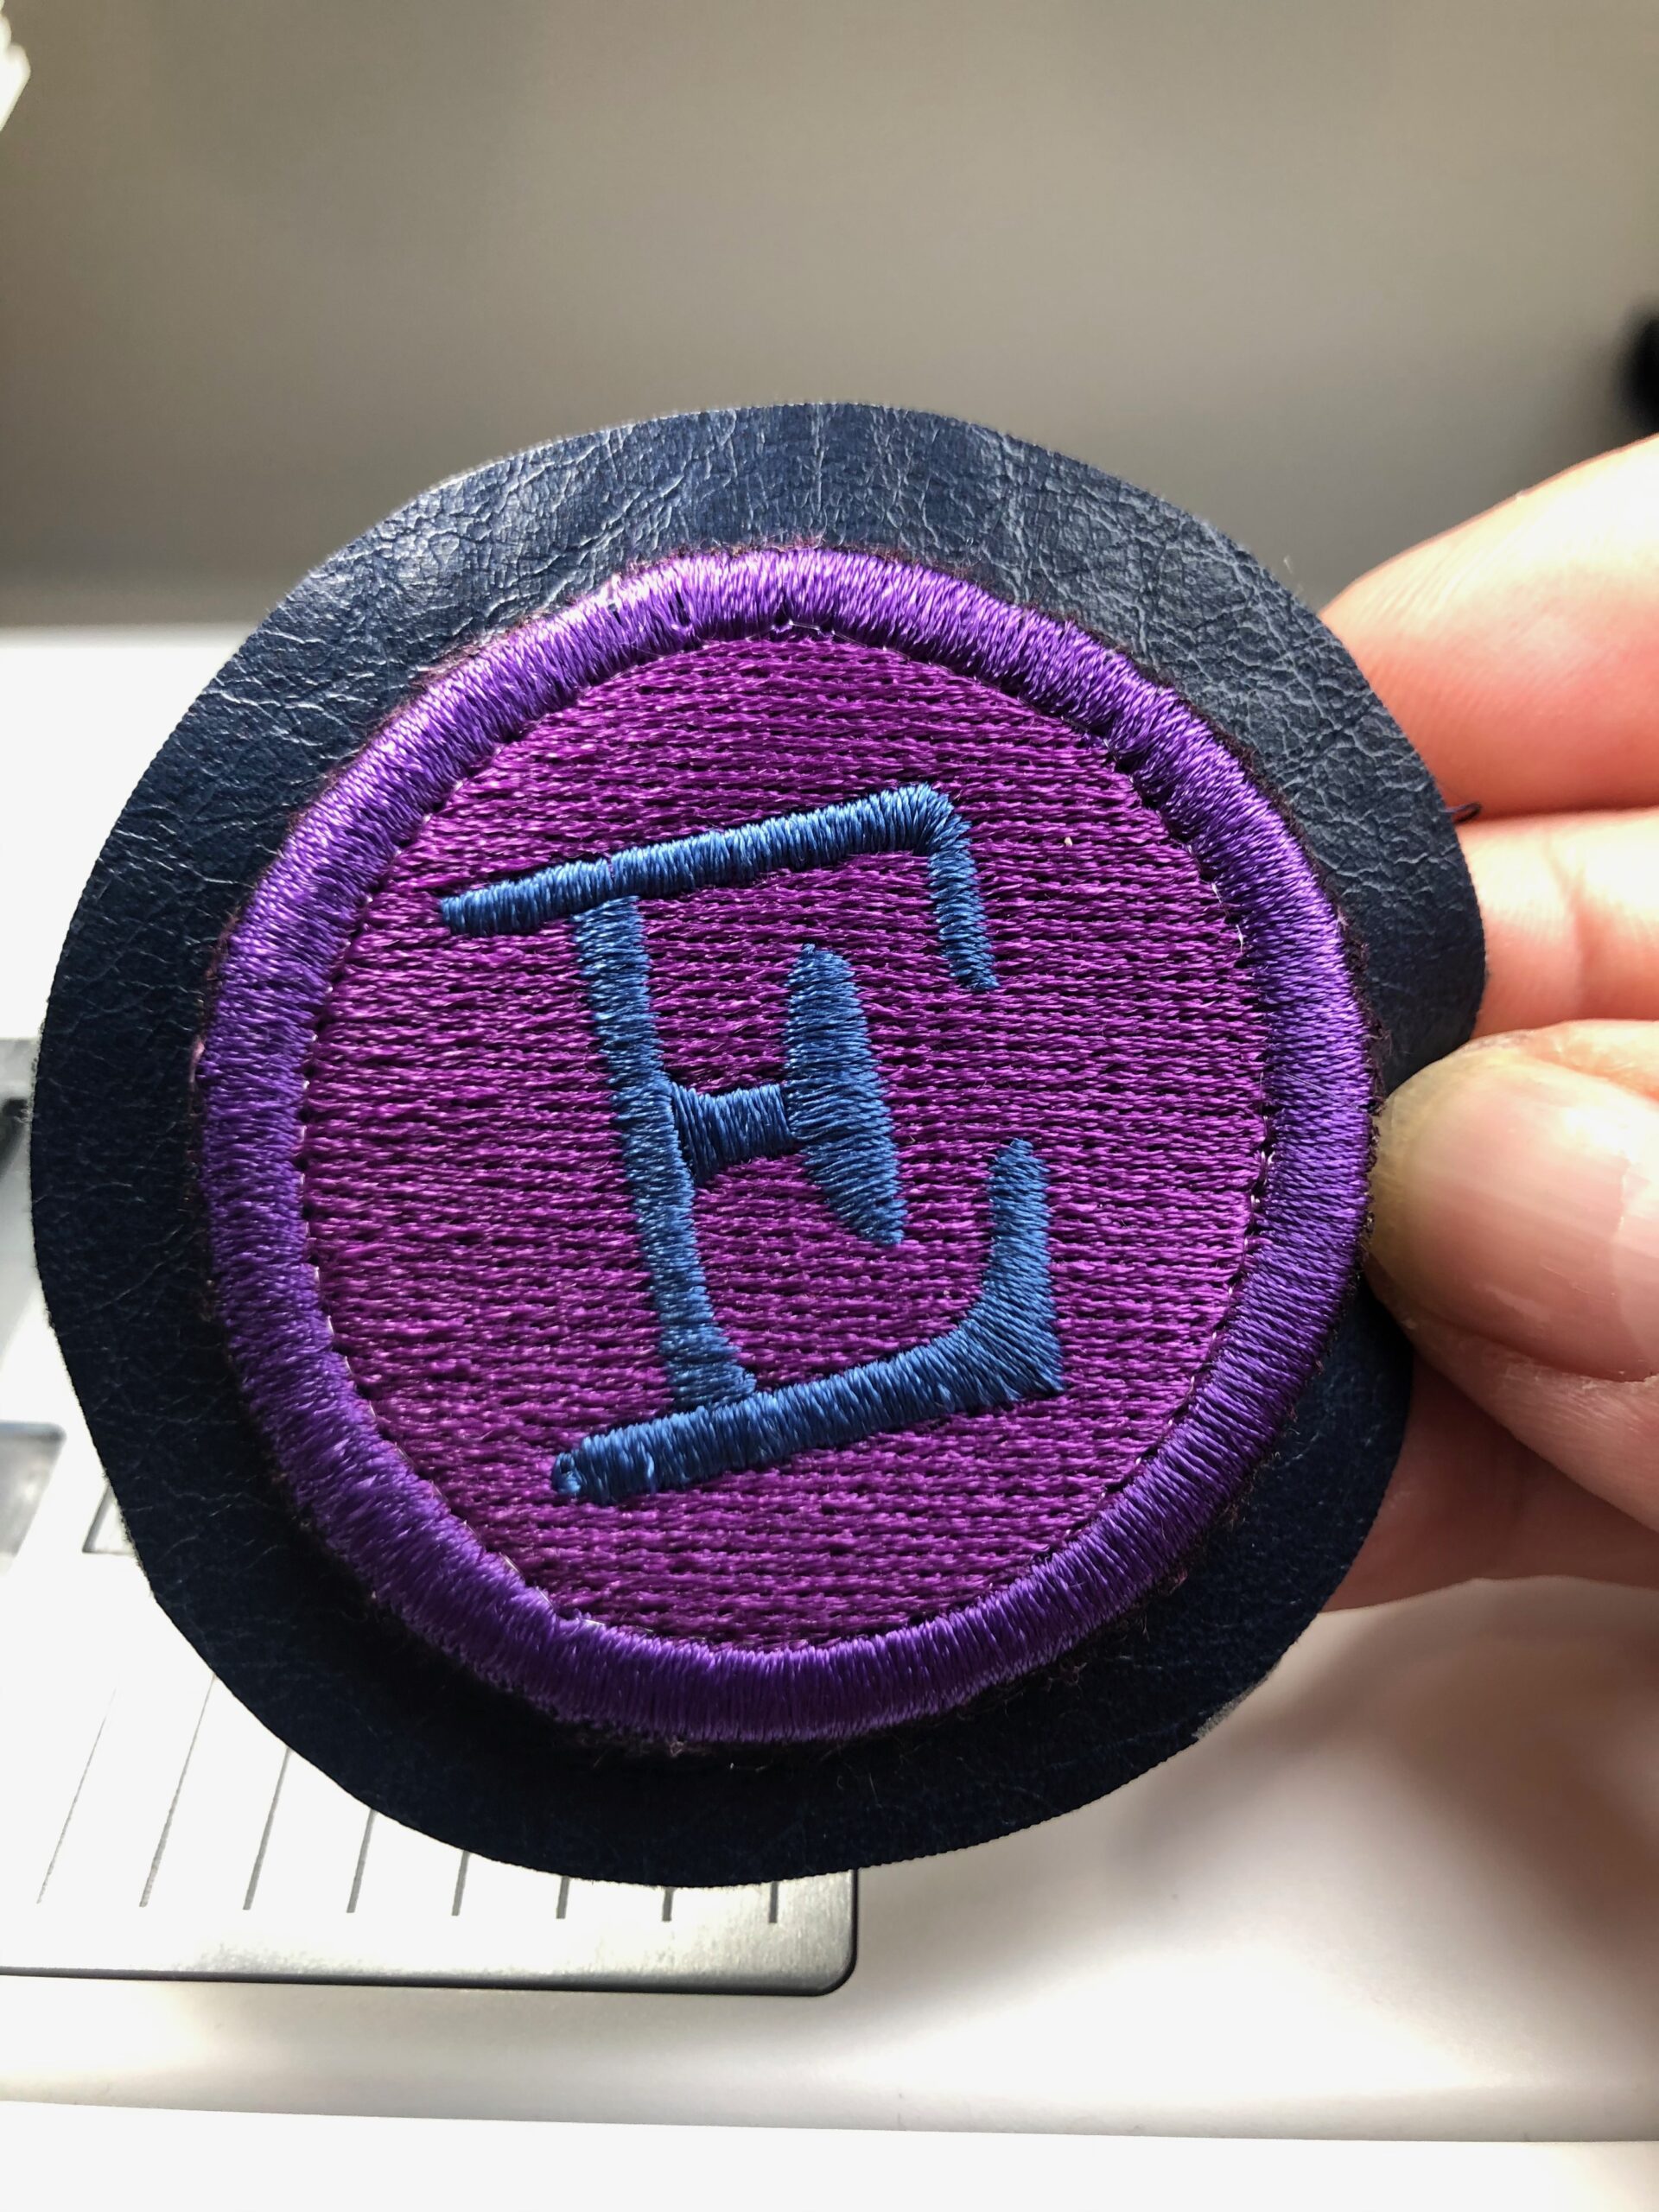
Place the hoop onto the machine and thread the needle with the first thread color. If the chosen design has a satin stitched border, stop the machine before the final border stitching. Remove the hoop from the machine but leave the stabilizer in the hoop. Use appliqué scissors to trim the faux leather as close as possible to the outermost stitching of the design (in this case, the outer circle). Place the hoop back onto the machine and stitch the final satin stitched border.
The resulting design is now a patch! If desired and available, you could use software to turn the design into a patch design by adding a placement stitch to the design perimeter, too.
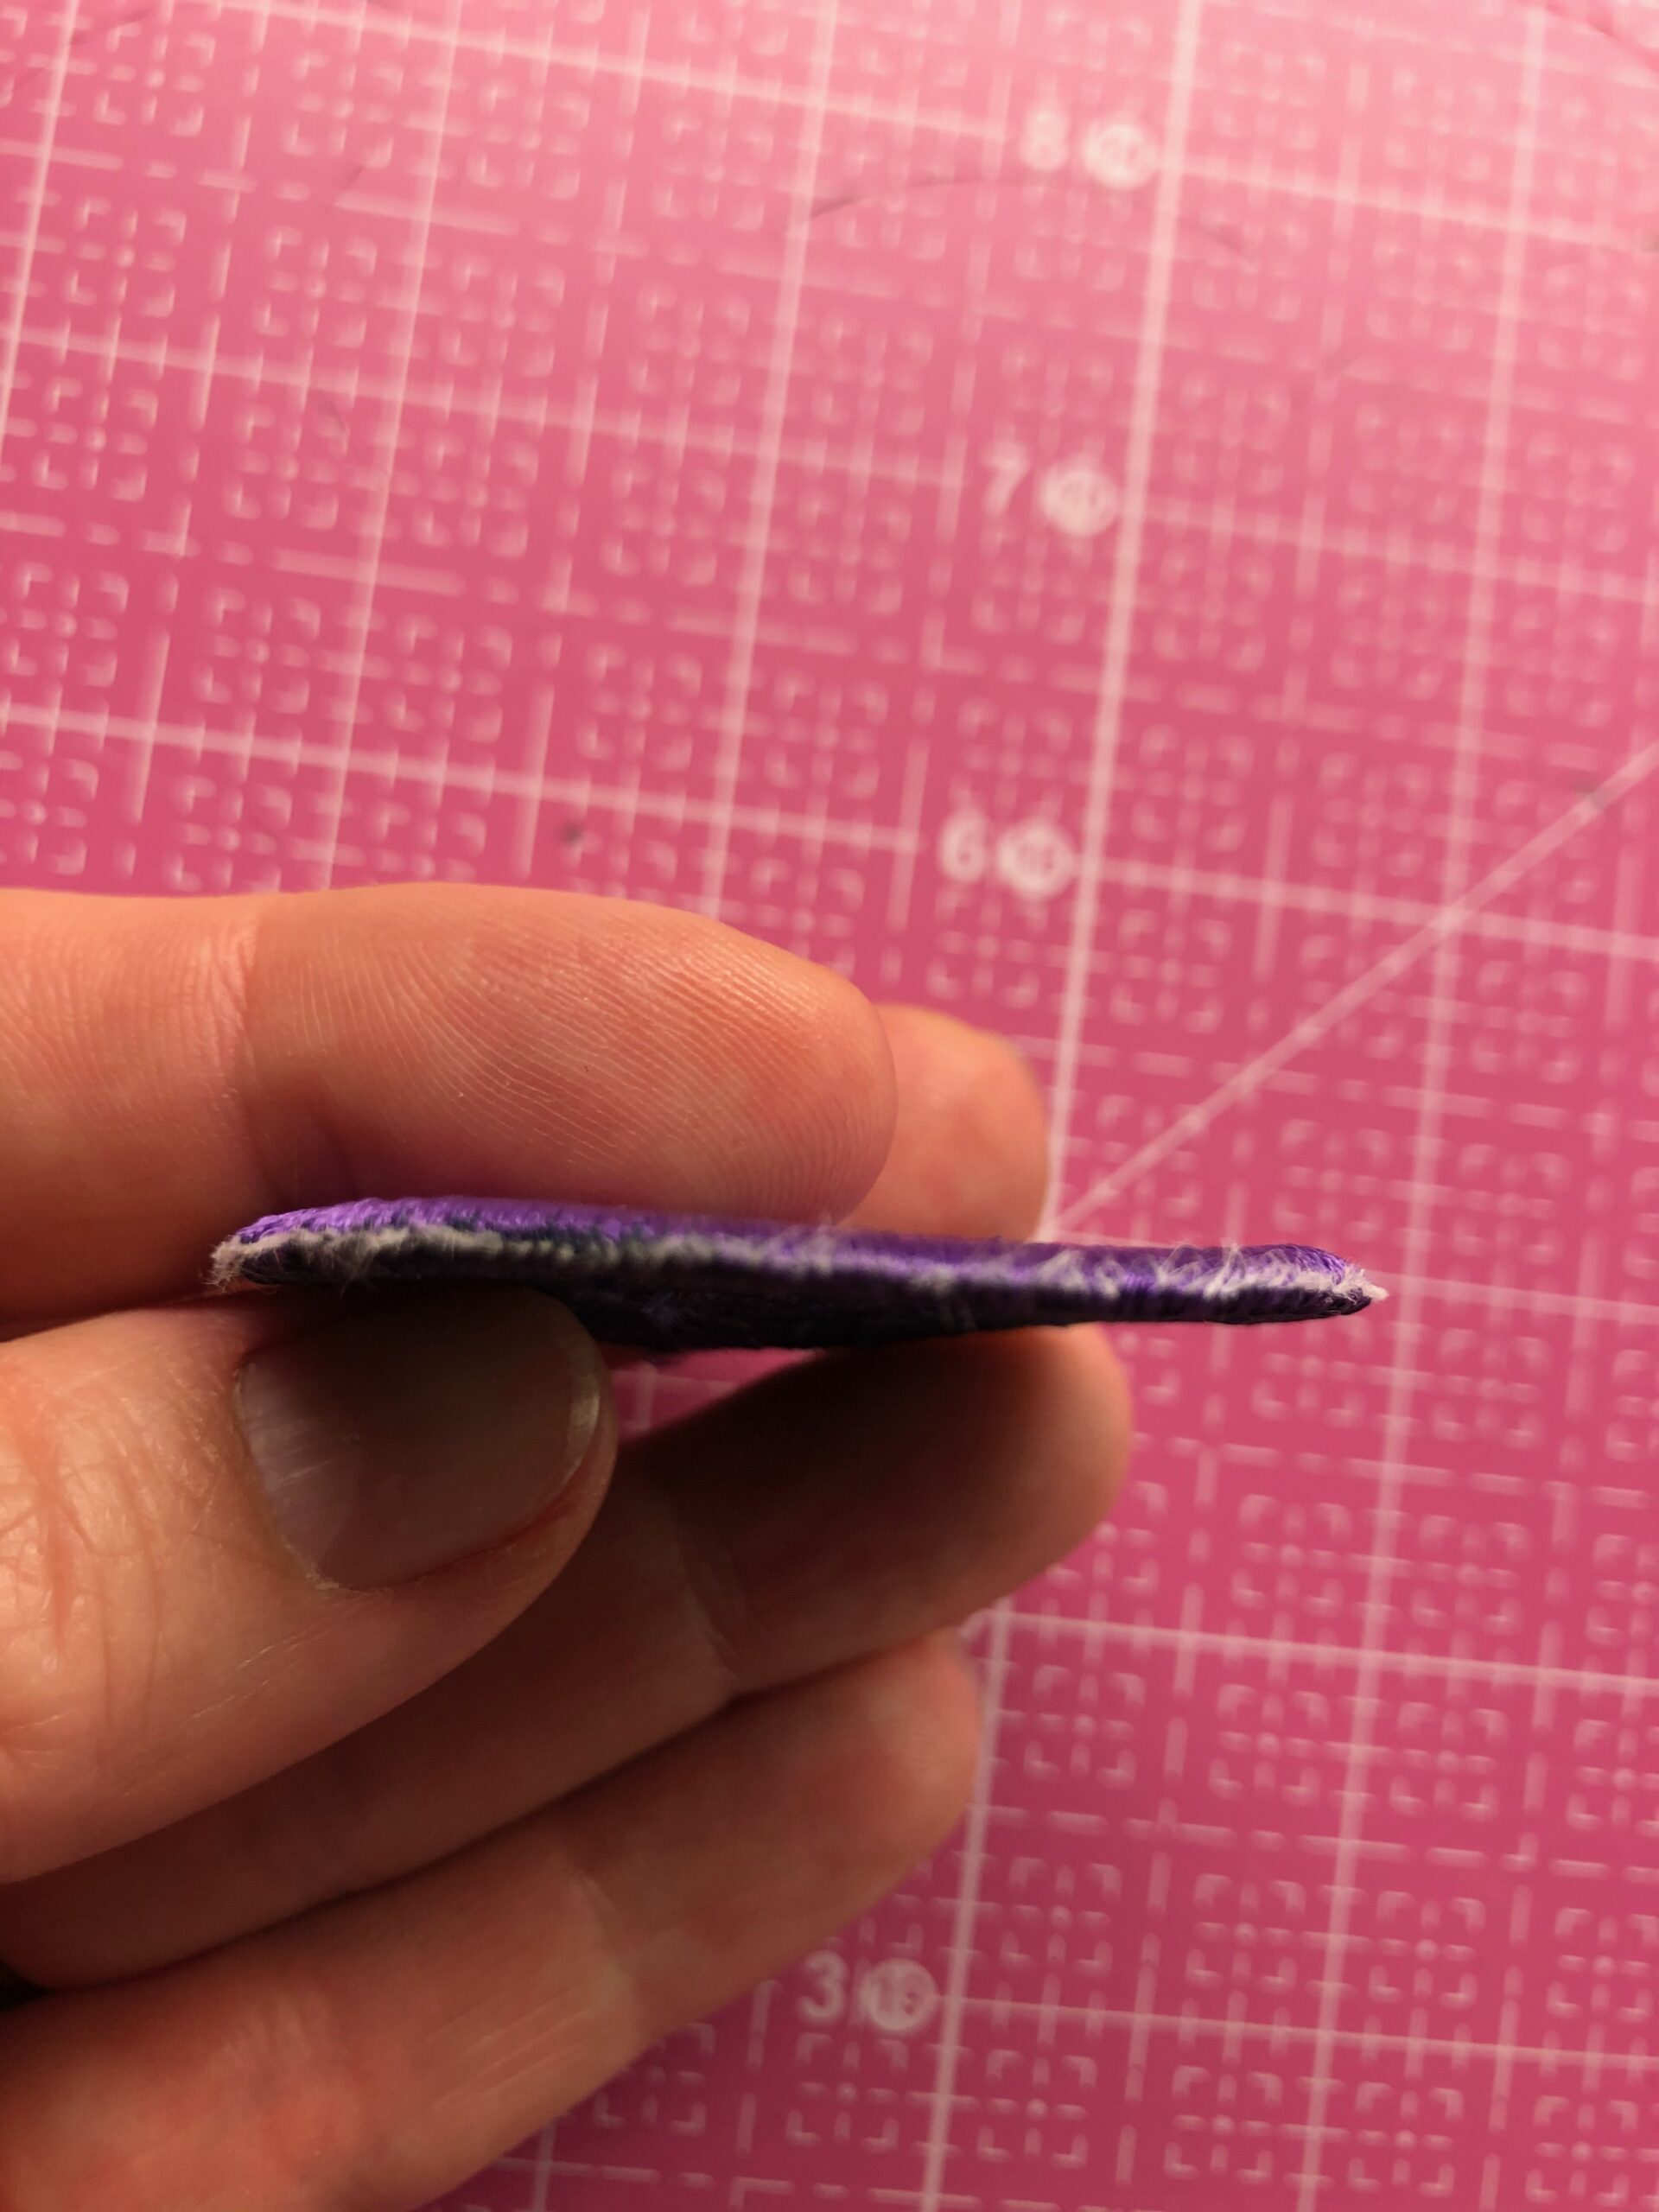
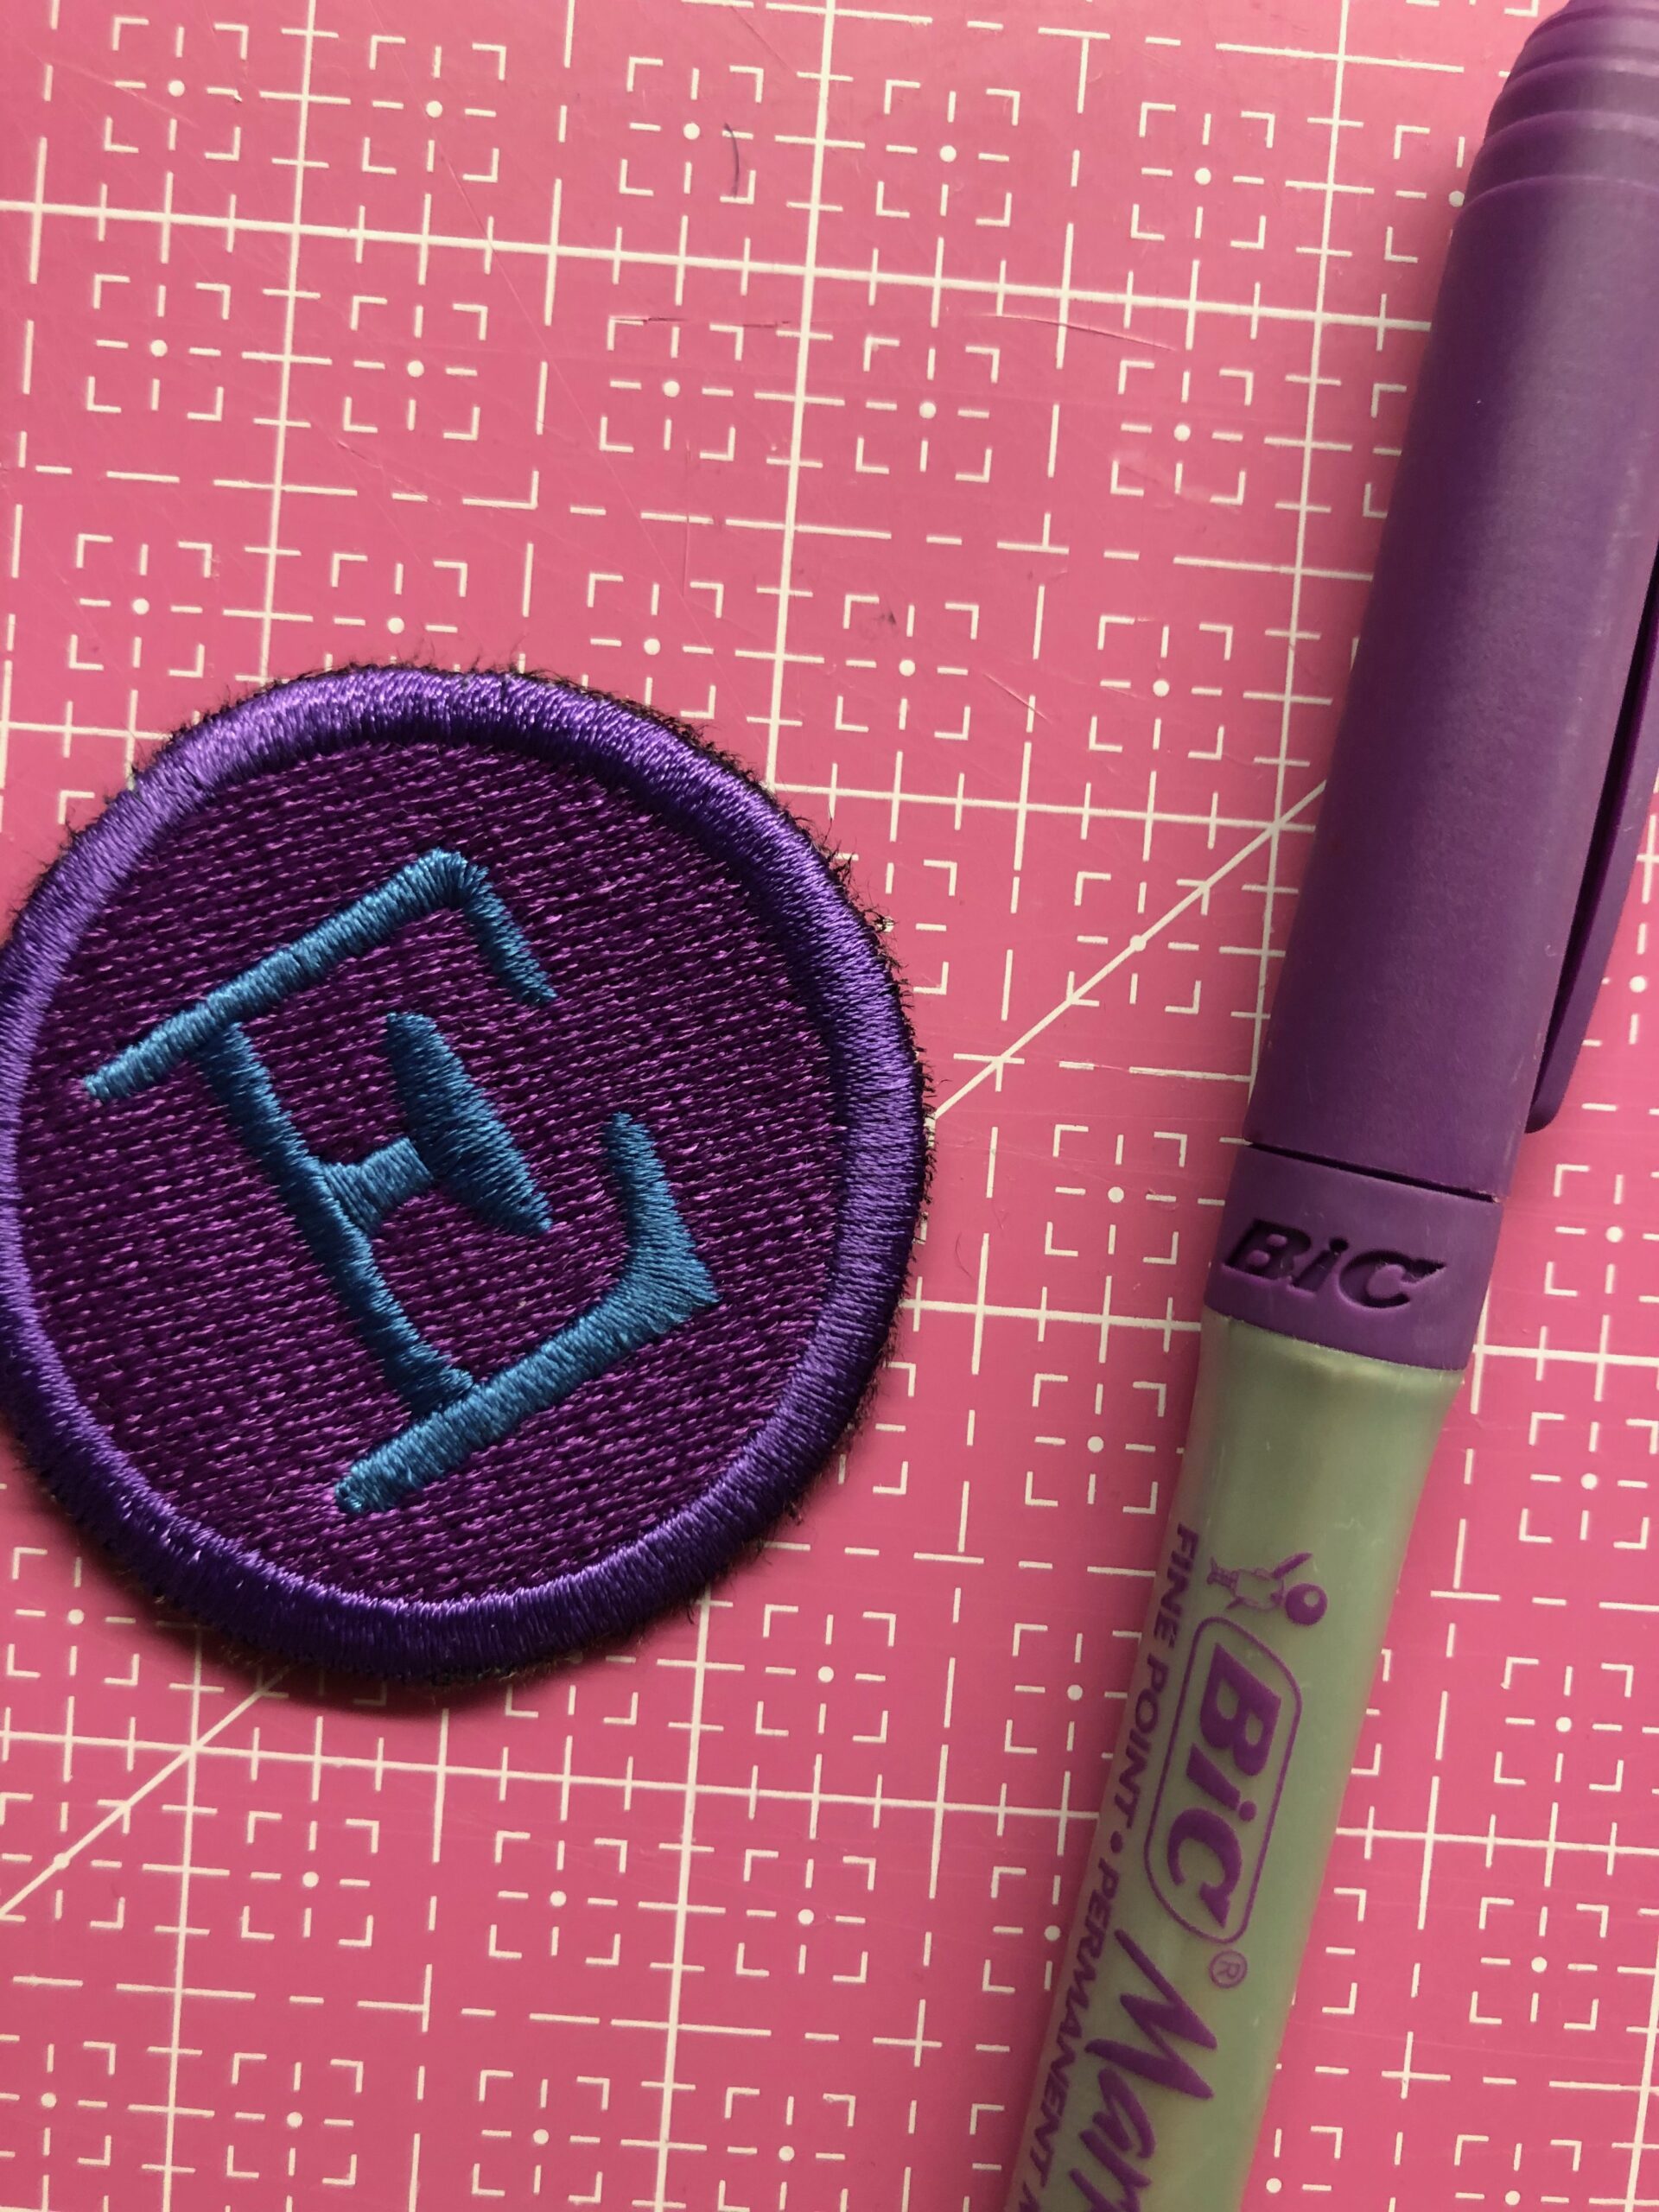
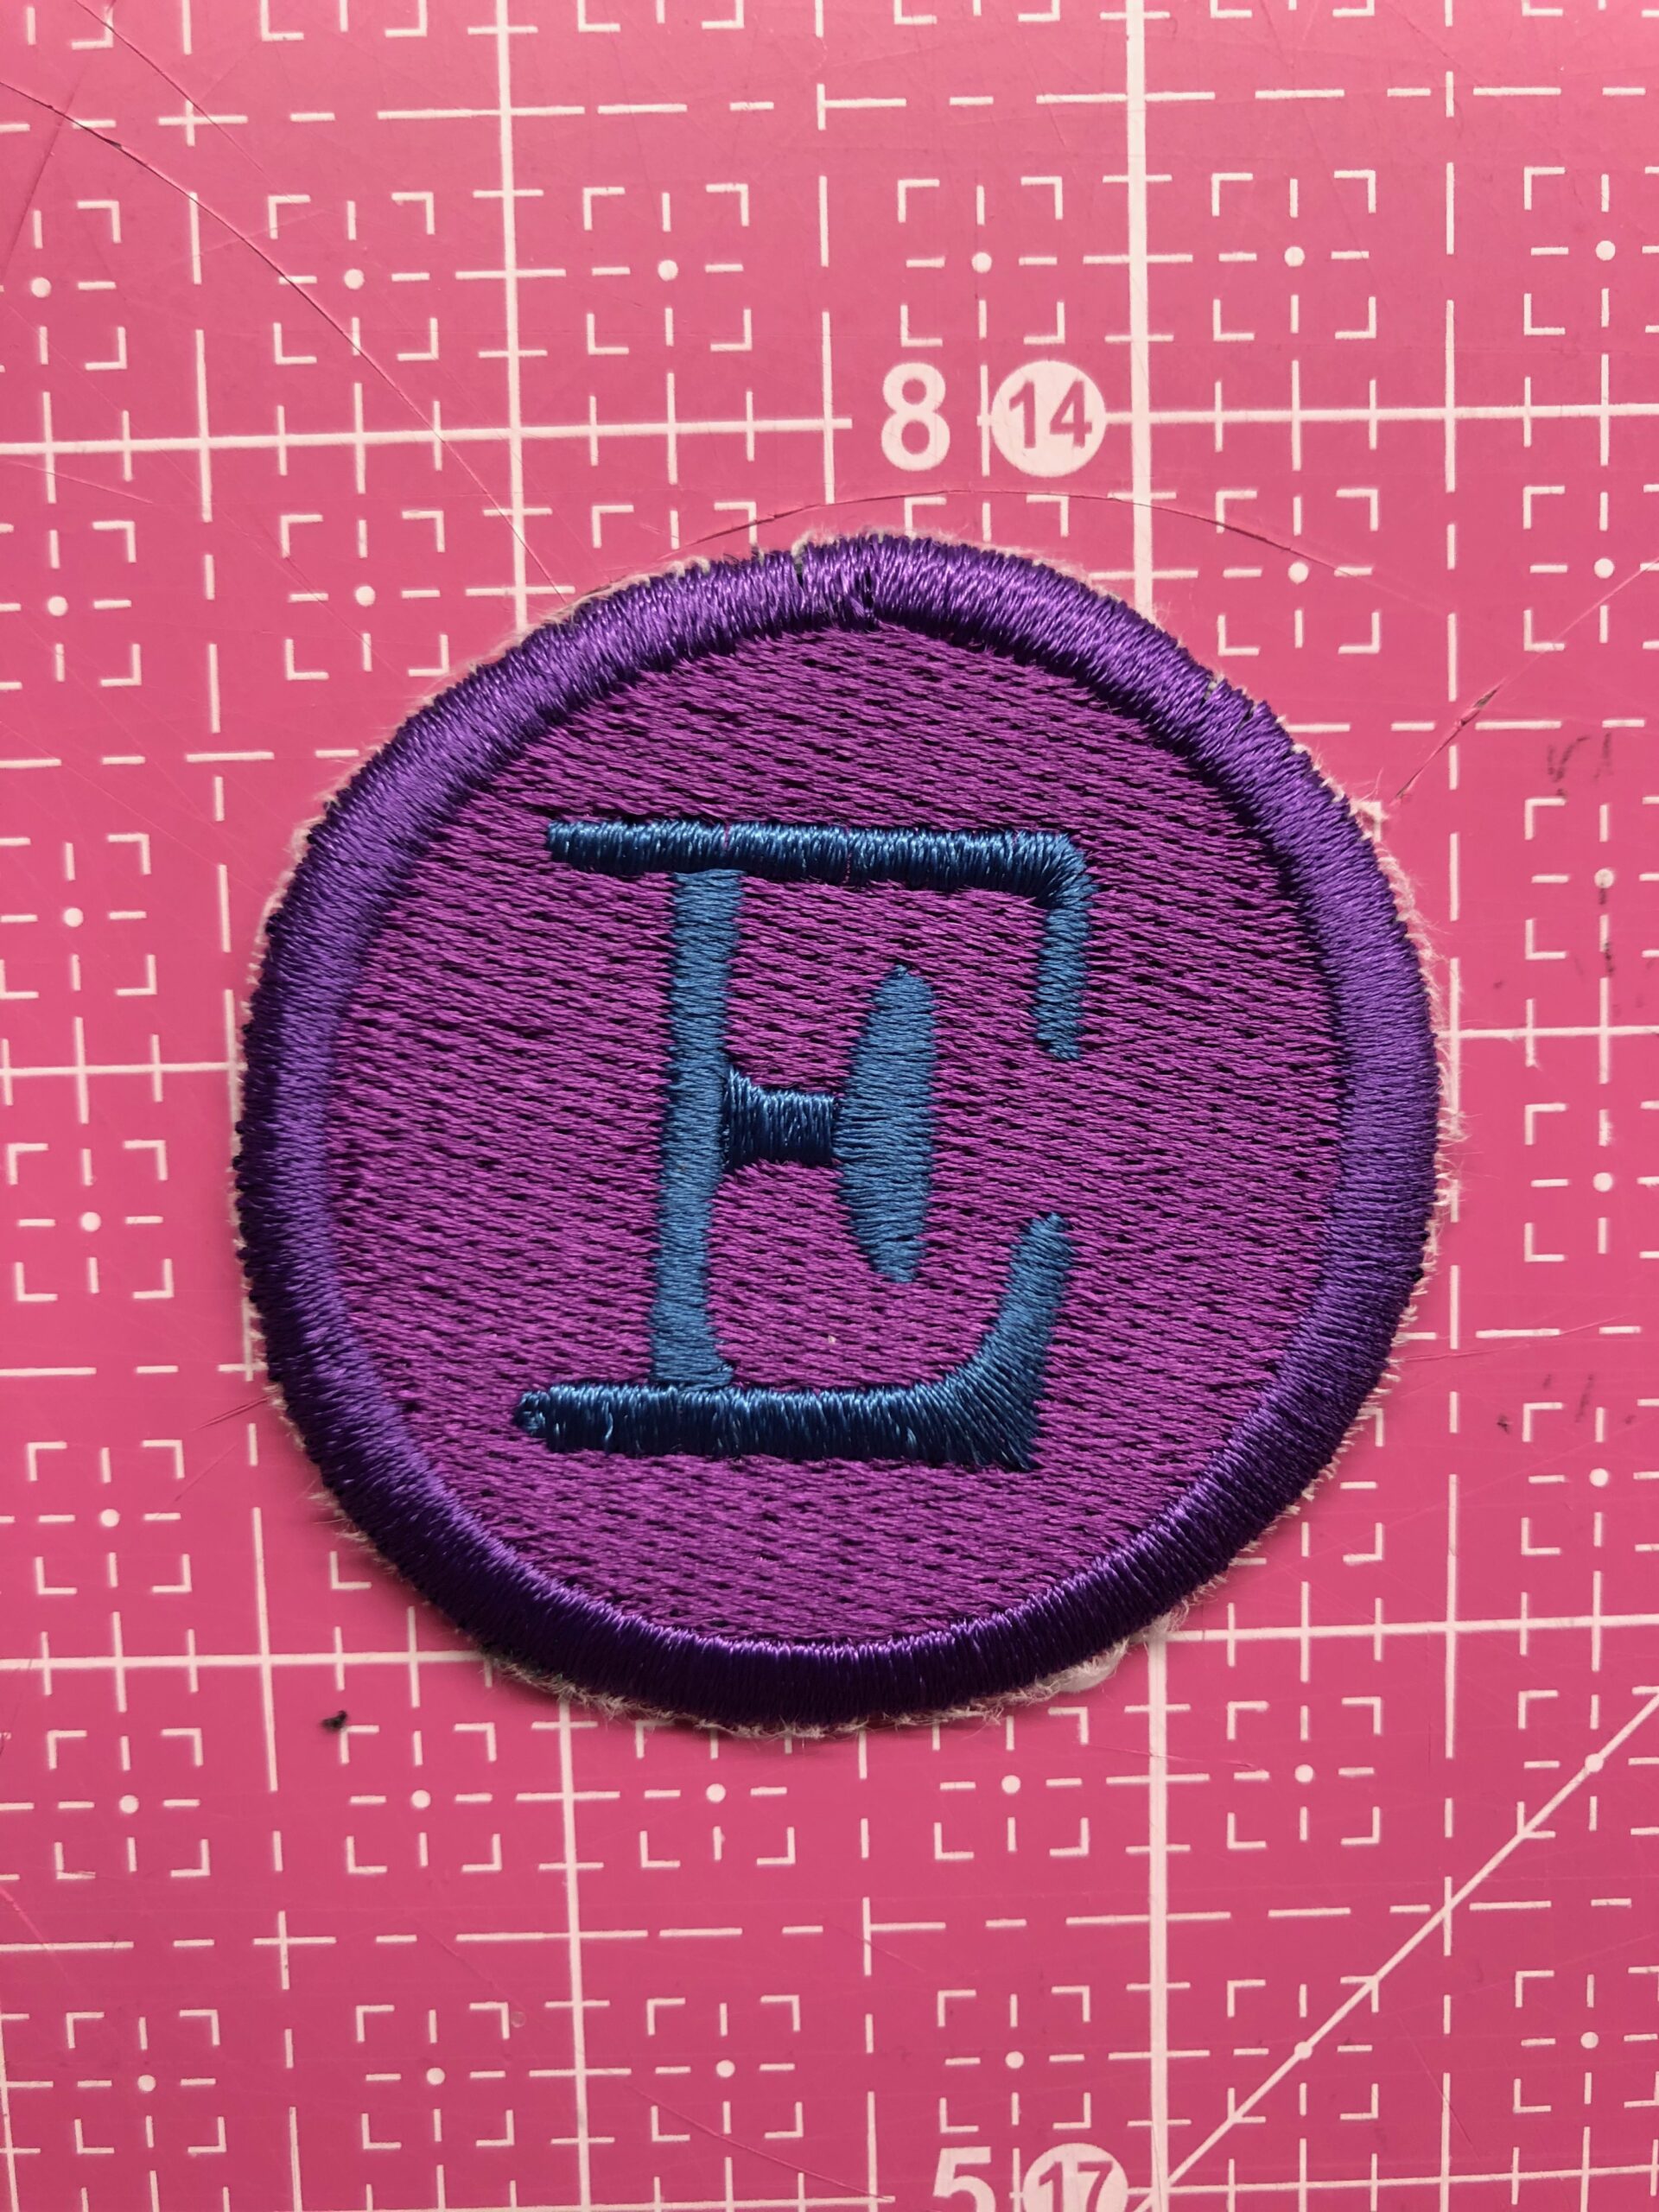
If making a patch, remove the design from the hoop and gently tear it away from the stabilizer. A bit of fuzz remains along the patch outer edge. Use a permanent marker that matches the thread to color the fuzz and blend it into the thread.
Cut the two faux leather squares into circles slightly larger than the finished patch design with wrong sides facing. If embroidering on one of these squares instead, trim it close to the design in a square or circle shape, and then trim the remaining square to match with wrong sides facing.
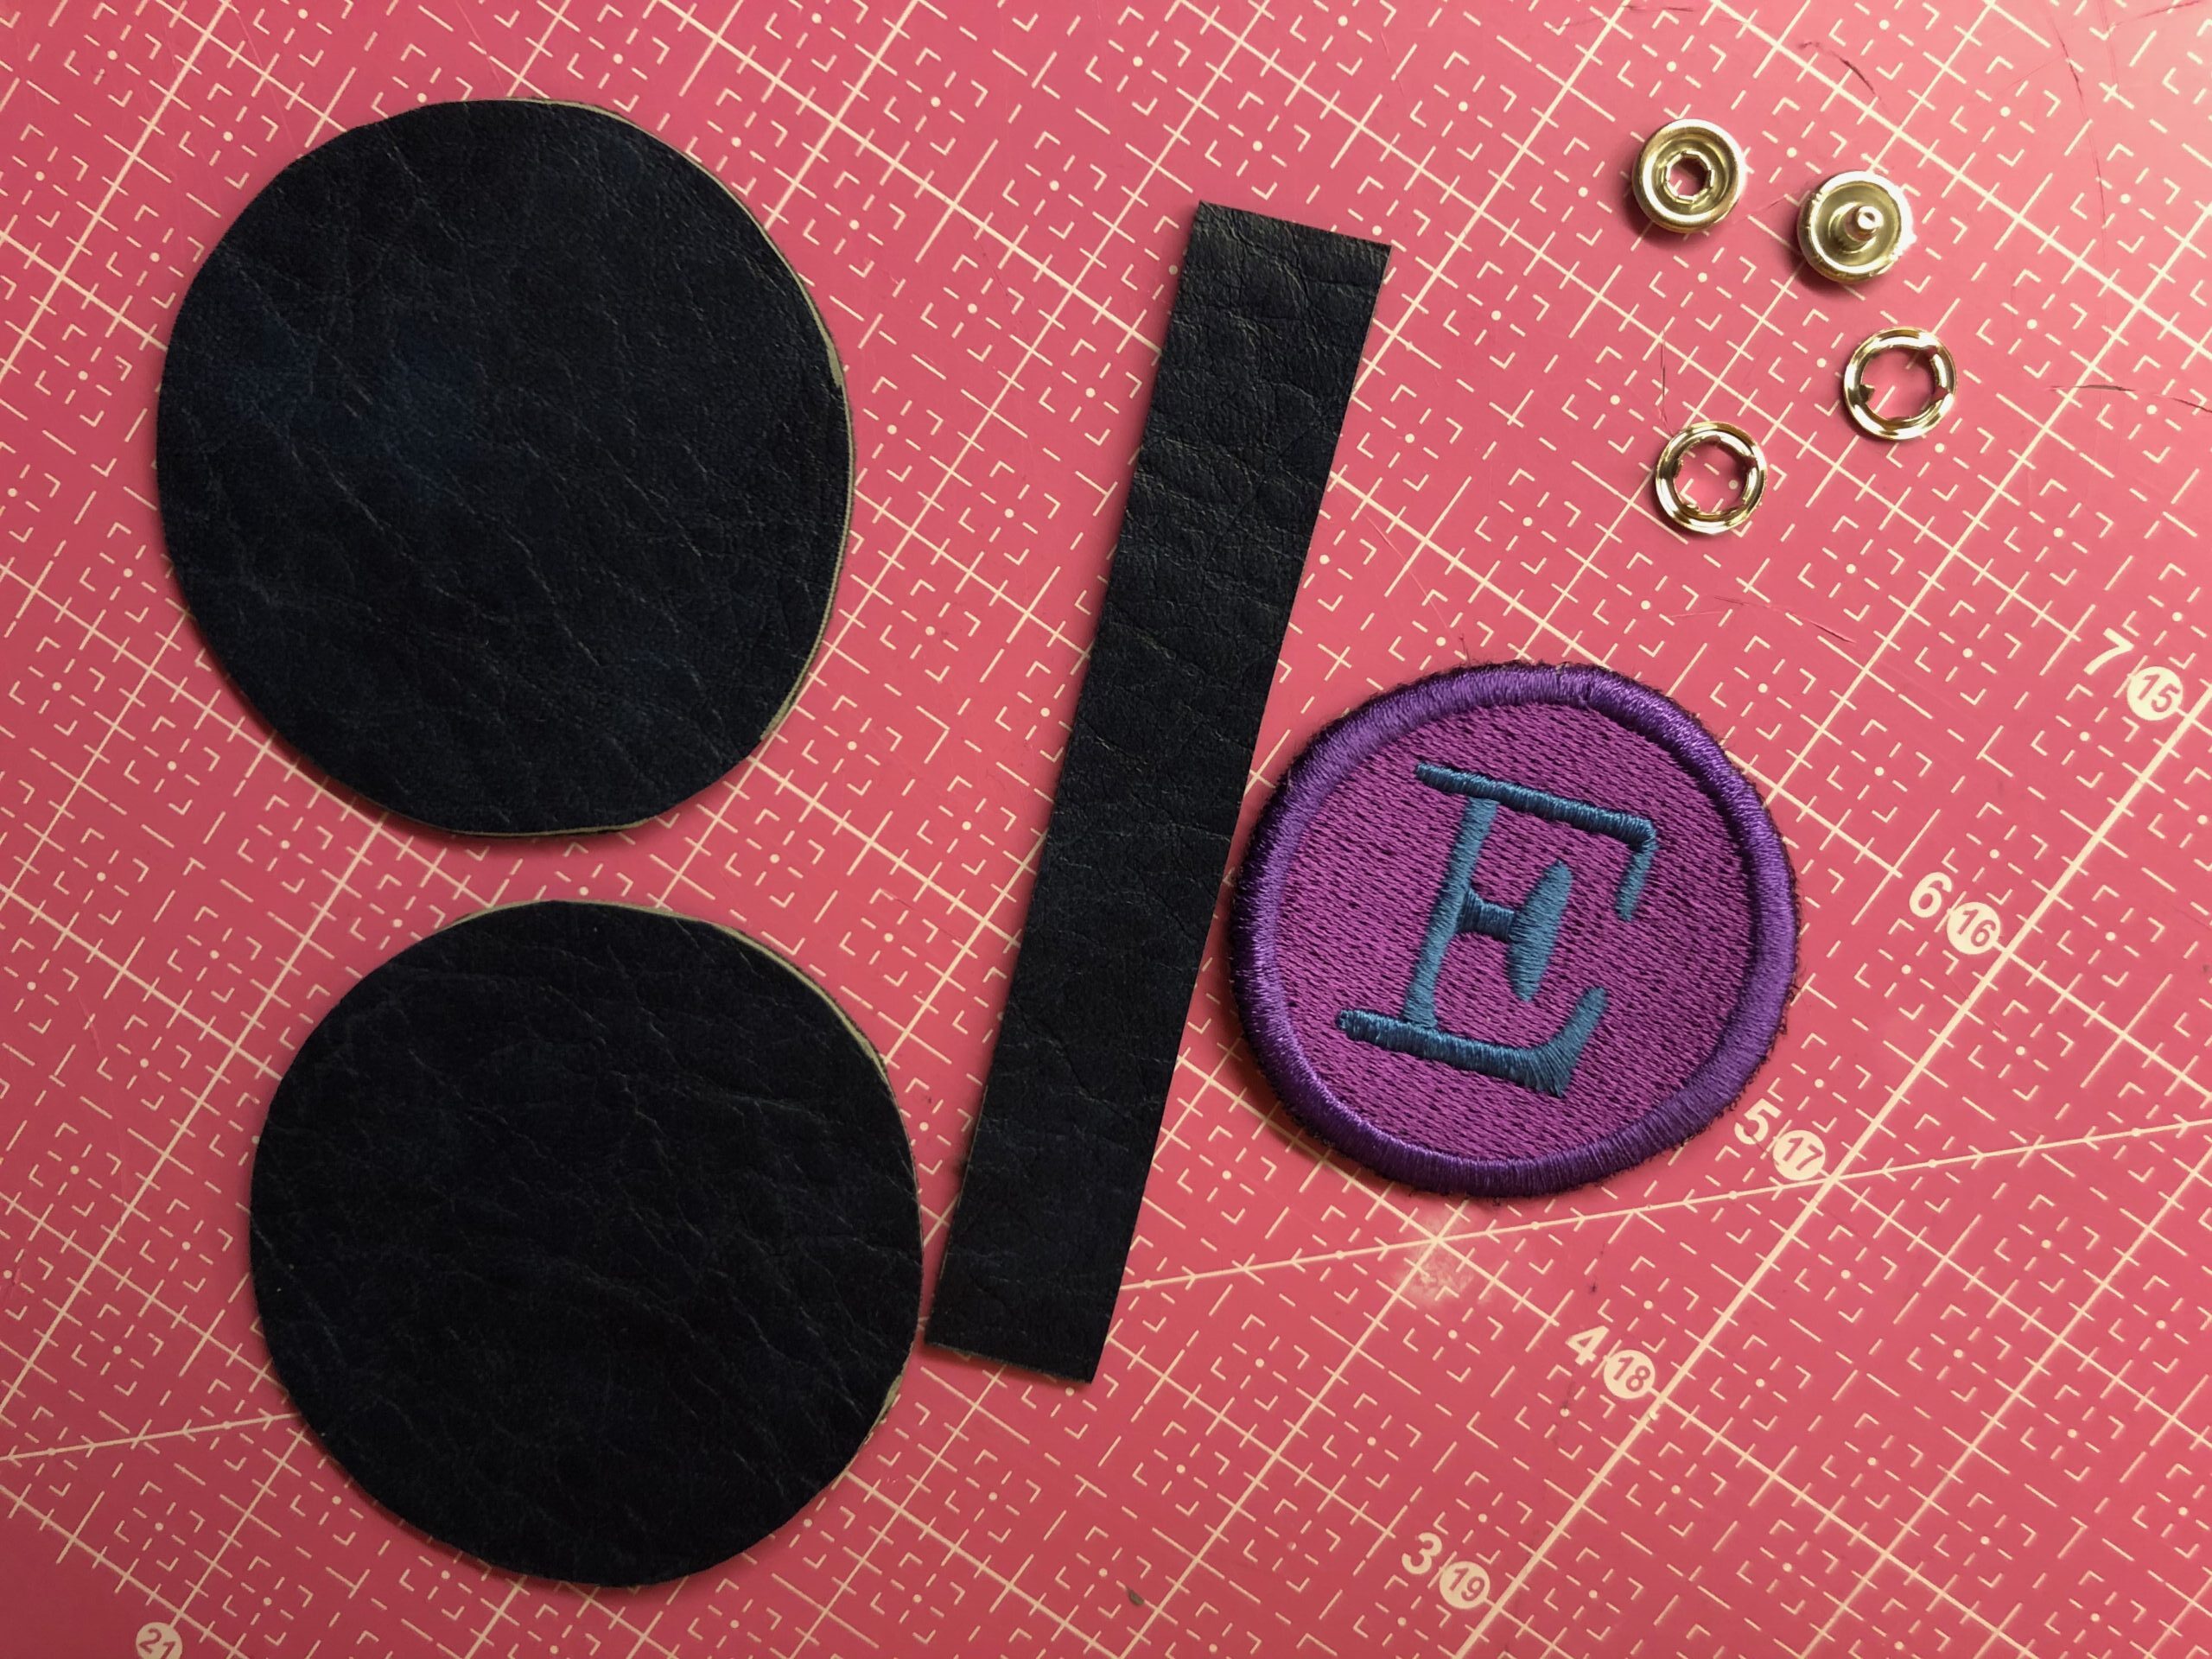
If making a patch, center it on one larger circle; use clips to secure. Thread the needle with Invisible thread and stitch the patch perimeter just inside the satin stitching.
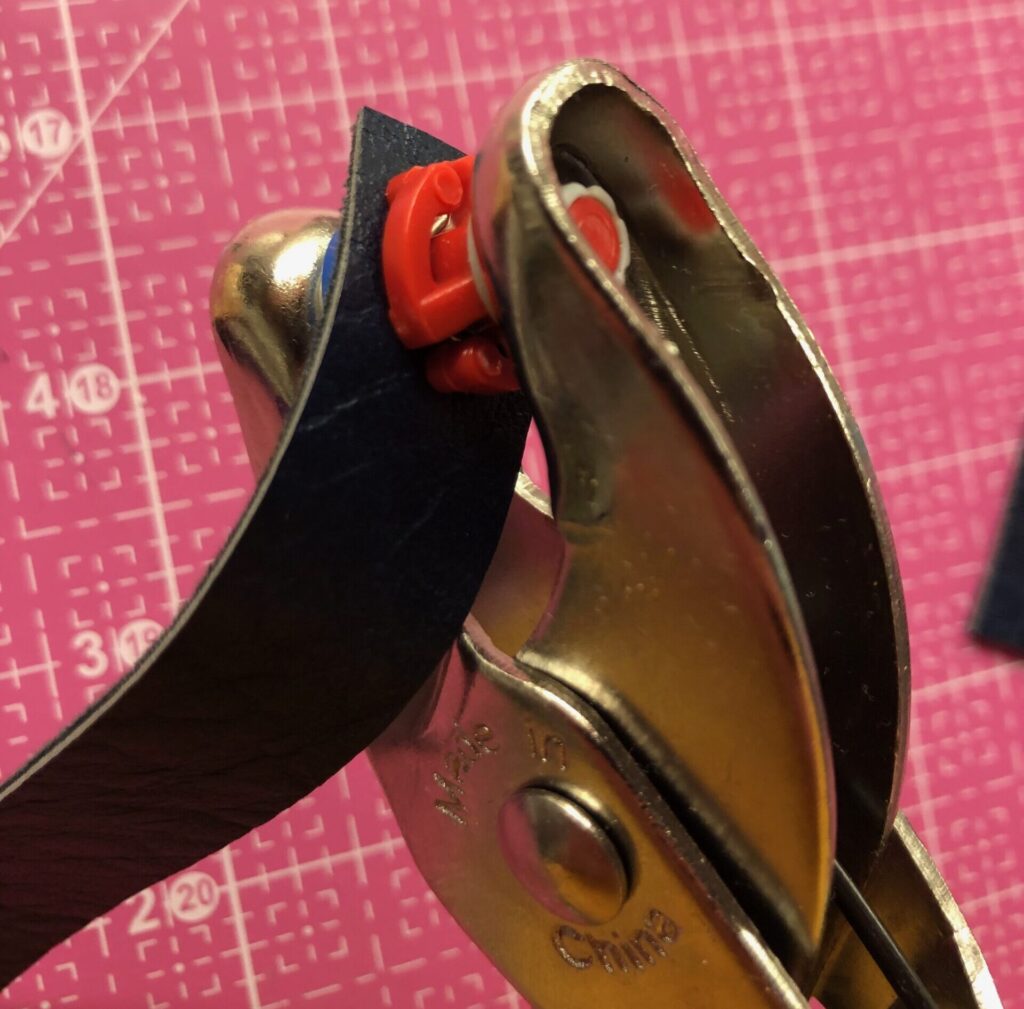
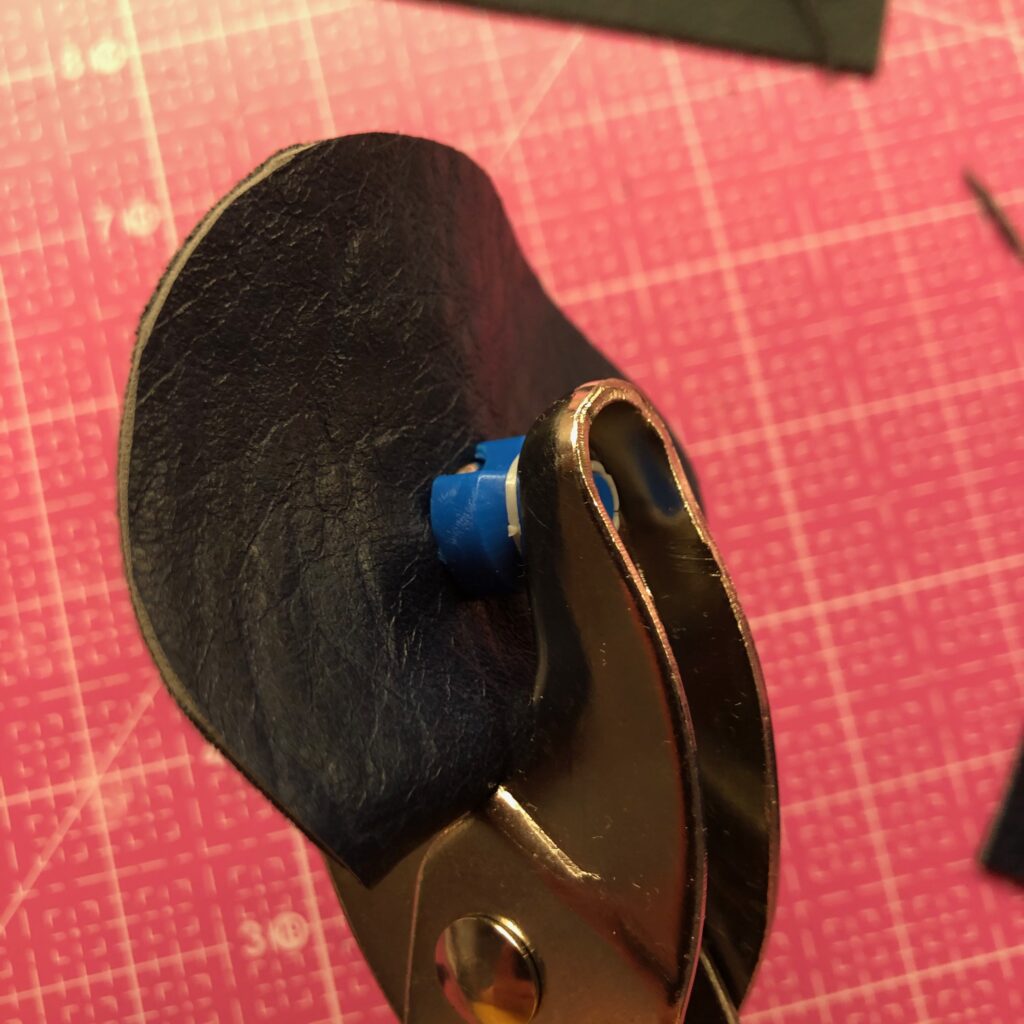
Attach the male snap to the end of the faux leather strip, using the snap setter tool. Attach the female snap to the center of the remaining faux leather circle.
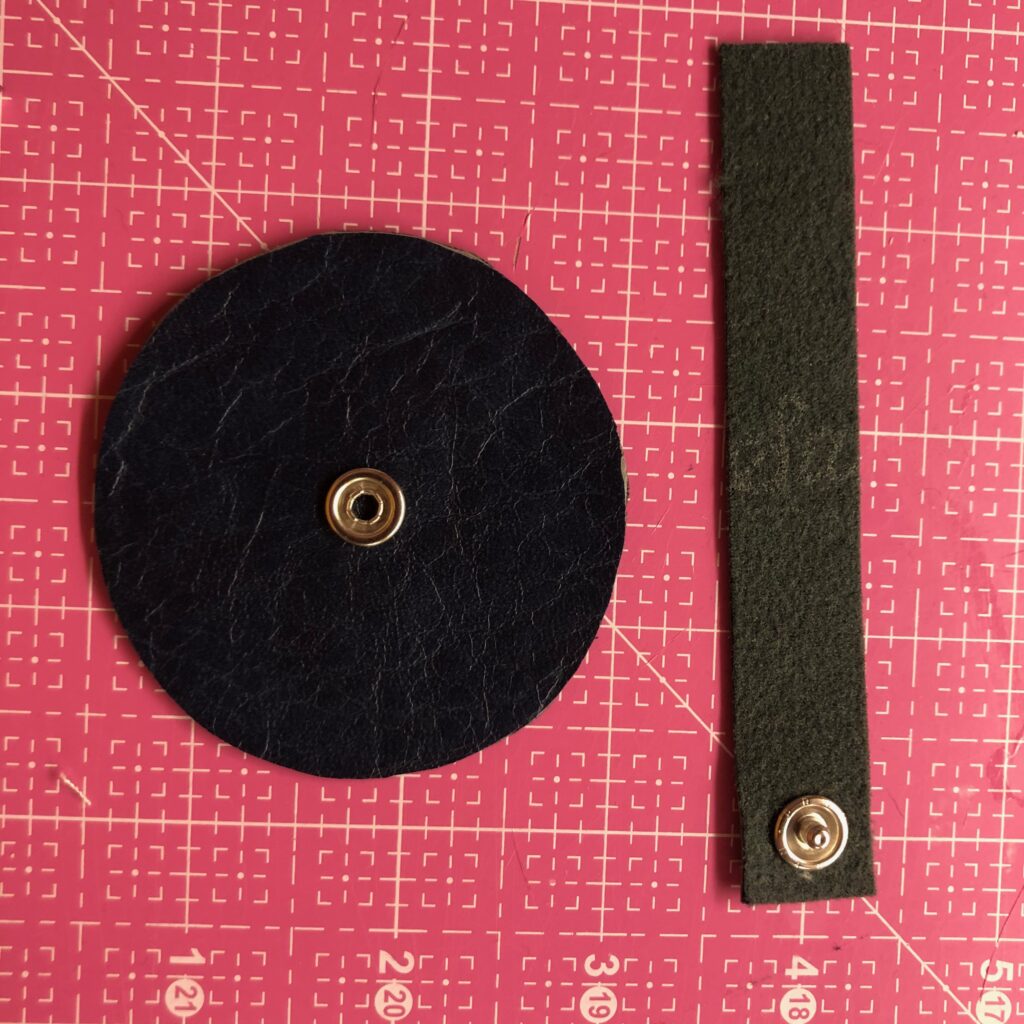
Sandwich the free strip end between the circles with wrong sides together; clip to secure.
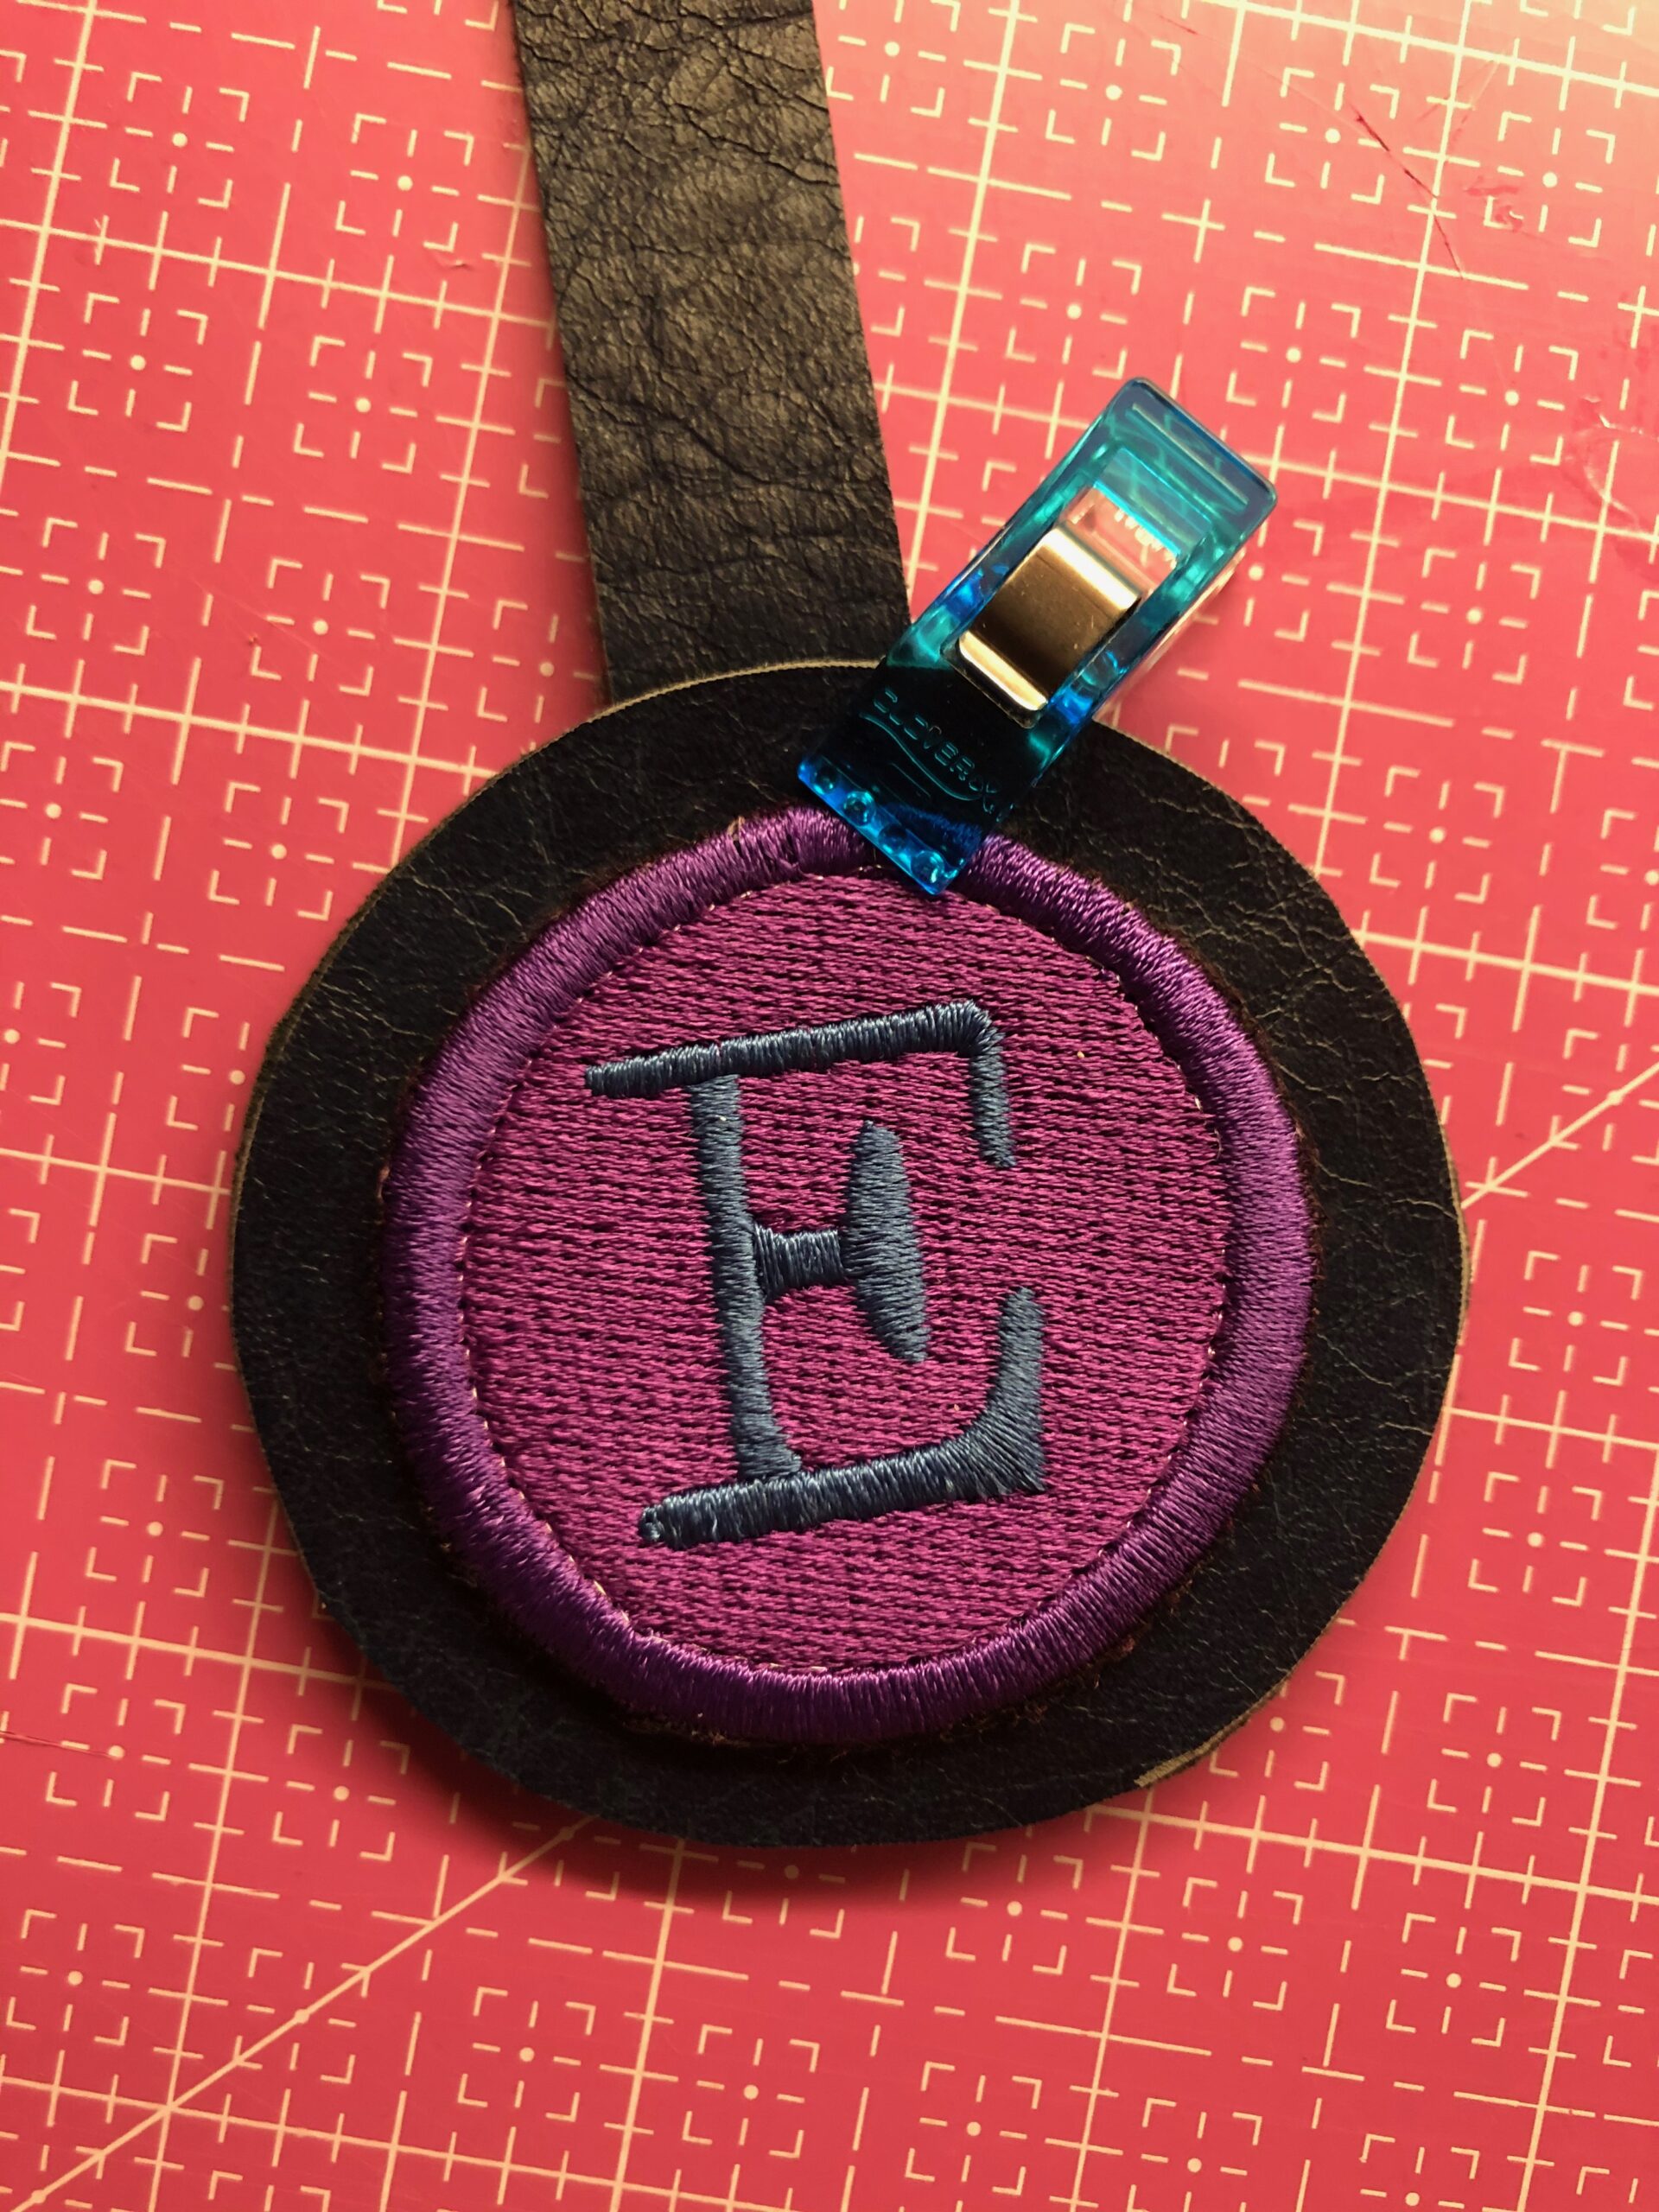
Stitch the circle perimeter just beyond the patch or design, using matching Poly Deco thread.
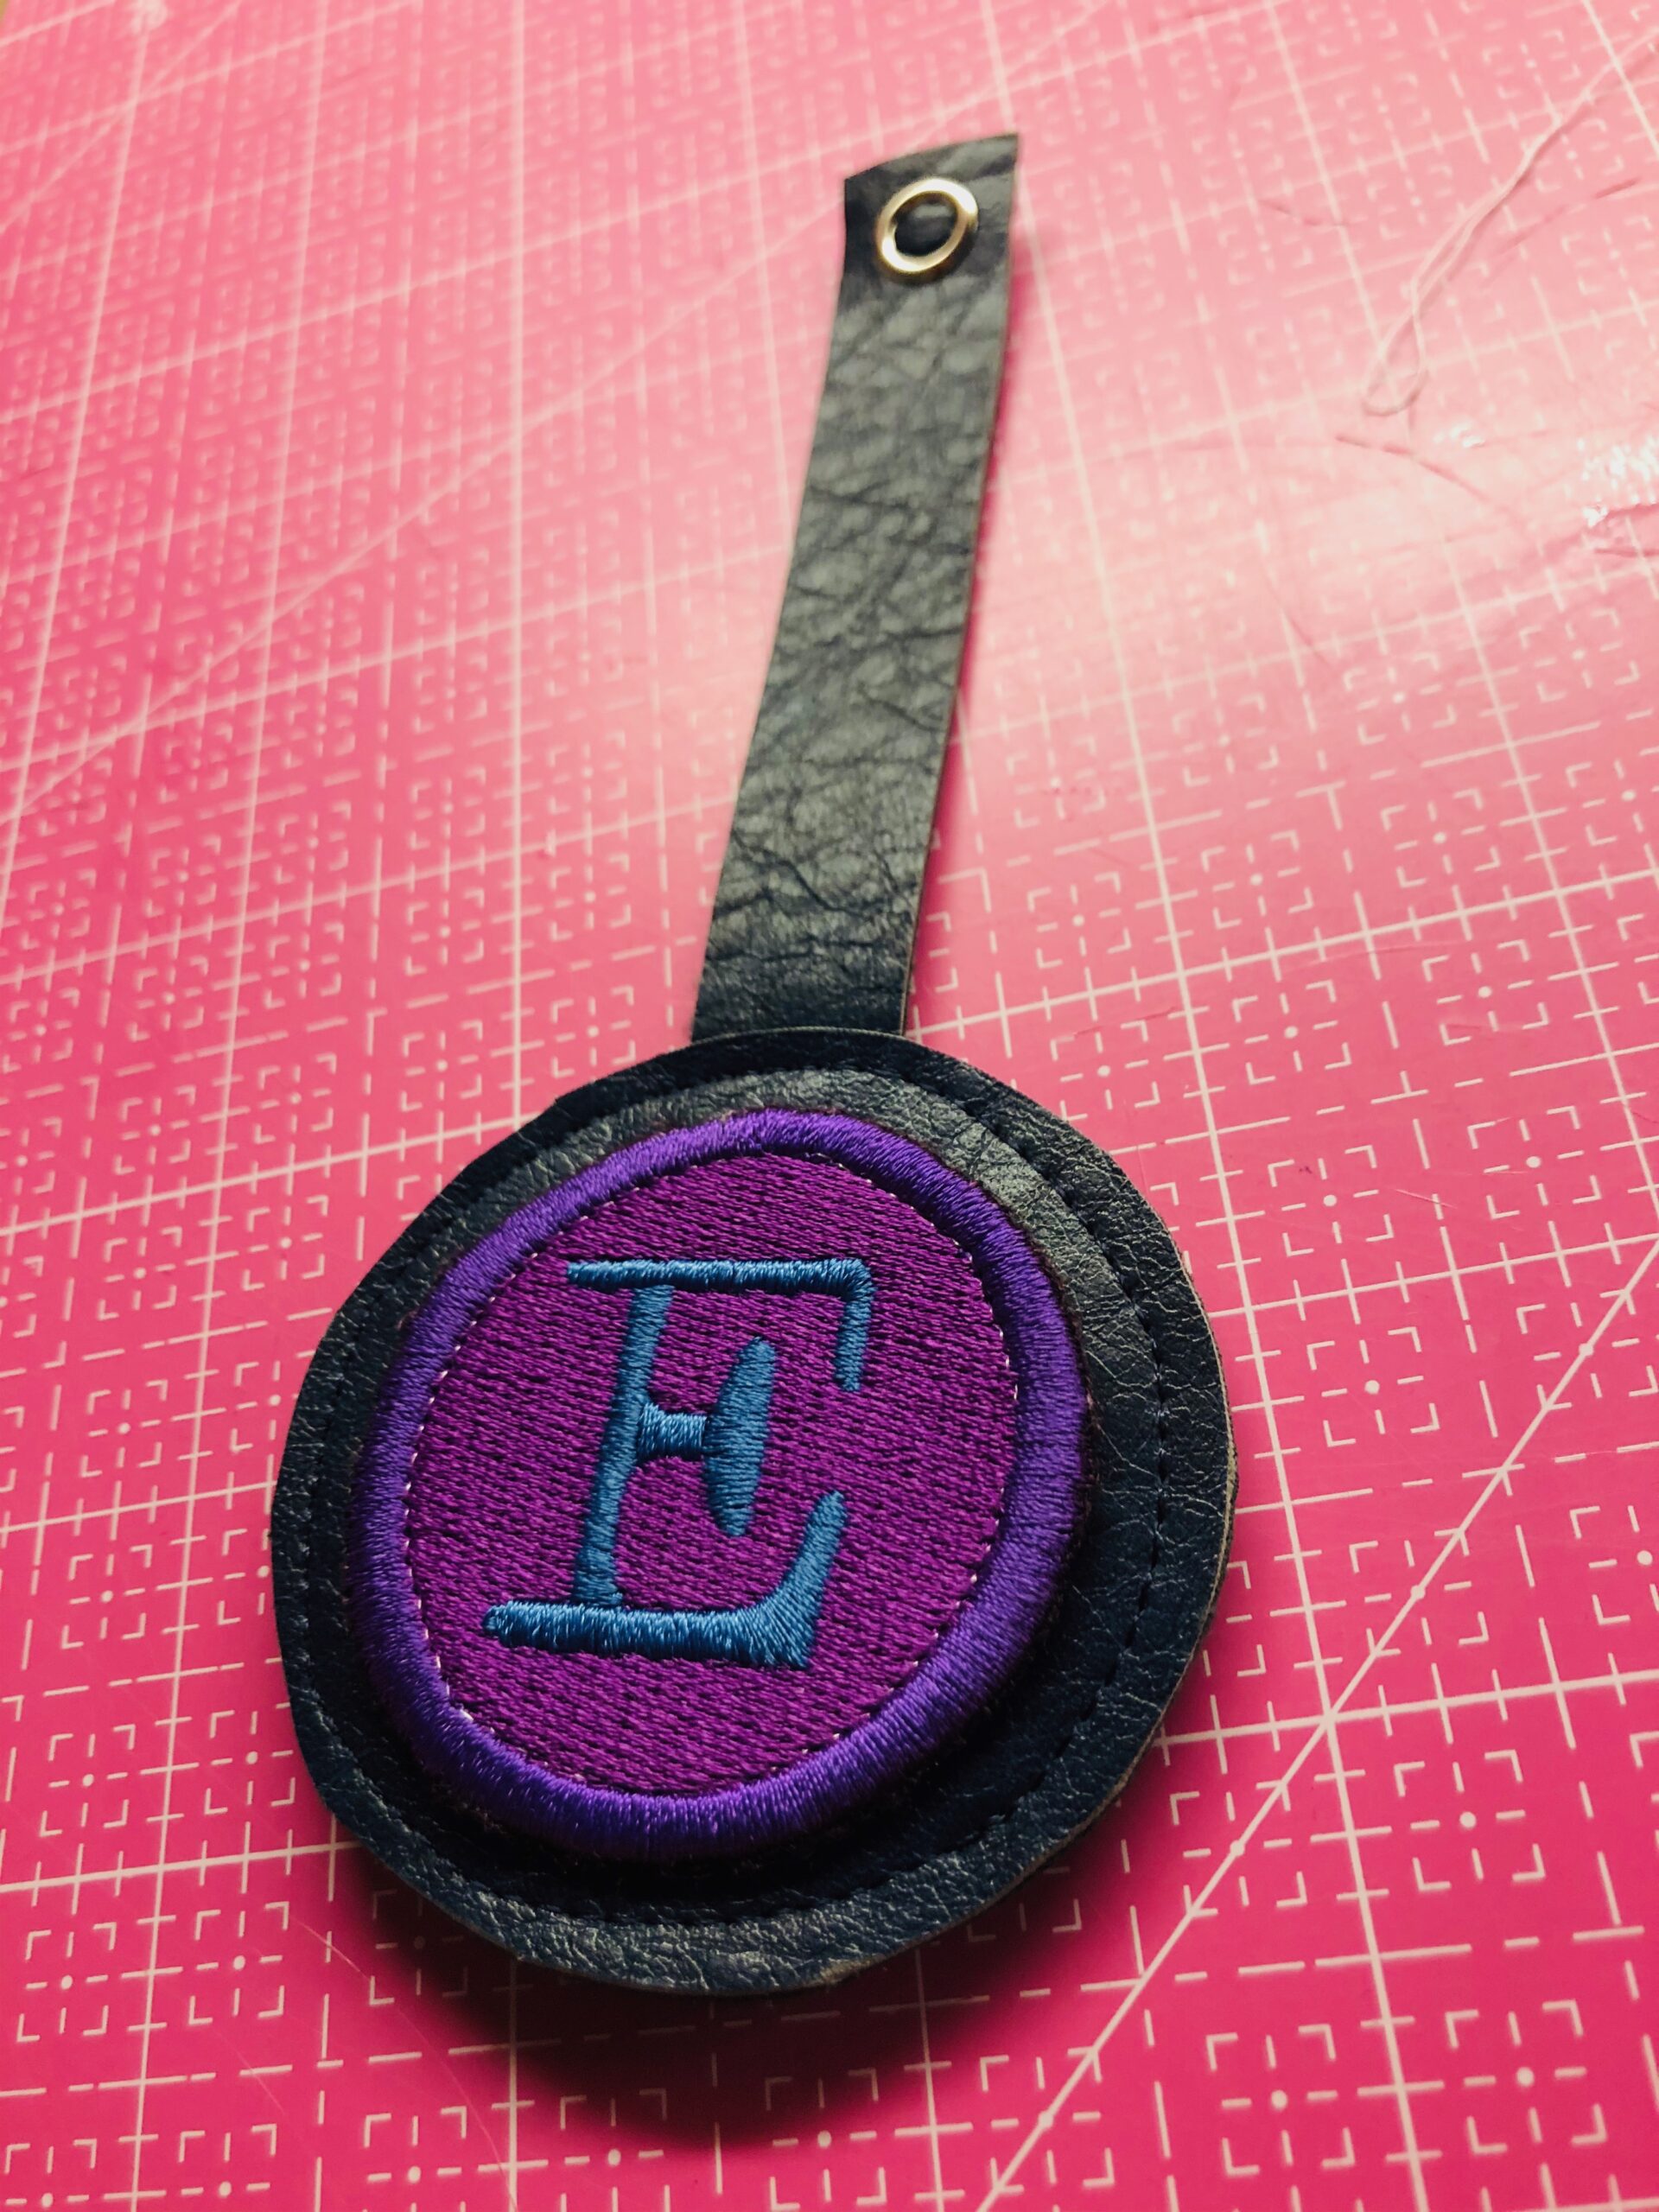
Wrap the strip around one of the bag rings to claim it as your own!

The great thing is that it’s easily removed to place it onto luggage, a backpack or key ring.
But it looks particularly nice on the Holly bag!

For more faux leather tips and inspiration from others on the Sally Tomato faux leather tour, visit these fine folks:
A Husqvarna Viking Designer Epic 2 sewing & embroidery machine was used for construction & embroidery.
Havel’s Sewing provided the pink cutting mat & rotary cutter.

Great!
Not able to apply message to video
Hi! If you have a specific question, please email is at info@sulky.com.