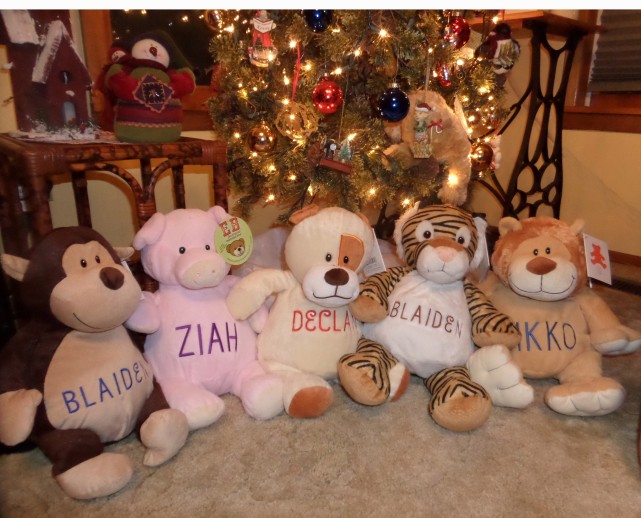
Embroider a Stuffed Animal: Embroider Buddies Tutorial
Embroider a Stuffed Animal Have you ever tried to embroider a stuffed animal? The only way is to take it apart and restitch seams, and that’s assuming you can …
Embroider a Stuffed Animal Have you ever tried to embroider a stuffed animal? The only way is to take it apart and restitch seams, and that’s assuming you can …
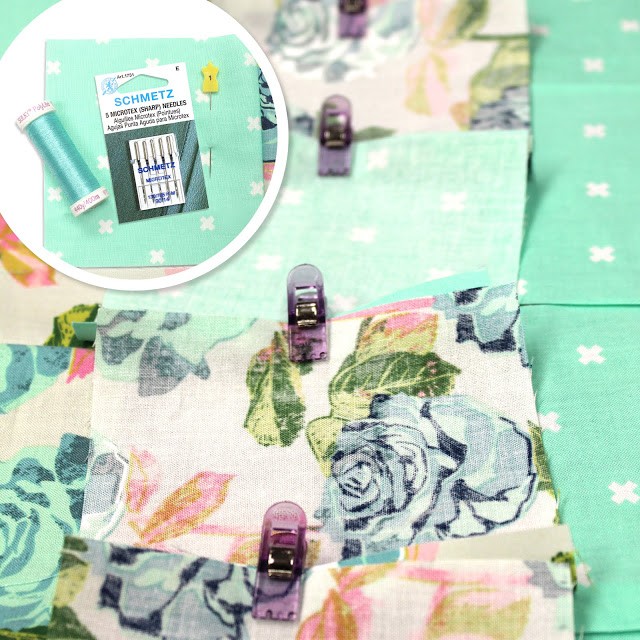
Needle and Thread Choice All too often as sewists, we blame our skill level when a project doesn’t come out perfectly. But many times, it isn’t our skill that is …
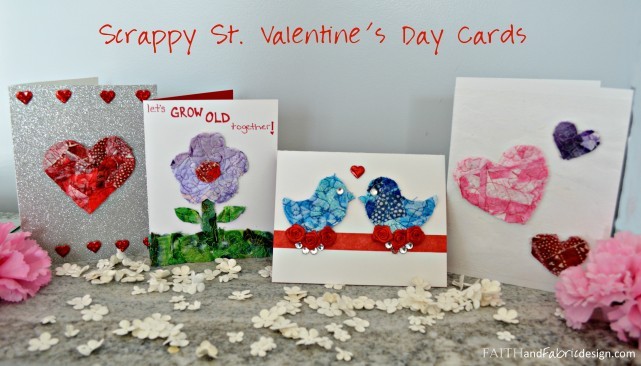
Post by Guest Blogger Jen Frost of Faith and Fabric Ahhh…fabric. It’s so much fun to walk through the store, find the perfect prints, and make a one of a …
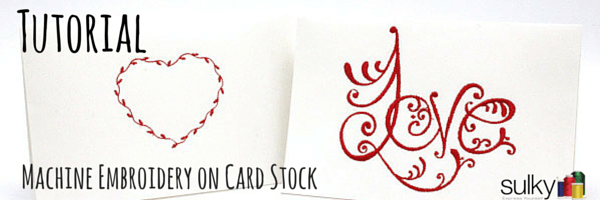
With so many amazing embroidery designs out there, creating awesome and very personal cards can be easy and fun! When I started doing research about this, I discovered that most …
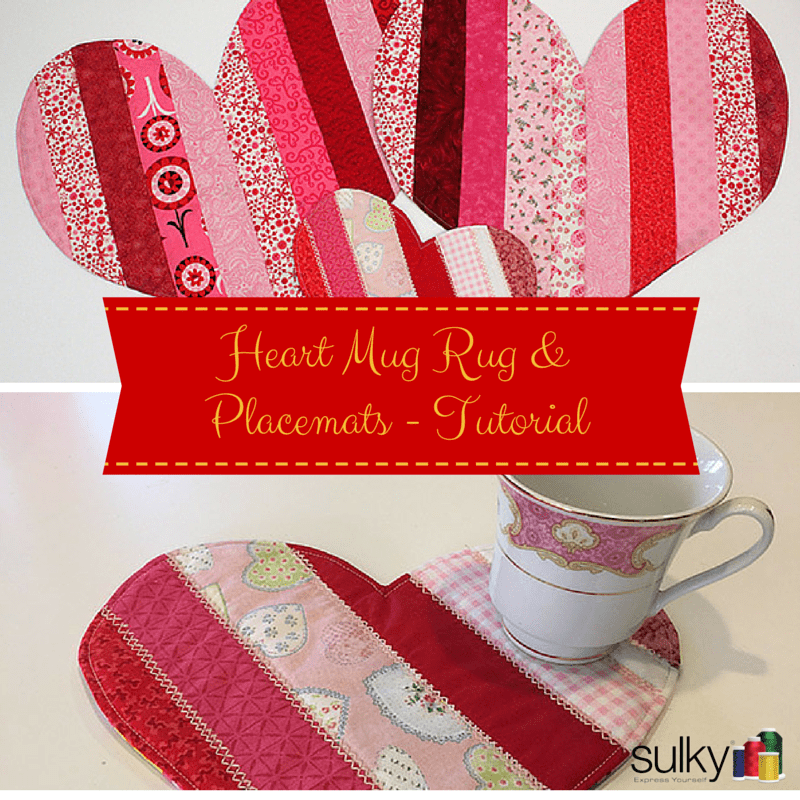
‘Sew’ many hearts, ‘sew’ little time! Here is a quick little heart mug rug and placemats. Supplies 2-1/2″ strips of fabric in white, pinks and reds (or scraps. The stripes …

DIY Heart Pendant Whether you want to show your love to a friend or make one of these for yourself, a little DIY heart pendant is a cute addition! This …

Do you make New Year’s Resolutions? I try to set a couple goals that challenge me throughout the year. For 2015, my goal was balance. For the most part I …
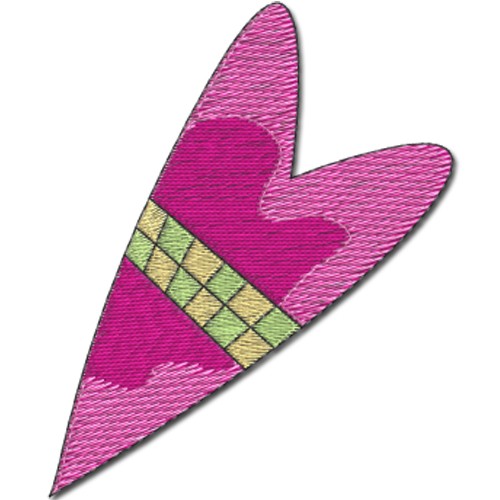
We have some wonderful designs for Valentine’s Day in the Sulky Embroidery Club! Here are four that are completely free. This design would be cute on a pincushion, T-shirt pocket, …

We are excited to bring you another Sewing Online with Sulky (S.O.S.) webinar. “A Pocketful of Love” on Tuesday, January 19, 2016, at 9 pm EST. Create “Hot Pockets” for all your …
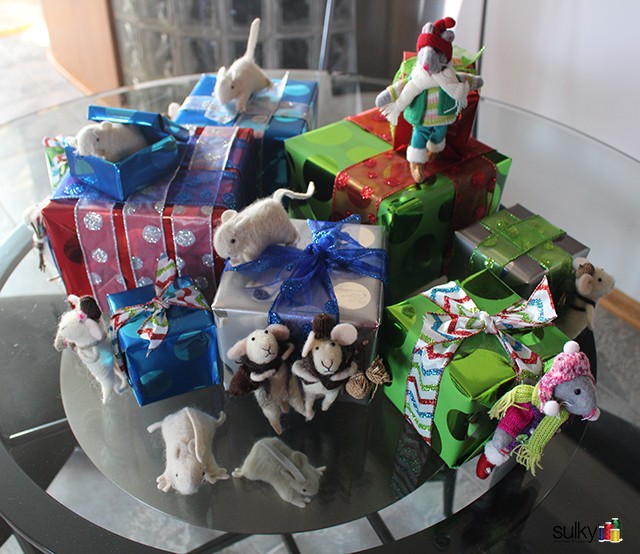
Do you love seeing how other people decorate for Christmas? I especially love seeing how creative people decorate so I asked some of the Sulky family and friends to send …