5 Summer Break Sewing Projects for Kids
Now that the kids are out of school for the summer, it’s time to keep them busy with some summer break sewing projects. These easy projects for kids to sew …
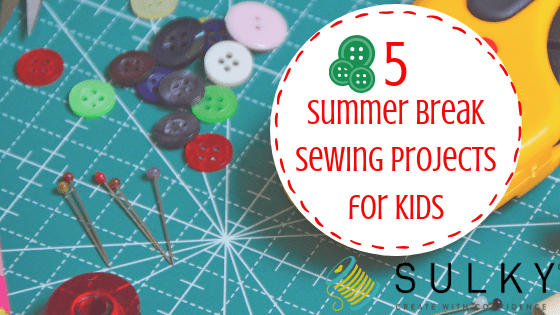
Now that the kids are out of school for the summer, it’s time to keep them busy with some summer break sewing projects. These easy projects for kids to sew …
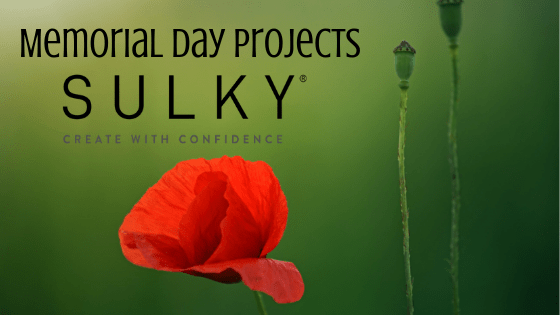
This weekend we remember the heroes who gave their lives to protect our freedom with Memorial Day projects. To show our love and respect, we bring out our American flags …

With so much rain (and even snow) in much of the country we’re looking for the rainbows and sunny days ahead! Whip up a rainbow felt wreath to bring some …

Pillowcases for Pets: Calling all Animal Lovers! It’s National Pet Month, so we’re taking a slight departure from our Pillowcases for PEOPLE in Need charity sewing initiative to bring you …
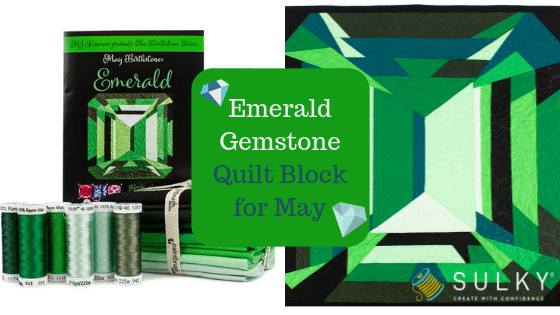
Treat yourself to a precious gem and make a gemstone quilt block! Paper piecing and quilting with rayon thread combine to make a gorgeous Emerald Gemstone Quilt Block. The emerald …

Metallic is the new black! No need to shy away from learning how to sew metallic thread. It’s not as difficult as you may think. This metallic cork tote was …

Embroidered apron patterns are fun and functional, plus they remind us of our moms, grandmas and other influential women in our lives (I’m sure aprons remind some people of certain …

Make a Free-Motion Lilac Pillow to add springtime decor to your home. This pillow tutorial includes free free-motion lilac pillow embroidery templates from Katrina Wright. About Katrina Katrina Wright lives …
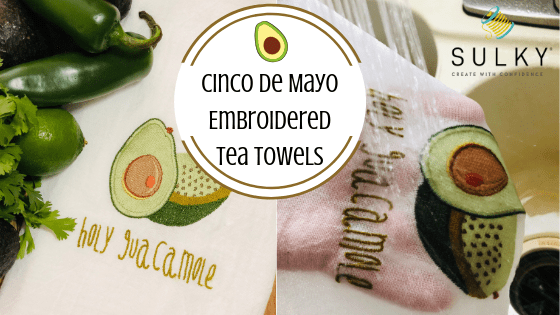
Cinco de Mayo Embroidery is much easier with Sulky Sticky Fabri-Solvy! These tea towels are lightweight and crinkly, but the embroidery is easy–even easier than making a bowl of guacamole. …

On this “Star Wars Day,” I thought I’d bring you a tutorial on reflective embroidery. Our new CRY® reflective thread is a super cool product that’s great for designs like …